
Note: This article contains affiliate links. If you click on these links and make a purchase, we may earn a small commission at no extra cost to you. This helps support our research and content. Read our full affiliate disclosure here.
If you have boxes of film slides taking up space, a dedicated photo slide scanner can turn fragile negatives into usable digital files. The right scanner makes a big difference in color fidelity, resolution, and how much time you spend at the project. This guide covers five carefully shortlisted photo slide scanners suitable for home and small-archive use. We evaluated each pick on concrete criteria that matter for real-world scanning tasks, including image quality, throughput, and ease of use. Read on to find options that match how many slides you need to process, the level of retouching you want, and the storage workflow you plan to use.
Top Picks at a Glance
| Best Overall The best all-around choice for most situations | Epson Perfection V850 Pro |  |
| Best Quality Built to a higher standard if you want something more solid | Pacific Image PowerSlide X Plus |  |
| Best Value The sweet spot between price and what you get | Magnasonic FS71 Film Scanner |  |
| Best Budget The cheapest option that still gets the job done reliably | DIGITNOW! Film Negative Scanner |  |
| Most Popular A crowd favorite that many people choose with confidence | KODAK SCANZA Film & Slide Scanner |  |
Epson Perfection V850 Pro

| Scanner Type | Photo |
|---|---|
| Connection Type | USB |
| Optical Sensor Technology | CCD |
| Color Depth | 48 bits |
| Light Source Type | LED |
The Epson Perfection V850 Pro is a dedicated photo flatbed scanner built to digitize prints, slides and film at pro-level quality. It uses a dual-lens system with CCD optics, a 6400 dpi film resolution (9600 listed for enhanced resolution), 48-bit color depth and a 4.0 Dmax to capture shadow detail and smooth tonal gradations. ReadyScan LED lighting and a USB connection make setup simple, while included film holders and Digital ICE image restoration reduce dust and scratch artifacts when scanning multiple frames or strips. Typical use is studio or archival work where accuracy and detail matter: batch scanning slides or negatives, restoring old prints, and producing high-resolution files for editing or printing. The scanner is relatively bulky and built like a desktop pro unit, so it is best suited to a dedicated workspace; its focus on high fidelity and film scanning means it is heavier and more specialized than consumer all‑in‑one scanners. If you need fast low-resolution document scanning or a compact travel unit, this model is more capability than necessary.
Best for: Photographers, archivists, and serious enthusiasts who need high-fidelity scans of slides, negatives and prints for restoration, reproduction, or archival work and who value image detail over compactness.
Less Ideal for: Casual users who only need occasional low-resolution document scans or a compact scanner for travel should consider simpler, smaller models instead.
- Dual-lens CCD system and high optical resolution for detailed film and slide scans
- Digital ICE technology reduces dust and scratch defects during film and print restoration
- Includes multiple film holders for 35mm, medium and large-format batch scanning
- ReadyScan LED light source requires no warm-up and supports fast scanning workflow
- 48-bit color depth and 4.0 Dmax capture wide tonal range and shadow detail
- Large, heavy desktop footprint not suited to small workspaces
- Specialized film-focused features add complexity compared with simple document scanners
Verdict: Choose the V850 Pro when you need professional-grade film and slide scans with excellent detail and image‑restoration tools.
Pacific Image PowerSlide X Plus

| Scanner Type | Slide |
|---|---|
| Resolution | 10000 |
| Color Depth | 48 bits |
| Optical Sensor Technology | CCD |
| Standard Sheet Capacity | 50 |
The PowerSlide X Plus is a purpose-built 35mm slide scanner that automates batch scanning with a 50-slide magazine and delivers very high-resolution images using a true RGB CCD sensor. It is used by feeding mounted slides into the included magazine and running one-button jobs for continuous scans, which is handy when converting large collections. Notable features include a claimed 10,000 dpi optical resolution, 48-bit color depth, CCD imaging for improved color fidelity compared with typical CMOS options, and DNG raw output for post-processing flexibility. Practical benefits are fast throughput for multi-slide jobs, strong color detail for archival work, and support for both PC and Mac workflows. Important limitations are that high-resolution CCD scans produce large files that demand significant storage and processing power, the scanner is optimized for 35mm mounted slides only, and fragile or damaged paper-mounted slides can jam the feeder so preparation is required before batch runs.
Best for: Serious photographers or archivists who need high-fidelity, high-resolution scans of large slide collections and value color accuracy and raw output for post-processing.
Less Ideal for: Casual users with a handful of slides or those who need multi-format film scanning should consider simpler or more versatile scanners instead.
- Automatic batch scanning with a 50-slide magazine for high throughput
- True RGB CCD sensor with support for up to 10,000 dpi for detailed, color-accurate scans
- Produces 48-bit color depth and can output DNG raw files for advanced post-processing
- One-button operation and cross-platform support for Mac and Windows
- High-resolution scans generate very large files that require ample storage and computing resources
- Only supports 35mm mounted slides and may jam with damaged or damp mounts
Verdict: Buy this if you need a high-throughput, CCD-based 35mm slide scanner that prioritizes maximum resolution and color-accurate raw output for archival-quality scanning.
Magnasonic FS71 Film Scanner
| Scanner Type | Film, Photo |
|---|---|
| Connection Type | HDMI, USB |
| Resolution | 24MP (interpolated) |
| External Memory Card | SD card up to 128 GB |
| Scan Speed | 3-5 Seconds |
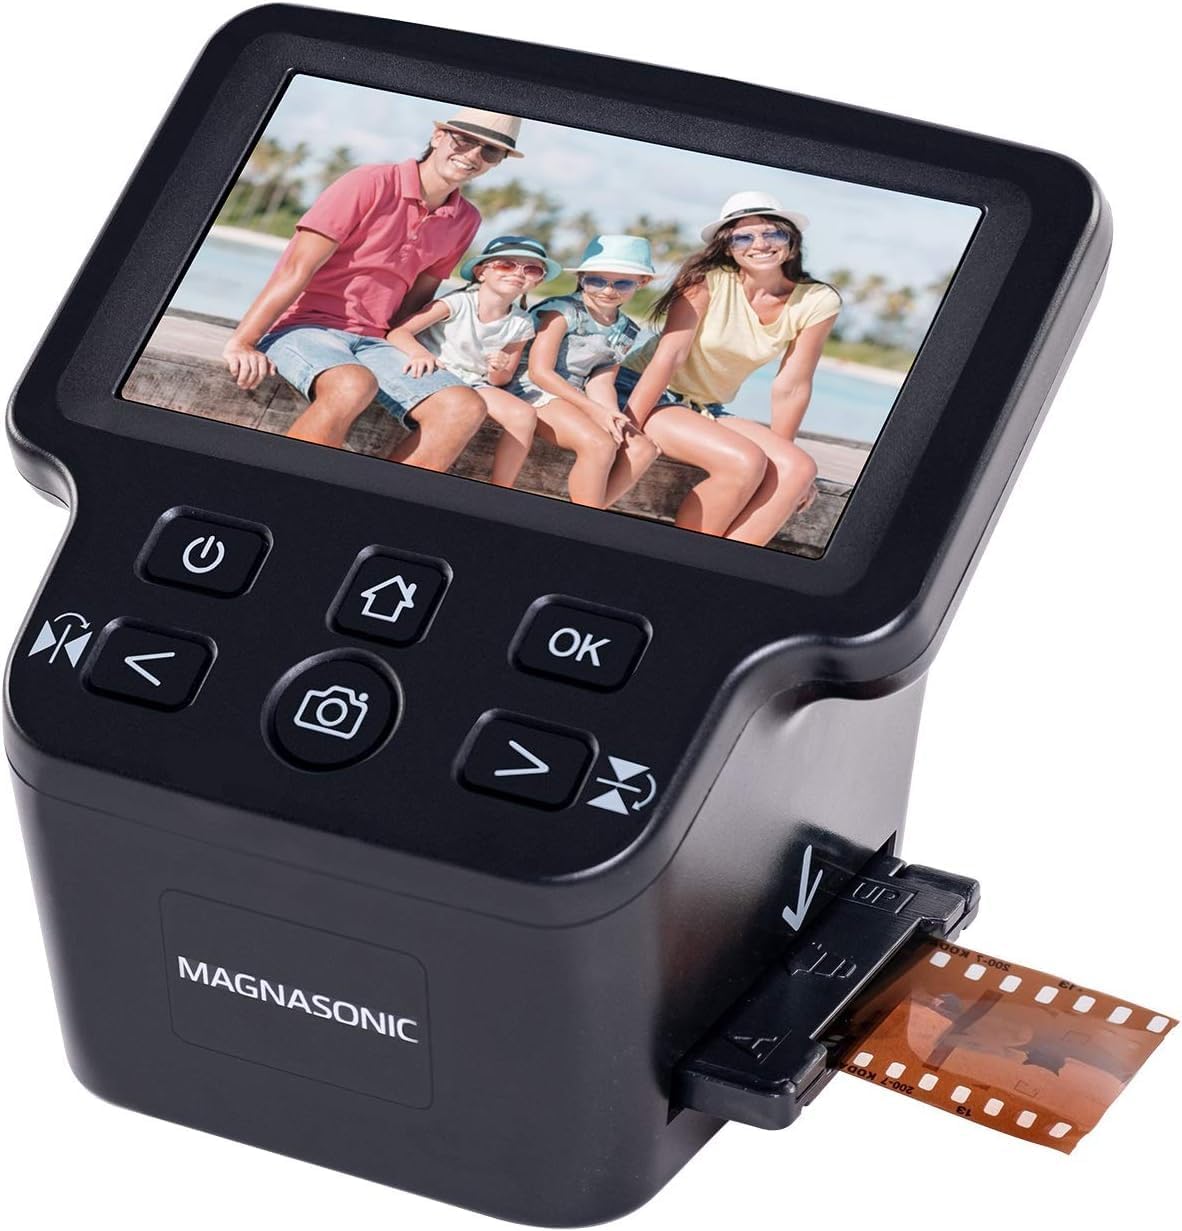
The Magnasonic FS71 is a straightforward desktop film and slide scanner designed to digitize 35mm, 110, 126, Super 8 film and 135/126/110 slides without a computer. It captures images at a 16MP sensor with 24MP interpolation and saves JPEGs to an SD card or to a PC via USB, while the 5" color TFT lets you preview and adjust brightness and RGB color before saving. Scanning is fast — roughly 3 to 5 seconds per frame — and the included adapters handle common small-format film and slide sizes, plus HDMI output lets you display scanned images on a TV for group viewing. The interface is simple, so occasional manual exposure tweaks are possible but you should not expect advanced restoration tools or RAW output. Image quality is good for family archives and casual photo projects, but interpolation and the fixed-focus optics mean it will not replace professional drum or flatbed scanners for demanding restoration work. For quickly converting boxes of old slides into shareable JPEGs, it is efficient and easy to use.
Best for: Buyers who want a simple, time-efficient way to digitize family slides and small-format negatives for sharing and archiving without learning complex software.
Less Ideal for: Photographers or archivists who need the highest native optical resolution, RAW output, or advanced restoration tools should consider a higher-end film or flatbed scanner.
- Supports multiple formats: 35mm, 110, 126, Super 8 film and 135/126/110 slides
- Fast single-pass scanning, typically 3–5 seconds per frame
- Built-in 5" color LCD for previewing and basic editing without a computer
- Saves direct to SD card up to 128 GB and offers HDMI output for TV slideshow
- Uses interpolation for the advertised 24MP output rather than true 24MP optical capture
- Fixed-focus optics and basic color controls limit use for professional restoration
Verdict: A fast, user-friendly scanner for converting boxes of old slides and small-format negatives into shareable JPEGs without a computer.
DIGITNOW! Film Negative Scanner
| Scanner Type | Film |
|---|---|
| Connection Type | USB |
| Resolution | 1800 |
| Light Source Type | LED |
| Media Type | Negatives, Slide |
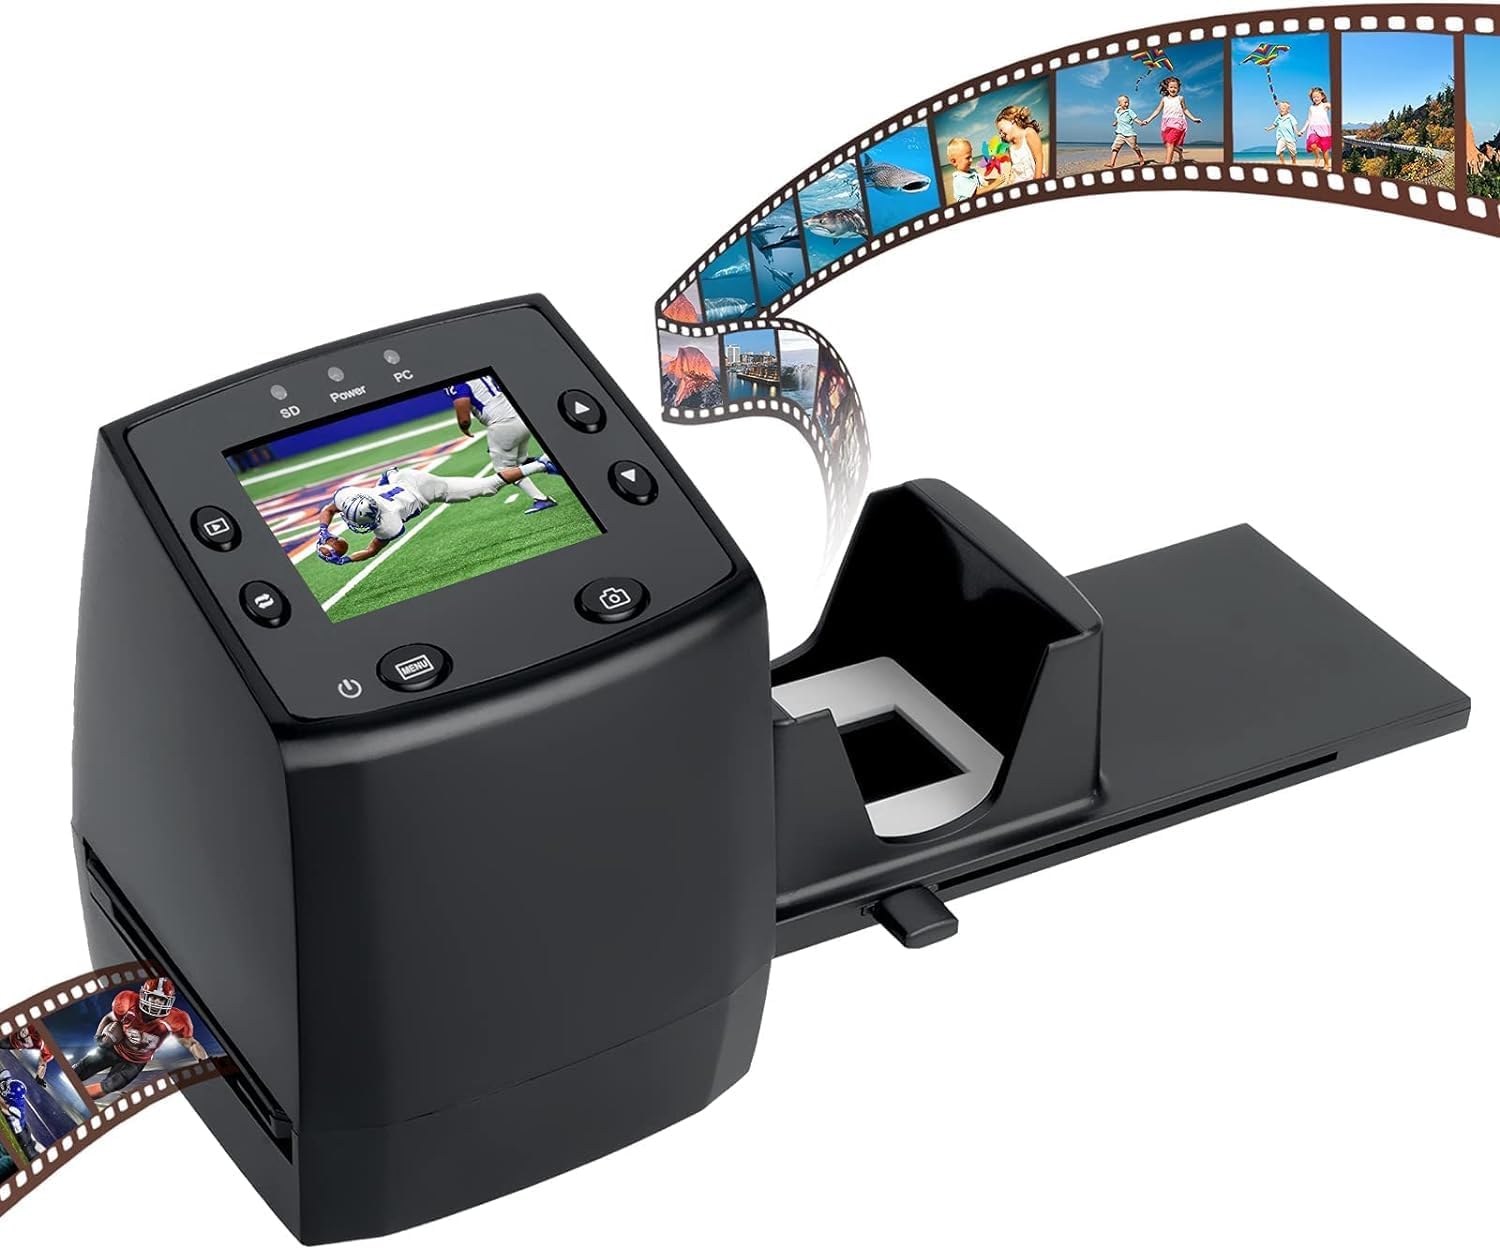
The DIGITNOW! film negative scanner is a small, budget-friendly device for turning 35mm slides and negatives into digital JPGs without needing a computer. You load a single slide or negative into the included holders or use the rapid feeder for a few at a time, then scan using the built-in controls and 2.4-inch color LCD; files are written to an SD card or transferred over USB. The unit advertises up to 1800 dpi CIS scanning with LED illumination and supports standard negative and slide formats, plus TV-out for quick previews on a larger screen. In practice it produces usable snapshots for family archives and social sharing, though image quality will not match dedicated flatbed film scanners or professional services. The device is straightforward to operate and portable at a low price, but expect limited dynamic range, basic color depth, and manual adjustments only, so results may need post-scan editing for tough originals.
Best for: Buyers looking to digitize family slides and 35mm negatives on a tight budget who want a simple, no-software workflow and quick previewing.
Less Ideal for: Photographers who need high dynamic range, advanced color accuracy, or professional-grade scans should choose a higher-end film or flatbed scanner or a lab service.
- Standalone operation saves scans directly to SD card so no computer is required
- Includes slide and negative holders plus a rapid feeder for quicker batches
- Compact and portable design with a 2.4-inch color LCD for previewing scans
- Supports up to 1800 dpi scanning with LED illumination
- Image quality and dynamic range are modest compared with higher-end film scanners
Verdict: A low-cost, easy-to-use standalone scanner that gets family slides and 35mm negatives into JPGs quickly without a computer.
KODAK SCANZA Film & Slide Scanner

| Compatible Film Types | 35mm, 126, 110, Super 8, 8mm |
|---|---|
| Image Sensor | 14MP (interpolates to 22MP) |
| Display | 3.5" tilt-able LCD |
| Connection Type | HDMI, USB |
| SD Card Support | Up to 128GB (SD not included) |
The KODAK SCANZA is a purpose-built film-to-JPEG scanner aimed at making old negatives and slides easy to digitize without a computer. You load film into one of the included numbered inserts or adapter trays, preview the image on the tilt-able 3.5-inch LCD, then capture and save straight to an SD card or export via USB or HDMI. The unit uses a 14MP sensor with optional interpolation to 22MP, fast one-touch capture buttons, and a quick-feeding tray for batch scanning of common film formats. Practical benefits include straightforward, screen-guided operation, no need for separate scanning software for basic captures, and HDMI output for projecting images on a TV. Important limitations: it is not a flatbed scanner so it produces snapshot-style captures rather than the highest-quality archival scans, it cannot develop undeveloped film, and image quality will not match professional drum or high-end flatbed scanners. For casual users preserving family photos the workflow is fast and accessible, while photographers seeking museum-grade resolution or advanced color correction will find its capabilities limited.
Best for: Buyers who want a simple, guided way to convert family slides and common film formats into digital JPEGs quickly and with minimal technical setup, relying on ready-to-use hardware and on-device controls.
Less Ideal for: Photographers or archivists who need museum-grade scans, advanced color workflow, or the absolute highest resolution and tonal fidelity should consider higher-end flatbed or film scanners instead.
- Supports multiple film formats including 35mm, 126, 110, Super 8 and 8mm with adapter trays
- Built-in 3.5-inch tilt-able LCD for previewing, framing and editing without a PC
- Saves scans directly to SD card and offers USB and HDMI outputs for easy transfer or display
- Includes one-touch capture buttons and quick-feeding tray for faster batch scanning
- Not a flatbed scanner so final image quality is lower than professional or high-end flatbed systems
- Cannot develop raw film and super 8 is converted to still images only
Verdict: A user-friendly, all-in-one scanner that quickly converts common film formats into JPEGs for anyone who values speed and ease over professional archival quality.
Choosing the Right Photo Slide Scanner: Key Factors to Consider
Optical Resolution and Detail
Optical resolution determines how much fine detail from the original slide can be captured. Higher native resolution preserves grain structure, text on transparencies, and small features that become visible when you crop or enlarge images.
When evaluating scanners, look at the true optical resolution rather than interpolated numbers. For many home archives, a scanner that reliably captures 2000 to 4000 DPI optical detail will cover typical 35mm slides; larger formats or heavy cropping benefit from still higher native resolution.
Color Accuracy and Dynamic Range
Color accuracy affects how faithfully the scanned image represents skin tones, skies, and other subtle hues. Dynamic range influences the scanner's ability to capture both shadow and highlight detail from slides that often contain high contrast scenes.
Good scanners offer hardware and software controls for color profiling, white balance, and exposure compensation. Optical density and bit depth are useful specs to consider because they relate to the scanner's ability to preserve highlight and shadow information for later editing.
Throughput and Workflow
Throughput measures how many slides you can realistically digitize per hour. Batch loaders, multi-frame holders, and automatic file naming speed large projects; single-frame manual loading slows you down.
Consider how much hands-on time you want to invest. If you have hundreds of slides, choose a scanner with efficient holders and quick software presets. For occasional scanning, simpler devices with a bit more manual work may be acceptable.
Software Features and File Formats
Included software determines how easy it is to correct color casts, remove dust and scratches, and export usable file types. Support for raw or high-bit TIFF outputs gives more latitude for post-processing.
Look for tools that support batch processing, basic retouching, and easy metadata or date tagging. Clear export paths to common formats and cloud or local storage options streamline archiving and sharing.
Physical Handling and Build Quality
Slides are delicate; the scanner's film holders and feed mechanism should protect emulsions and maintain frame flatness. Rigid, well-aligned holders reduce hotspots and focus inconsistency across a batch.
Durable construction also affects longevity. Components that feel flimsy can introduce alignment drift or require more frequent recalibration, increasing maintenance and the risk of damaged originals.
Connectivity and Compatibility
How the scanner connects to your computer affects workflow flexibility. USB connections are common, while network or direct-to-storage options may suit shared workspaces. Operating system compatibility and driver support determine whether the device will work with your existing setup.
Check file transfer speeds and whether the scanner's software is maintained for current desktop platforms. Compatibility with popular image-editing software can simplify advanced color correction and archiving.
Preparing Slides for Scanning
Clean slides carefully before scanning to minimize dust and scratches that software repairs may not perfectly fix. Use a soft anti-static brush or blower and handle mounts by the edges. For stuck slides, avoid forcing them out of mounts; seek gentle release methods to prevent emulsion damage.
Organize slides by date or subject and make a note of any frames that require special attention, such as heavy fading or multiple exposures. Planning the project reduces duplicate work and makes batch processing more efficient.
- Work on a clean, well-lit surface to inspect frames.
- Label batches in the order you want them scanned to preserve sequence.
- Make a quick list of frames needing restoration so you can apply specialized settings.
Choosing Output Settings
Decide on target resolution, bit depth, and file format before scanning. Higher resolution and 16-bit TIFF files retain more editing headroom but use more storage. For general archive purposes, a balance of quality and file size often means moderate-high DPI and lossless formats.
If you plan to print or crop aggressively, prioritize higher optical resolution. For simple digital sharing, lower resolution JPEGs may suffice after generating a higher-quality master file for long-term storage.
- Create a high-quality master file, then export derivatives for sharing.
- Use lossless formats for archival copies and high-resolution JPEGs for casual use.
- Enable color management if the software supports ICC profiles.
Basic Color Correction Tips
Slides often age with color shifts and fading. Start adjustments with white balance and exposure to recover natural tones. Use curve and levels adjustments sparingly to avoid introducing artifacts.
When batch-correcting, verify results on a representative sample of frames. Automatic fixes can be a good starting point but usually need slight manual tuning to account for variations in exposure and film type.
- Preserve an untouched master before applying global corrections.
- Make small incremental changes and zoom in to check detail.
- Use local adjustments for areas with dust or scratches to avoid overprocessing.
Archiving and File Management
Plan a storage strategy before you start scanning. Organize files with consistent folder structures, descriptive file names, and embedded metadata where possible. Back up master files to multiple physical or cloud locations to safeguard against loss.
Include basic metadata such as scan date, original slide date, and location tags. Consistent naming and tags make future searching and reprints much easier.
- Keep master TIFFs separate from compressed derivatives.
- Use a simple, consistent naming convention including date and sequence number.
- Test restores from backup to ensure files are recoverable.
Common Maintenance and Calibration
Regularly clean glass, film holders, and sensor windows according to manufacturer guidelines. Dust accumulation and fingerprints directly degrade scan quality. Controlled cleaning prevents scratches and preserves optical performance.
If the scanner supports calibration targets or white references, use them periodically to maintain color accuracy. Recalibrate after any firmware or software updates and when you notice color drift between sessions.
- Store film holders and accessories in a dust-free container when not in use.
- Avoid opening the scanner unnecessarily to reduce internal contamination.
- Keep software and drivers updated for best performance.
How We Chose the Best Photo Slide Scanner
We focused on tools that give reliable, repeatable results for home users and small collections. Core evaluation criteria included optical resolution and color accuracy because those determine how well a scanned slide reproduces detail and tone. Throughput and workflow were weighed to reflect realistic project speeds and batch-handling features that reduce hands-on time. We also examined software capability and raw-file support, prioritizing scanners that include useful color correction, dust and scratch reduction, and straightforward file export options. Build quality and physical handling were considered to ensure delicate slides are protected during scanning. Lastly, connectivity and compatibility with common desktop systems were required to make file transfer and archiving practical. We excluded flatbed-only solutions and multi-function office scanners that lack dedicated film holders or true optical capture. We also filtered out devices with limited software support or unclear maintenance requirements. The final list emphasizes balanced combinations of image fidelity, realistic scanning speed, and usable software features for home archivists.
Our full evaluation process is outlined in our review methodology.
FAQ
What resolution do I need to digitize 35mm slides?
For general archival and printing at moderate sizes, native optical resolution in the 2000 to 4000 DPI range is usually adequate. Higher optical resolution helps if you plan to crop heavily or make large prints.
Can I trust automatic color correction?
Automatic correction is a useful starting point and often fixes common color casts, but results vary between frames. Check a representative sample and apply manual adjustments when accuracy matters.
How much time does scanning typically take per slide?
Scan time depends on resolution, whether dust removal is applied, and the device's speed. Expect single-frame scans at high resolution to take several minutes each, while batch workflows can reduce hands-on time significantly.
Should I keep a high-resolution master file?
Yes. Create a lossless master file for each scanned slide to preserve maximum detail and editing flexibility. Use compressed copies for sharing and quick viewing.
How do I handle damaged or stuck slides?
Avoid forcing slides from mounts. Use gentle release techniques and consider consulting restoration guidance for badly damaged emulsions. If in doubt, digitize the slide in its mount rather than risk physical damage.
Final Verdict
Prioritize optical resolution, reliable color handling, and an efficient workflow when choosing a photo slide scanner. Decide whether you need faster throughput for large projects or higher native resolution for detailed archival work. Balance file-format choices and storage plans to preserve masters while keeping everyday access simple. With a clear scanning plan and the right device, you can convert fragile slides into durable digital archives that are easier to organize and share.