
Note: This article contains affiliate links. If you click on these links and make a purchase, we may earn a small commission at no extra cost to you. This helps support our research and content. Read our full affiliate disclosure here.
If you have boxes of slides you want to preserve or share, choosing the right slide scanner for Mac makes the process faster and less frustrating. The best options combine true optical resolution, reliable color rendering, and drivers or software that integrate cleanly with macOS so you can import, edit, and archive images without workarounds. This guide highlights the top shortlisted slide scanners for Mac, explains the criteria we used to evaluate them, and outlines the practical tradeoffs between speed, quality, and workflow convenience. Read on to find a scanner that fits your archive size, image-quality expectations, and how you work with photos on a Mac.
Top Picks at a Glance
| Best Overall The best all-around choice for most situations | Pacific Image PowerSlide X Plus |  |
| Best Quality Built to a higher standard if you want something more solid | Plustek OpticFilm 8200i SE |  |
| Best Value The sweet spot between price and what you get | Magnasonic FS71 24MP Film Scanner |  |
| Best Budget The cheapest option that still gets the job done reliably | DIGITNOW Film Scanner |  |
| Top Rated A top-rated pick with lots of positive feedback | KODAK Slide N Scan Scanner |  |
| Most Popular A crowd favorite that many people choose with confidence | KODAK SCANZA Film Scanner |  |
Pacific Image PowerSlide X Plus

| Scanner Type | Slide |
|---|---|
| Connection Type | USB |
| Resolution | 10000 |
| Color Depth | 48 bits |
| Standard Sheet Capacity | 50 |
The PowerSlide X Plus is a batch 35mm slide scanner built to convert mounted slides into high-resolution digital files with minimal fuss. It uses a true RGB linear CCD sensor and LED illumination to produce up to 10,000 dpi scans and supports raw DNG output for more flexible color and exposure adjustments in post. The included 50-slide magazine lets you load a stack and walk away while the scanner auto-feeds and processes each frame, and the one-button workflow keeps basic runs simple. Mac and Windows drivers are supported and the unit targets users who need a balance of image quality and throughput rather than single-frame studio capture. Expect good color fidelity and dynamic range for family archives and smaller professional projects, though file sizes and processing requirements are substantial and you will want adequate disk space and RAM. The scanner is relatively heavy and assumes slides are clean and undamaged to avoid jams, but for someone moving large slide collections to DNG or TIFF it pairs useful speed with strong output quality.
Best for: Buyers who want a practical balance of high image quality and throughput for digitizing moderate to large slide collections on a Mac and prefer a workflow that minimizes hands-on frame-by-frame scanning.
Less Ideal for: Photographers needing ultra-fast professional throughput for thousands of slides per day or those who require studio-level single-frame capture and scanning flexibility.
- True RGB linear CCD sensor for accurate color and high-resolution scans
- Auto-batch feed with a 50-slide magazine for unattended scanning
- Supports DNG raw output for post-processing flexibility
- One-button operation and Mac/PC compatibility simplify everyday use
- Requires ample disk space and memory for large high-resolution files
- Slides must be clean and undamaged to avoid jams during auto-feeding
Verdict: Choose the PowerSlide X Plus when you want reliable batch scanning to DNG with high-resolution, color-accurate results for Mac-based slide digitization projects.
Plustek OpticFilm 8200i SE

| Scanner Type | Photo |
|---|---|
| Connection Type | USB |
| Resolution | 7200 |
| Color Depth | 48 bits |
| Media Type | Negatives, Photo, Slide |
The Plustek OpticFilm 8200i SE is a desktop 35mm negative and slide scanner aimed at users who want high-resolution digital captures from film. It scans at up to 7200 dpi with a 48-bit input pipeline and includes an infrared channel for iSRD dust and scratch detection, which helps reduce manual cleanup. The unit bundles Plustek QuickScan and SilverFast SE Plus software and supports multi-exposure capture to boost dynamic range for tougher highlights and shadows. Typical use is single-frame scanning of mounted slides and strips of negatives, often with manual placement in the included film and slide holders. Practical benefits include very fine detail capture for archival or print enlargement and built-in defect removal so fewer corrections are needed in post. Limitations are that batch throughput is modest because frames are handled individually and achieving the best results requires some familiarity with SilverFast and exposure/multi-exposure workflows. Mac users should note drivers and software compatibility are listed for macOS up to recent versions but may require downloading drivers from Plustek's site.
Best for: Photographers and archivists who prioritize maximum image detail and dynamic range when digitizing 35mm film and are willing to spend time on capture and color correction workflows.
Less Ideal for: Casual users who need fast, hands-off batch conversion of large film libraries or those who prefer an automatic tray-based scanner for speed over image fidelity.
- Very high optical resolution up to 7200 dpi for detailed scans
- 48-bit color depth and multi-exposure support for improved tonal and color fidelity
- Integrated infrared channel for automatic dust and scratch detection
- Bundles SilverFast SE Plus and QuickScan software for advanced scanning and color control
- Not optimized for high-volume batch scanning since frames are placed and scanned individually
- Takes some time to learn SilverFast settings to consistently get the best results
Verdict: Choose the OpticFilm 8200i SE if you want top-tier 35mm scan resolution and advanced defect removal to produce archival-quality digital files for Mac.
Magnasonic FS71 24MP Film Scanner
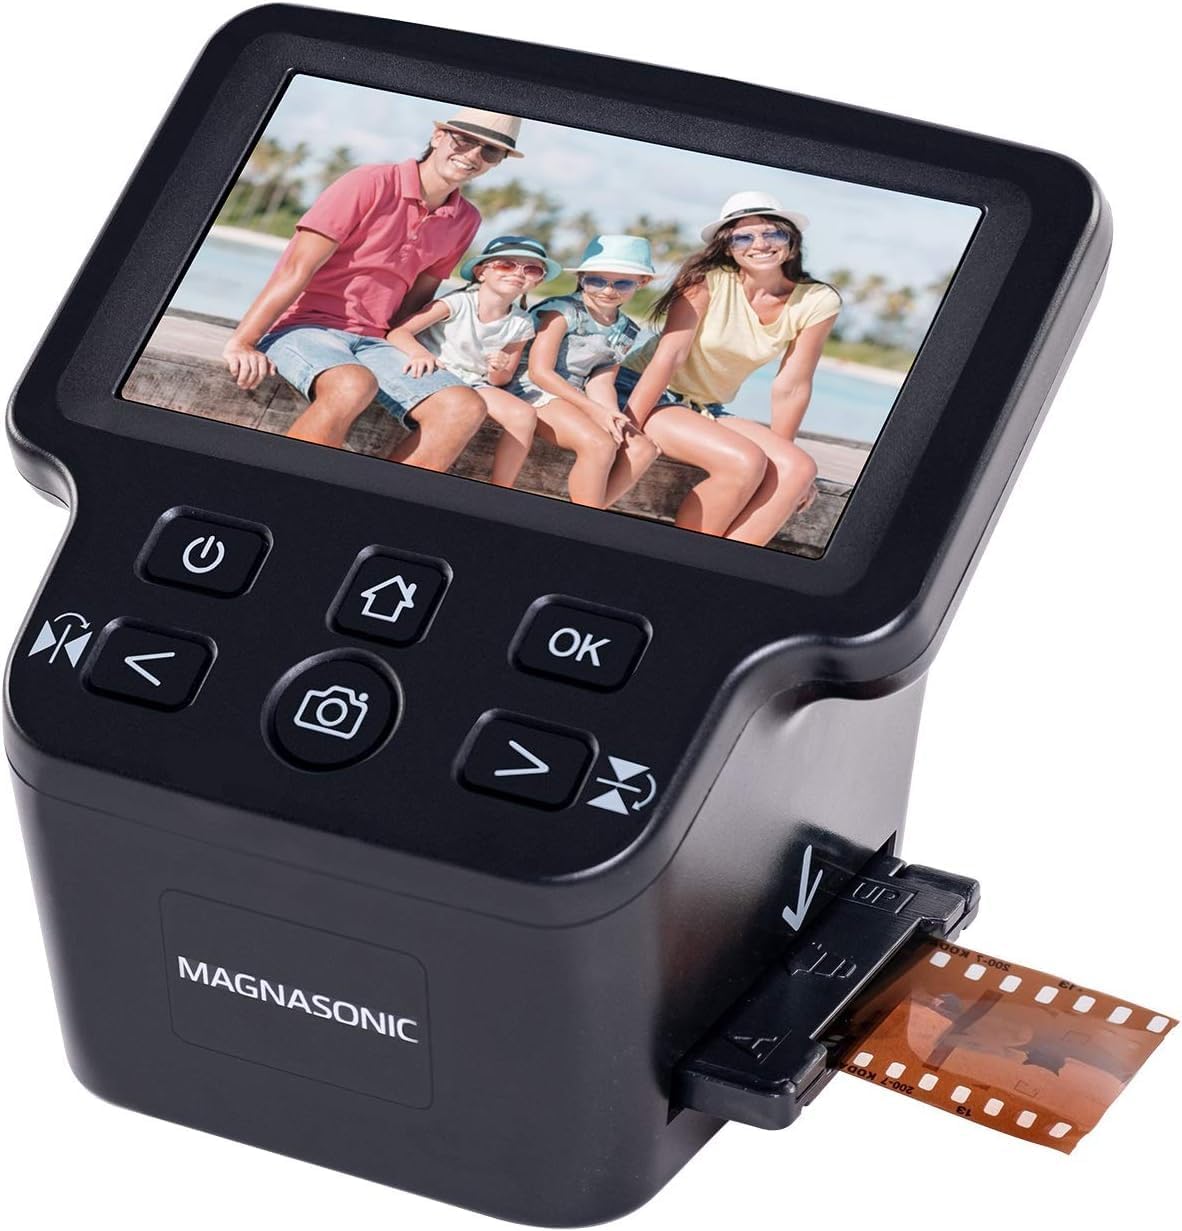
| Resolution | 24MP (interpolated) |
|---|---|
| Scan Speed | 3-5 Seconds per frame |
| Display | 5" TFT LCD |
| Connection Type | HDMI, USB |
| External Memory Card | SD up to 128GB |
The Magnasonic FS71 is an all-in-one film and slide scanner aimed at quickly converting family negatives and slides into JPEGs without a computer. It accepts 35mm, 110, 126 and Super 8 film plus 135/126/110 slides and scans each frame in about 3–5 seconds using a 16MP sensor with interpolation to 24MP. You can preview and adjust brightness and RGB levels on the built-in 5" TFT LCD, mirror or flip images, and save scans directly to an SD card up to 128GB or transfer via USB. HDMI output lets you display images on a TV for group viewing. The scanner is simple to use thanks to format-specific inserts and a single-pass scan method, making it practical for large batches of family photos. Limitations include interpolation-based resolution rather than optical increase and no built-in memory, so long scan sessions require an SD card and occasional manual cleanup in photo software for best results. Mac users will need to transfer files via SD card or USB since the unit is designed to operate fully standalone without Mac-specific software.
Best for: Buyers who want a straightforward, hardware-first way to digitize family slides and negatives quickly without relying on scanning software, and who value fast batch conversion and on-device controls.
Less Ideal for: Professionals or archivists who need native high optical resolution, RAW output, or integrated Mac software workflows for advanced image restoration.
- Scans a variety of film and slide formats including 35mm and Super 8
- Fast single-pass scans at about 3–5 seconds per frame for bulk digitizing
- Built-in 5" LCD and HDMI output let you view and edit without a computer
- Saves directly to SD card up to 128GB and offers basic exposure and color adjustments on-device
- Interpolated resolution rather than true higher optical megapixels
- No built-in memory so you must use an SD card for large projects
Verdict: If you want a fast, no-fuss way to convert family slides and negatives to ready-to-share JPEGs without a computer, this scanner gets the job done.
DIGITNOW Film Scanner
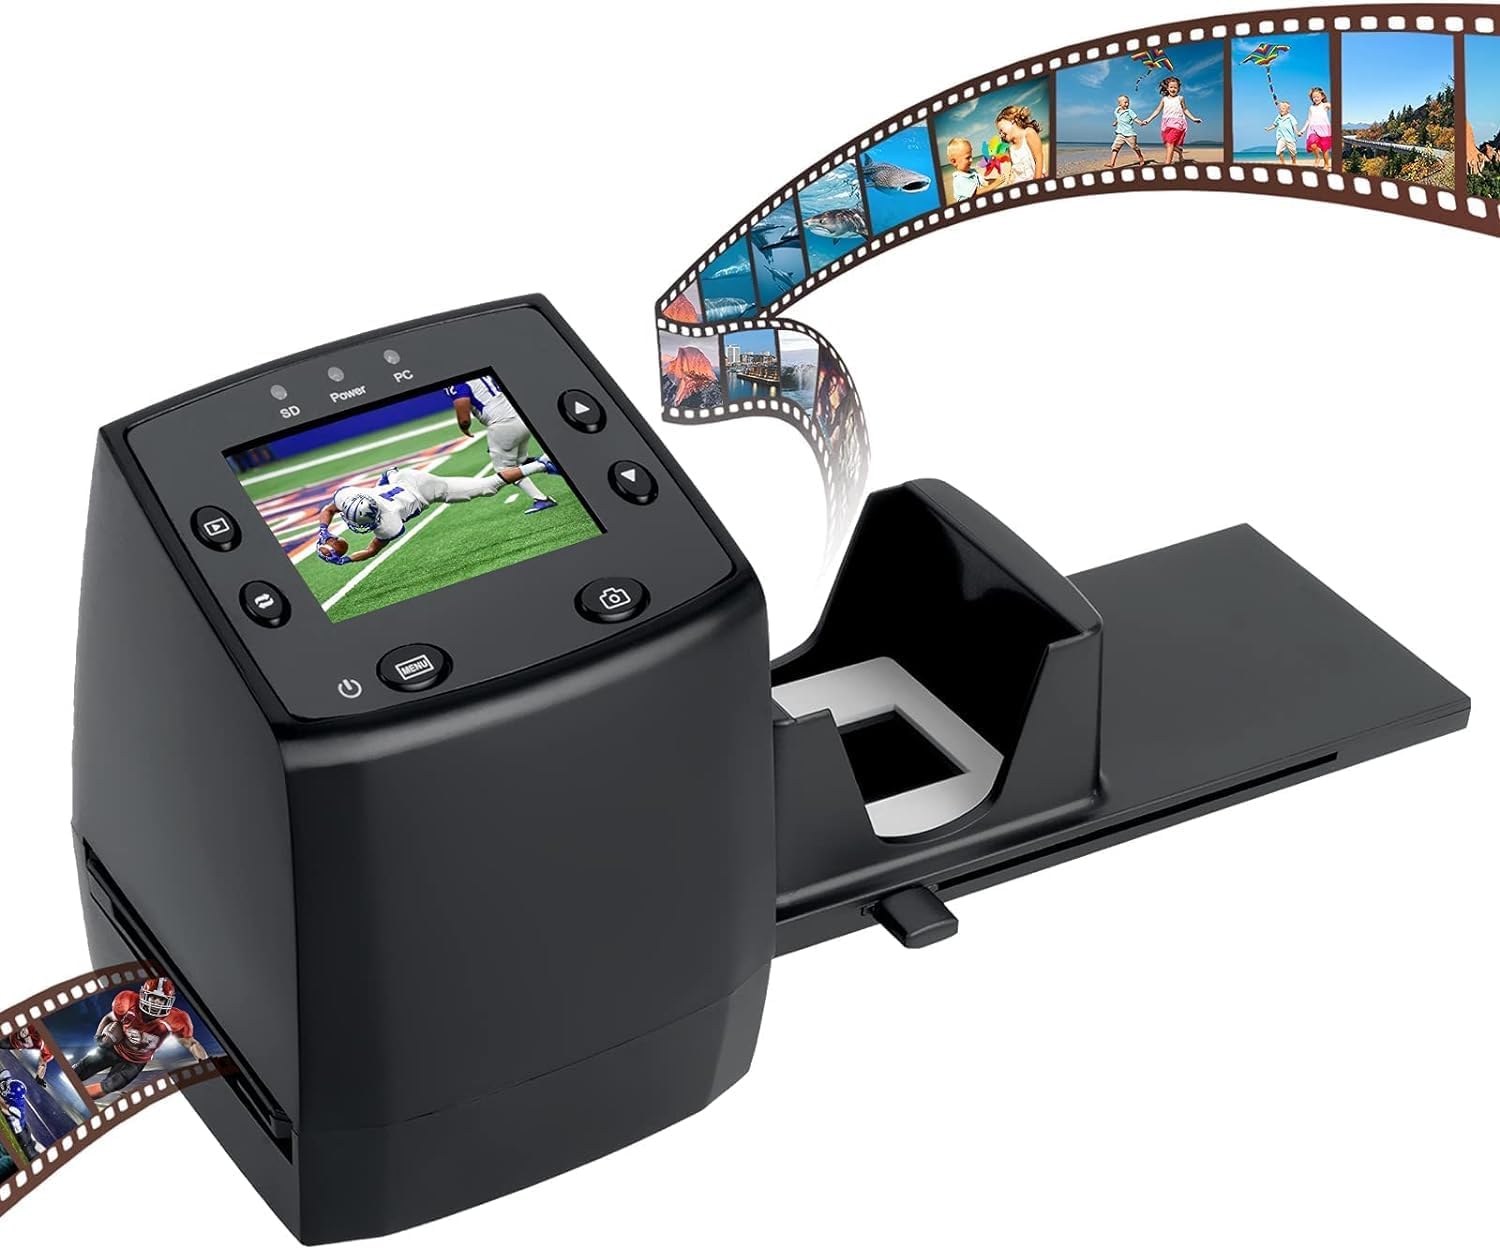
| Scanner Type | Film |
|---|---|
| Resolution | 1800 |
| Connection Type | USB |
| Light Source Type | LED |
| Media Type | Negatives, Slide |
The DIGITNOW film scanner is a small, budget-friendly device that digitizes 35mm slides and negatives without needing a computer. You load slides or negatives into the supplied holders or rapid feeder, press Scan, and the unit captures a JPEG which is saved to an SD card or can be transferred over USB. It has a built-in 2.4-inch color LCD for previewing scans and offers up to 1800 dpi CIS capture with LED illumination, which is adequate for casual archiving and sharing. The scanner is simple to use for one-off or small batches thanks to the quick slide feeder and standalone operation, and includes TV-out for easy viewing. Limitations for more demanding users include modest optical technology and color depth compared with higher-end film scanners, and the scans may require post-processing to correct color and dust. For Mac users you can transfer files via SD or USB, but there is no advanced Mac-specific software bundled.
Best for: Mac users looking for an affordable, no-frills way to digitize small batches of 35mm slides or negatives for sharing and casual archiving.
Less Ideal for: Photographers or archivists who need high-fidelity, color-accurate scans or support for medium-format and professional restoration workflows should choose a higher-end dedicated scanner.
- Standalone operation saves scans directly to SD card without a computer
- Compact and lightweight for easy storage and occasional use
- Includes slide and negative holders plus a rapid slide feeder for faster throughput
- 2.4-inch color LCD lets you preview images before saving
- CIS sensor and basic color depth mean less accurate color and dynamic range than dedicated high-end film scanners
- Limited to 35mm media and lower optical fidelity for heavyweight archival work
Verdict: Choose this if you want a very affordable, standalone way to convert 35mm slides and negatives into JPEGs for easy transfer to a Mac via SD card or USB.
KODAK Slide N Scan Scanner
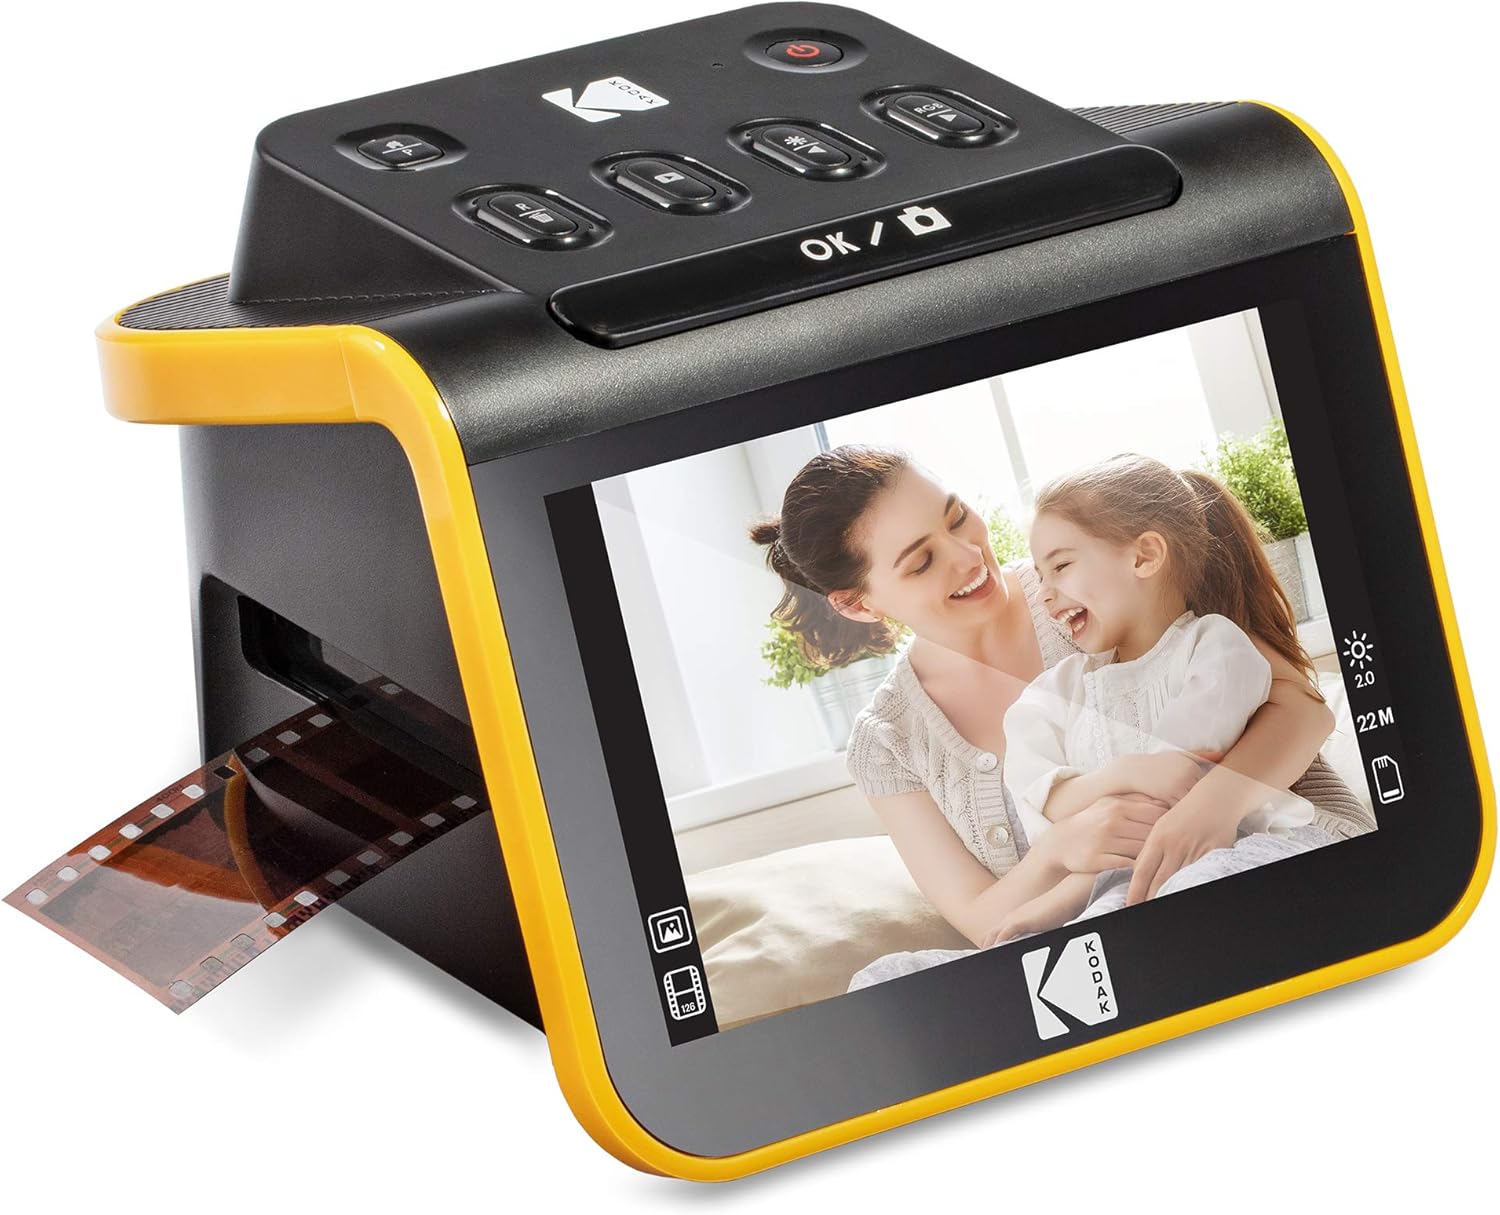
| Resolution | 13MP/22MP (interpolation) |
|---|---|
| Image sensor | 13-megapixel CMOS |
| Interface | USB, HDMI |
| Storage | SD/SDHC up to 32GB |
| Media compatibility | 35mm, 110, 126 negatives; 50mm slides |
The KODAK Slide N Scan is a straightforward desktop film scanner designed to digitize slides and negatives without complicated software. It accepts 50mm slides and includes adapters for 135/110/126 films, uses a 13MP sensor with an option to interpolate to 22MP, and previews images on a large 5" LCD so you can check results before saving. Scans save directly to an SD/SDHC card (up to 32GB) or transfer to a Mac or PC over USB-C, and an HDMI output lets you view images on a TV for group viewing. The quick-feed tray and included slide holder speed batch scanning, while one-touch editing options let you adjust film type, color and brightness on the unit. Practical limitations include interpolation rather than true optical upscaling and the need for an SD card and — for some workflows — additional Mac-side editing to fine-tune exposure or color. Power can come from USB, but a separate adapter or powered hub may be helpful for reliable operation during long sessions.
Best for: Mac users who want a reliable, turn-key way to convert family slides and negatives into viewable JPEGs with minimal setup and an easy preview workflow.
Less Ideal for: Photographers seeking true high-resolution archival scans or raw output for heavy post-processing should consider dedicated flatbed or drum scanners instead.
- Large 5" LCD for easy previewing and gallery mode.
- Supports 35mm/110/126 negatives and 50mm slides with included adapters.
- Saves JPEGs directly to SD/SDHC card for simple, software-free operation.
- Quick-feed tray and easy-load inserts speed batch scanning.
- USB and HDMI outputs allow file transfer to a computer and TV viewing.
- 22MP is achieved via interpolation from a 13MP sensor rather than true optical resolution.
- Requires an SD card to operate and may need a powered USB source for long sessions.
Verdict: Choose the Kodak Slide N Scan when you want a reliable, no-fuss scanner to quickly convert and preview old slides and negatives for easy use with a Mac.
KODAK SCANZA Film Scanner

| Compatible film types | 35mm, 126, 110, Super 8, 8mm |
|---|---|
| Sensor | 14MP (interpolated to 22MP) |
| Display | 3.5" tilt-able LCD |
| Connection | HDMI, USB |
| Save media | SD card up to 128GB |
The KODAK SCANZA is a purpose-built film-to-JPEG scanner aimed at quickly converting legacy negatives and slides into digital files without a computer. You load film into numbered adapters, preview on the tilt-able 3.5" LCD, then capture and save images directly to an SD card or connect via USB to transfer to a Mac. The unit uses a 14MP sensor with optional interpolation to 22MP, provides HDMI output for TV display, and ships with multiple adapter trays, basic cleaning brush, HDMI/USB cables and an AC adapter. Its strengths are speed and simplicity: one-touch capture, a gallery mode for browsing and on-device RGB/resolution adjustments make it easy to digitize many frames in short sessions. Limitations include image quality that falls short of flatbed drum or dedicated high-end scanners and the fact it only handles already developed film (no film developing or raw film scanning). The automatic 10-minute sleep and reliance on adapter trays means it is optimized for home users converting family archives rather than studio-level archival work.
Best for: Buyers who want a straightforward, mostly self-contained solution to convert family negatives and slides to JPEGs for easy sharing and playback on a Mac or TV, with emphasis on speed and ease over archival-grade fidelity.
Less Ideal for: Photographers or archivists needing the highest possible optical quality, raw output, or film development capabilities should consider higher-end flatbed or dedicated archival scanners.
- Supports multiple film formats including 35mm, 126, 110, Super 8 and 8mm
- Onboard 3.5" tilt-able LCD for previewing, editing and saving without a computer
- Saves scans to SD card and offers USB and HDMI outputs for easy transfer and TV playback
- Includes multiple adapter trays, cables and a cleaning brush for out-of-the-box use
- Sensor-based captures are not as high-fidelity as flatbed or professional film scanners
- Cannot develop unprocessed film and only captures still images from Super 8 rather than video
Verdict: A fast, user-friendly film-to-JPEG scanner built for homeowners who want to digitize family slides and negatives quickly with easy Mac transfer and TV output.
Choosing the Right Slide Scanner for Mac: Key Factors to Consider
Optical Resolution and Detail
True optical resolution determines how much detail the scanner captures from a slide. Higher optical resolution is critical if you plan to crop, print large copies, or examine fine grain and film texture. Beware of interpolation claims; they increase file size without adding real detail.
Consider the native resolution in relation to your intended output. For casual sharing and digital archiving, moderate optical resolution may suffice. For archival preservation, look for models whose sensor and optics deliver genuine, measurable detail rather than marketing numbers.
Color Accuracy and Tonal Range
Slides store color and highlight detail that can be hard to reproduce digitally. A scanner with wide dynamic range and accurate color profiling preserves shadow and highlight detail and reduces time spent correcting color in post.
Check whether the scanner supports color management workflows, such as exporting embedded profiles or working with calibration targets. Devices that include software controls for exposure, dust removal, and color balance can save significant editing time, especially with older or faded slides.
macOS Compatibility and Software Workflow
Native macOS support is essential for a smooth, reliable workflow. Scanners that include drivers and scanning software designed for macOS avoid the need for virtual machines, dual-booting, or third-party hacks that complicate daily use.
Also consider how the scanner integrates with image editors you use on a Mac. Look for drivers that allow direct import into common photo apps or export to standard file formats. Software usability and frequent updates for new macOS releases reduce friction over the lifetime of the device.
Throughput and Ease of Use
If you are digitizing dozens or hundreds of slides, throughput becomes a practical constraint. Models that support batch loading or come with multi-slide holders significantly reduce the time per scan.
Ease of use also includes how the scanner handles alignment, focus, and sequence. Intuitive loading trays, consistent autofocus or fixed-focus performance, and straightforward control panels reduce the learning curve and help maintain consistent results across a large archive.
Build Quality and Feed Reliability
Durable materials, precise holders, and smooth transport mechanisms protect fragile originals during scanning. Poorly made feed systems can scratch slides, introduce dust, or misalign frames and cause repeated rescans.
Assess the robustness of slide holders and any mechanical trays. For long-term scanning projects, a solid build reduces the likelihood of failures and maintains consistent image framing and focus across sessions.
Connectivity and File Management
Modern Macs vary in available ports and power delivery. Scanners that offer reliable USB-C or Thunderbolt connections, or that include appropriate adapters, reduce setup headaches. Networked or Wi-Fi options can be convenient for shared environments.
Also evaluate the scanner's file export options, supported file formats, and folder organization features. Built-in tools that automate naming, batch exporting, and folder structure can save hours when processing large collections.
Preparing Slides for Best Results
Clean slides carefully before scanning to avoid dust spots and sensor artifacts. Use a soft blower and lint-free cloth or a dedicated slide-cleaning solution for stubborn grime. Handle slides by the edges to prevent fingerprints.
Organize slides by exposure type, color balance, or project so you can apply consistent settings during batch scanning. If some slides are badly faded or color-shifted, separate them to allow tailored scanning parameters without corrupting otherwise consistent batches.
- Use a soft camel-hair brush or air blower to remove loose dust.
- Avoid touching emulsion surfaces; hold by the mounts or edges.
- Label batches to keep track of variations in exposure or color.
File Formats, Resolution Choices, and Storage
Decide whether you need TIFF or high-quality JPEG exports. TIFF preserves full bit depth and is preferable for archival work and heavy editing. JPEGs are smaller and fine for sharing or casual use.
Choose a resolution that balances detail and file size. For archival or printing, higher native optical resolutions are worth the storage cost. For web sharing, lower resolutions save time and space without noticeable quality loss.
- Set a consistent naming and folder structure before starting long runs.
- Back up scanned images immediately to a secondary drive or cloud storage.
- Keep original slides stored in acid-free sleeves after digitization.
Common Color and Exposure Corrections
Many slides will need minor exposure and color corrections after scanning. Use non-destructive editors that support color profiles and raw-like files. Adjust white balance, contrast, and levels consistently across similar slides to maintain a unified look.
For faded or chemically shifted slides, selective color correction and graduated adjustments can restore natural tones without harming detail. Keep copies of the raw scans to allow re-edits if you change your correction approach later.
- Use histogram and clipping warnings to recover highlight and shadow detail.
- Apply dust and scratch removal sparingly to avoid softening fine detail.
- Consider batch adjustments for slides shot under similar lighting conditions.
Workflow Tips for Large Archives
Break work into manageable sessions and create a repeatable process for loading, scanning, and saving. Track your progress with simple spreadsheets or a folder structure that marks completed batches.
Automate repetitive steps when possible. Use software presets for color and exposure, and invest in multi-slide holders to reduce manual handling time.
- Schedule regular short sessions to avoid fatigue and mistakes.
- Keep cleaning supplies and tools adjacent to your scanning station.
- Validate a few scans from each batch before processing the entire set.
Maintaining Your Scanner and Slides
Regular maintenance preserves scan quality over long projects. Clean rollers, trays, and glass surfaces according to the manufacturer guidelines. Store accessories in a dust-free container when not in use.
Keep slides in a stable, low-humidity environment after scanning to prevent further deterioration. If you spot recurring marks or focus shifts, inspect the feed mechanism and recalibrate or service the scanner as needed.
- Perform periodic test scans to check for dust or alignment drift.
- Replace worn holders or trays to maintain accurate framing.
- Avoid exposing the scanner to direct sunlight or extreme temperatures.
How We Chose the Best Slide Scanner for Mac
We focused on tools that deliver reliable, repeatable digitization for slide archives when used with macOS systems. Our selection criteria prioritized true optical resolution and color fidelity that matter for archival scans, plus driver and software compatibility that avoids third-party hacking or complex virtual machines. Speed and throughput were considered for users with large collections, while build quality and ease of loading mattered for frequent use. We also weighed connectivity and power options to ensure stable performance with modern Mac ports and workflows. Noise control and heat management were assessed because long scanning sessions expose weaknesses that affect image consistency. Exclusions: we excluded devices that require Windows-only drivers, scanners that rely on software workarounds rather than native macOS support, and general-purpose flatbed units without dedicated slide-handling accessories. The final shortlist balances image quality, macOS integration, scanning efficiency, and durable hardware design.
Our full evaluation process is outlined in our review methodology.
FAQ
Do I need a special scanner for Mac or will any scanner work?
Not every scanner offers reliable macOS drivers or native software. While some devices can be used via generic drivers, choosing a scanner with explicit macOS support leads to fewer compatibility issues and a smoother import workflow.
What resolution should I scan slides at for archiving?
For archival purposes, choose a scanner with genuine optical resolution high enough to capture film grain and fine detail. This typically means opting for the device's native high-resolution mode rather than relying on interpolation.
Can I batch-scan dozens of slides at once?
Many dedicated slide scanners offer multi-slide holders or feeders that enable batch scanning. Throughput varies by device; look for models designed for batch loads and test a sample run to confirm speed and reliability.
How important is color management when scanning slides?
Color management is important if you want accurate reproductions and consistent results across many slides. Support for ICC profiles, white balance controls, and raw or high-bit-depth exports helps maintain color fidelity.
Will dust and scratches be removed automatically?
Some scanners include dust and scratch removal features that work well for minor defects, but aggressive automated corrections can soften detail. Manual spot repair in an editor may still be necessary for severe damage.
Final Verdict
Prioritize optical resolution, color fidelity, and native macOS support when choosing a slide scanner for Mac. Balance the need for high-quality, archival scans against throughput and ease of use if you have large collections. Reliable drivers and software integration with your Mac will save time and frustration during long scanning projects. Choose the combination of resolution, batch capability, and build quality that matches how many slides you need to process and how much post-scan editing you are willing to do.