
Note: This article contains affiliate links. If you click on these links and make a purchase, we may earn a small commission at no extra cost to you. This helps support our research and content. Read our full affiliate disclosure here.
If you have boxes of photographic slides you want to preserve without spending a fortune, choosing the right slide scanner matters. A budget slide scanner can make the difference between a slow, frustrating digitization project and a smooth, productive workflow that preserves detail and color. This guide covers seven shortlisted slide scanners on a budget that balance image quality, scanning speed, and ease of use. We focus on practical criteria you can test or verify before buying, including resolution potential, color fidelity, and how well each unit fits into a scanning workflow. Read on to see which compact, affordable options best suit your scanning goals and setup.
Top Picks at a Glance
| Best Overall The best all-around choice for most situations | ClearClick Virtuoso 3.0 Slide Scanner |  |
| Best Quality Built to a higher standard if you want something more solid | Wolverine Titan Film to Digital Converter |  |
| Best Value The sweet spot between price and what you get | DigitPro 35mm Film Scanner |  |
| Best Budget The cheapest option that still gets the job done reliably | KLIM K2 Film Scanner |  |
| Top Rated A top-rated pick with lots of positive feedback | KODAK Slide N Scan Scanner |  |
| Most Popular A crowd favorite that many people choose with confidence | KODAK SCANZA Film Scanner |  |
| Best Seller A high-volume bestseller chosen again and again | Magnasonic FS71 24MP Film Scanner |  |
ClearClick Virtuoso 3.0 Slide Scanner

| Scanner Type | Film |
|---|---|
| Connection Type | USB |
| Resolution | 22 MegaPixels |
| Light Source Type | LED |
| Media Type | SD Card |
The ClearClick Virtuoso 3.0 is a user-friendly film and slide scanner designed for quick digitization without a computer. It scans 35mm slides and multiple negative formats at a native 14MP with an interpolated 22MP option, saves JPG files to an SD card, and shows a live preview on the large 7-inch screen so you can check color and framing before scanning. Setup is straightforward: load strips or slides into the included holders, adjust color or brightness via onboard buttons or let the scanner auto-correct, then press scan — each image writes to the card in about 1 to 2 seconds. The unit includes adapters for 110 and 126 negatives, an HDMI output for TV preview, and a USB cable for direct PC transfers when you want to archive or edit. Practical limits are typical for this class: resolution is driven by interpolation rather than a higher native optical sensor, and the scanner requires a separate SD card (32GB or less) which is not included. For casual users with boxes of old film who want fast, no-fuss digital copies, the Virtuoso 3.0 is a solid budget choice.
Best for: Buyers who want a simple, plug-and-play way to convert family slides and negatives into shareable digital photos without fussing with software or a computer.
Less Ideal for: Photographers seeking high-end archival scans or the highest native optical resolution should consider dedicated flatbed or film scanners with true higher-megapixel sensors.
- Works without a computer by saving JPGs directly to an SD card
- Large 7-inch preview screen lets you frame and check scans before saving
- Includes adapters and holders for 35mm, 110, and 126 formats
- Fast per-image scan speed (about 1–2 seconds) and HDMI output for TV viewing
- Uses interpolated resolution for the 22MP claim rather than a higher native optical sensor
- Requires a separate SD card (32GB or less) which is not included
Verdict: If you need a fast, no-computer method to convert boxes of old slides and negatives into usable JPGs on a budget, the Virtuoso 3.0 delivers reliable, easy results.
Wolverine Titan Film to Digital Converter

| Connection Type | HDMI, USB |
|---|---|
| Resolution | 20 Megapixels |
| Color Depth | 24 bits |
| Optical Sensor Technology | CMOS |
| Light Source Type | LED |
The Wolverine Titan is a purpose-built film-to-digital converter that turns 35mm, 127, 126, 110 and APS slides and negatives into 20 MP JPEGs without a computer. It uses speed-load adapters for quick batch feeding, a built-in 4.3 inch color screen for preview, and HDMI output to view images on a TV while saving directly to internal memory or an SD/SDHC card. Typical use is fast conversion of large slide or negative collections where throughput matters: the unit claims about three seconds per slide and the LED light source with a CMOS sensor produces 24-bit color depth images. Setup is plug-and-play from AC or USB power, and images can be offloaded to a PC via USB. Limitations include image quality constrained by the fixed optical path and lack of advanced scanning controls or RAW capture, so archival restorers who need maximum detail, color accuracy, or dust/scratch removal will find dedicated flatbed or drum scanners better. For fast, budget-minded digitization the Titan delivers speed and convenience at the cost of the highest-fidelity capture.
Best for: Buyers who need to digitize large numbers of slides or negatives quickly on a budget and prioritize speed and ease over archival-grade capture.
Less Ideal for: Photographers or archivists who require the highest resolution, extensive color control, or professional dust and scratch restoration should choose a dedicated scanner instead.
- Converts multiple film formats (35mm, 127, 126, 110, APS) without a computer
- Very fast throughput with speed-load adapters and roughly three-second scans
- Built-in 4.3" color screen for previewing images and easy operation
- Saves directly to internal memory or SD/SDHC card and offers HDMI output for TV viewing
- Fixed optical path and no RAW output limit ultimate image fidelity
- Lacks advanced restoration controls like dust and scratch removal
Verdict: Choose the Titan when you want fast, no-computer digitization of many slides or negatives on a budget.
DigitPro 35mm Film Scanner

| Scanner Type | Film |
|---|---|
| Connection Type | USB |
| Resolution | 1800dpi |
| Media Type | negative, diapositif |
This DigitPro unit is a budget-friendly, standalone 35mm film and slide scanner aimed at hobbyists who want to digitize negatives and framed slides without a computer. You load 35mm negatives or slides into the supplied holders or use the rapid slide feeder for quicker, continuous scanning, then preview and adjust results on the built-in 2.4" LCD or send output to a TV via NTSC/PAL. The scanner saves JPEG files directly to an SD/SDHC card (up to 32GB) and connects to a PC in card-reader mode over USB for bulk transfer. The fixed-focus lens and 1800 dpi resolution with 5/10MP interpolation produce usable, sharp images for sharing and simple archiving, and the included accessories (holders, feeder, power adapter, cleaning brush) make setup straightforward. Limitations include no direct-to-computer live-scan mode and modest optical resolution compared with pro scanners, so it is best for quick conversions and family archives rather than high-end restoration work.
Best for: Buyers who want an inexpensive, easy-to-use way to convert family 35mm negatives and slides into JPEGs for sharing and simple archiving without fuss or a computer-centric workflow.
Less Ideal for: Photographers or archivists who need high-fidelity scans for restoration, large prints, or professional digital archiving should choose a higher-resolution film scanner or dedicated drum/flatbed solution.
- Standalone operation saves scans directly to SD card without a PC
- Rapid slide feeder speeds batch scanning of framed slides
- 2.4" LCD plus TV-out for instant preview and sharing
- Includes necessary accessories: holders, feeder, power adapter, cleaning brush
- No live direct-scan-to-computer mode; files must be moved from the SD card
- Fixed-focus optics and interpolated megapixels limit fine-detail quality compared with higher-end scanners
Verdict: A practical, low-cost standalone scanner that quickly converts 35mm negatives and slides into viewable JPEGs for hobbyist archiving and sharing.
KLIM K2 Film Scanner
| Scanner Type | Photo |
|---|---|
| Connection Type | Smartphone app |
| Resolution | 600-1200 dpi |
| Media Type | negative, diapositif |
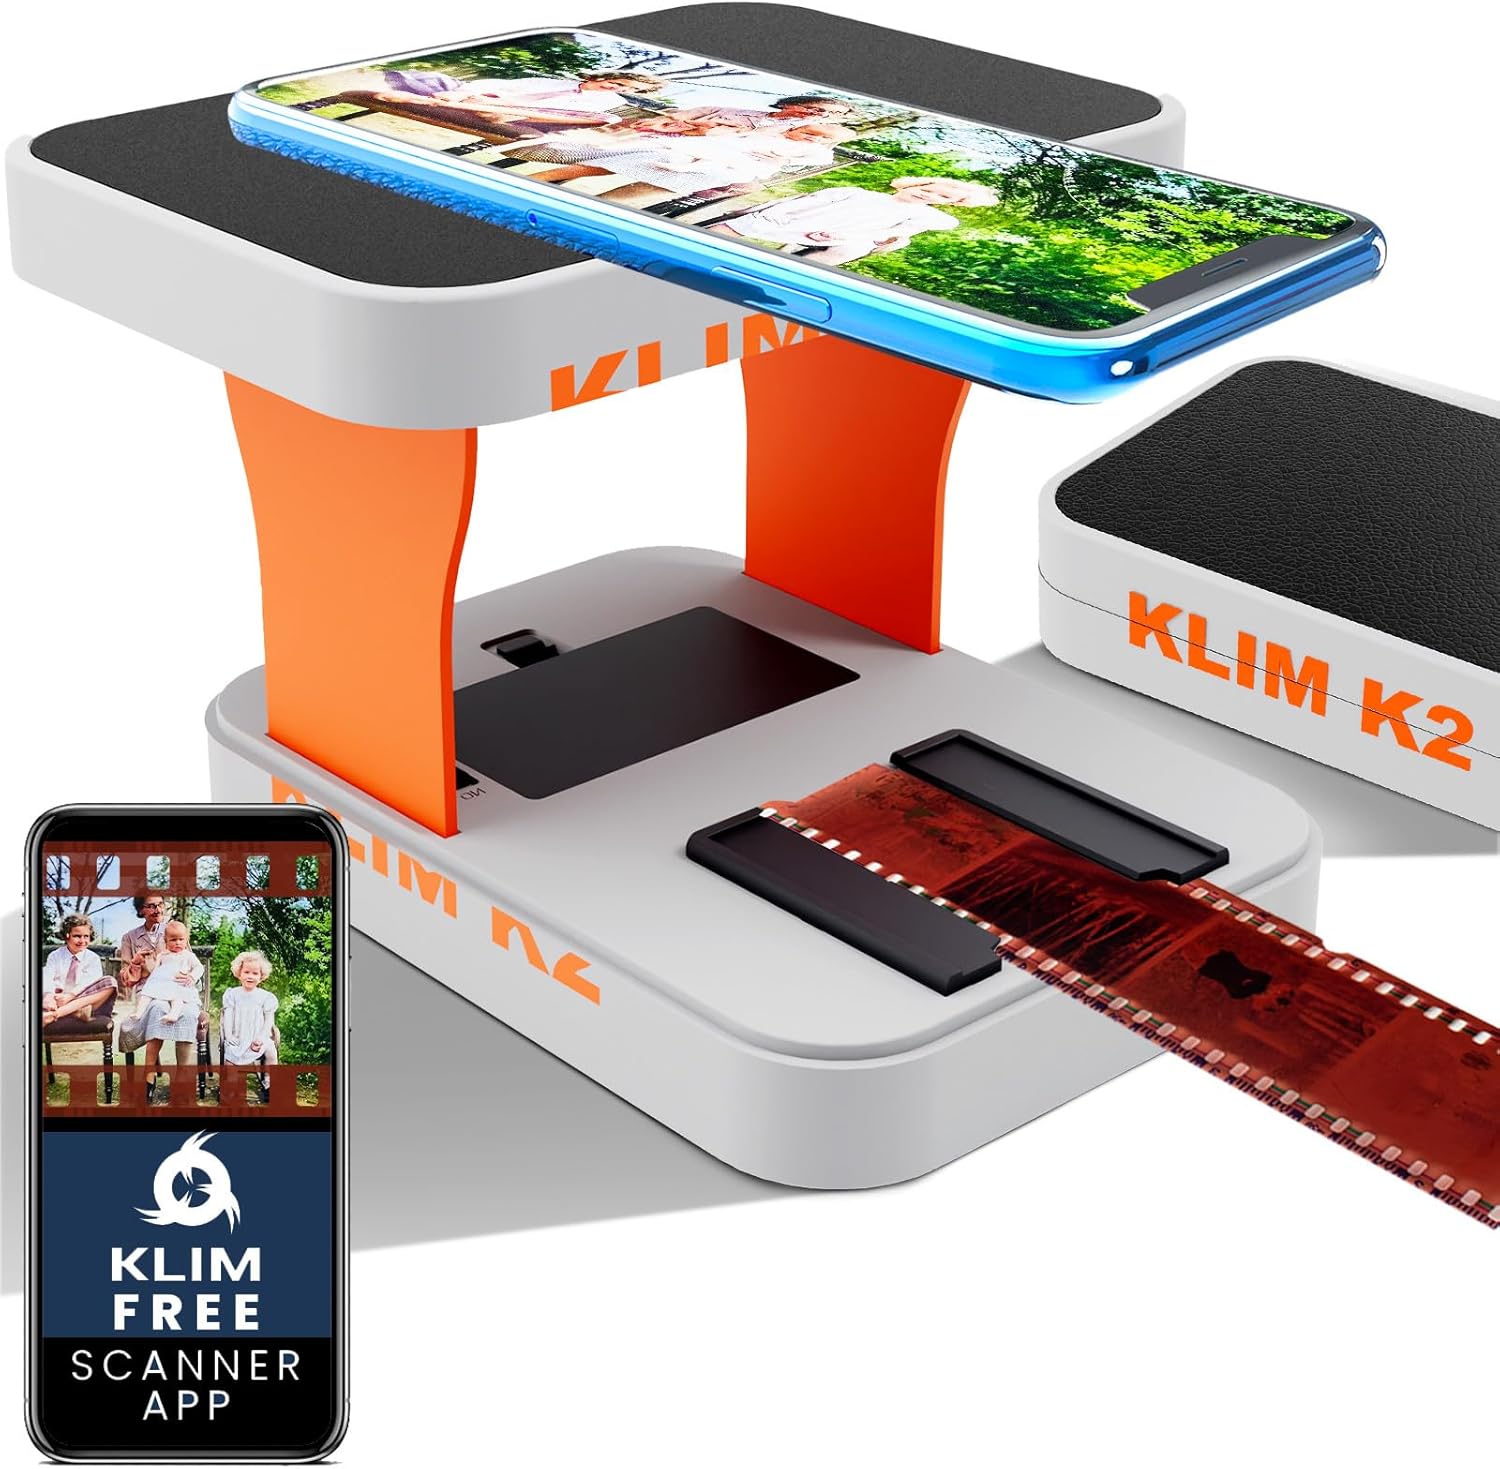
The KLIM K2 is a budget-minded mobile film scanner that digitizes 35mm negatives, color positives and slides by placing the film into the cradle, setting your smartphone on top, and using the free companion app to capture images. It offers selectable resolution between 600 and 1200 dpi, includes a magnetic plate for larger phones, a cleaning cloth, and batteries so you can start scanning right away. The app provides basic editing tools and an easy workflow for converting batches of frames into shareable images, which makes it useful for casual preservation projects and family archives. Image quality is reasonable for the price but will not match dedicated flatbed or drum scanners, and results depend heavily on phone camera quality and steady placement. The device is simple to set up and highly portable, but power users seeking consistent professional-grade scans or autofocus control may find it limiting.
Best for: Buyers who want an affordable, straightforward way to convert family 35mm slides and negatives into digital photos without learning complex equipment or investing in a costly scanner.
Less Ideal for: Photographers or archivists who need highly consistent, professional-grade scans or advanced color control should choose a dedicated desktop film scanner instead.
- Works with any 35mm negatives and slides including color and black-and-white
- Includes free app and basic editing tools for quick scans
- Comes with batteries, cleaning cloth, and magnetic plate for convenient setup
- Portable, lightweight design that is easy to store and transport
- Scan quality varies with smartphone camera and steady placement, so results are inconsistent across phones
- Not suitable for high-end archival or professional restoration work
Verdict: A cheap, portable solution to quickly digitize 35mm slides and negatives using your smartphone, ideal for casual preservation projects.
KODAK Slide N Scan Scanner
| Resolution | 13MP / 22MP (interpolation) |
|---|---|
| Image sensor | 13-megapixel CMOS |
| Connection Type | HDMI, USB |
| Media Type | Negatives, Slide |
| SD card support | SD/SDHC up to 32GB |
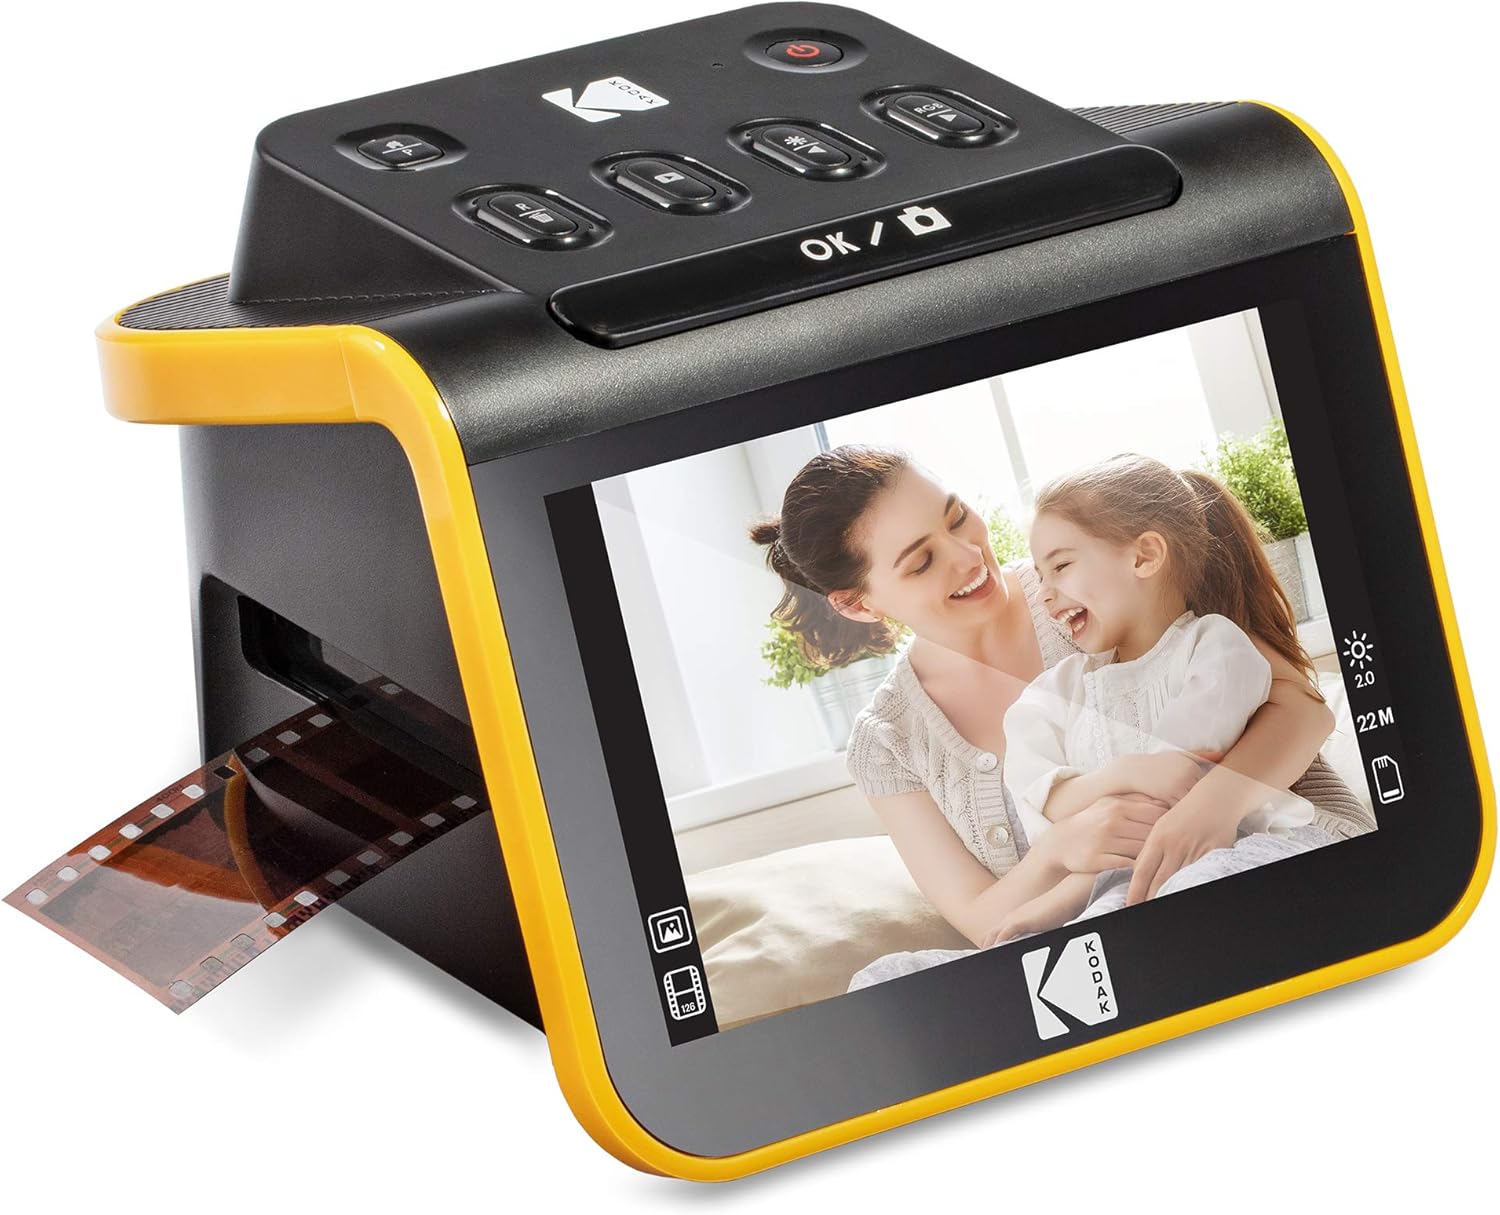
The KODAK Slide N Scan is a straightforward, no-fuss film and slide scanner designed for people who want to convert old negatives and slides without wrestling with software. It scans 35mm, 110, and 126 negatives plus 50mm slides using a 13MP sensor with an option for 22MP interpolation, and previews images on a large 5-inch LCD so you can check results immediately. The quick-feed tray and included adapters let you scan multiple formats continuously, and simple onboard controls handle film type, color/brightness adjustments, and date assignment. Files save directly to an SD/SDHC card (up to 32GB) and the unit can connect to a PC or TV via USB or HDMI for easier transfer or viewing. Practical benefits include easy setup, visible previewing without a computer, and faster batch scanning compared with single-frame hand feeders. Limitations are that the higher 22MP output is interpolation rather than native optical resolution, and you must supply your own SD card and, for some power setups, a 5V/1A adapter or powered USB source. For budget-minded users who prioritize simple, reliable scanning and quick previews, this is a capable choice.
Best for: Buyers who want a dependable, easy-to-use scanner for digitizing family slides and negatives quickly with visible previews and a minimal learning curve.
Less Ideal for: Photographers seeking true high-resolution archival scans or RAW output should choose a higher-end film scanner with native optical resolution and advanced capture software.
- Supports 35mm, 110, 126 negatives and 50mm slides with included adapters
- Large 5" LCD for instant preview and gallery mode without a computer
- Quick-feeding tray enables continuous scanning for faster batch work
- Saves JPEGs directly to SD/SDHC card and connects via USB or HDMI for easy transfer
- 22MP mode is achieved via interpolation rather than true optical resolution
- SD card is required but not included
Verdict: A simple, reliable budget scanner that makes fast, visible digitizing of slides and negatives easy for home users.
KODAK SCANZA Film Scanner

| Scanner Type | Film |
|---|---|
| Connection Type | HDMI, USB |
| Resolution | 14MP (interpolated to 22MP) |
| Media Type | Negatives, Slide |
The KODAK SCANZA is a straightforward desktop film scanner aimed at quickly converting developed negatives and slides into JPEG files. You load film into the numbered inserts or adapter trays, preview on the 3.5 inch tilt-able LCD, then capture and save images directly to an SD card or transfer via USB; HDMI output also lets you show images on a TV. The unit uses a 14MP sensor with optional interpolation to 22MP, a CCD light source for even illumination, and easy one-touch capture and basic on-device editing for brightness and color. Practical benefits include fast, user-friendly operation without a computer, bundled adapter trays for multiple formats, and included cables plus a cleaning brush. Important limitations are that it is not a flatbed scanner so it cannot match professional drum or flatbed quality and it only handles already developed film (it does not develop or scan raw unprocessed film); scan fidelity will be lower than high-end scanners. For anyone wanting a budget-friendly way to digitize family negatives and slides with minimal setup, it delivers convenient, usable results.
Best for: Buyers who want an affordable, easy-to-use way to digitize family negatives and slides at home without needing a computer or complex software.
Less Ideal for: Photographers or archivists seeking high-fidelity archival scans or users who need raw-film development and professional-grade image quality.
- Supports multiple film formats (35mm, 126, 110, Super 8 and 8mm) with included adapters
- Built-in 3.5" tilt LCD for previewing, editing, and capturing without a PC
- Saves directly to SD card or connects via USB and offers HDMI output for TV display
- Includes adapter trays, cables and a cleaning brush for out-of-the-box scanning
- Not a flatbed scanner so image quality is lower than professional scanners
- Cannot develop or scan unprocessed film and produces still images from Super 8
Verdict: A budget-friendly, easy-to-operate film scanner that converts a wide range of developed negatives and slides into JPEGs quickly for casual preservation and sharing.
Magnasonic FS71 24MP Film Scanner
| Scanner Type | Film, Photo |
|---|---|
| Connection Type | HDMI, USB |
| Resolution | 24MP |
| External Memory Card | Up To 128GB SD Card |
| Scan Speed | 3-5 Seconds |
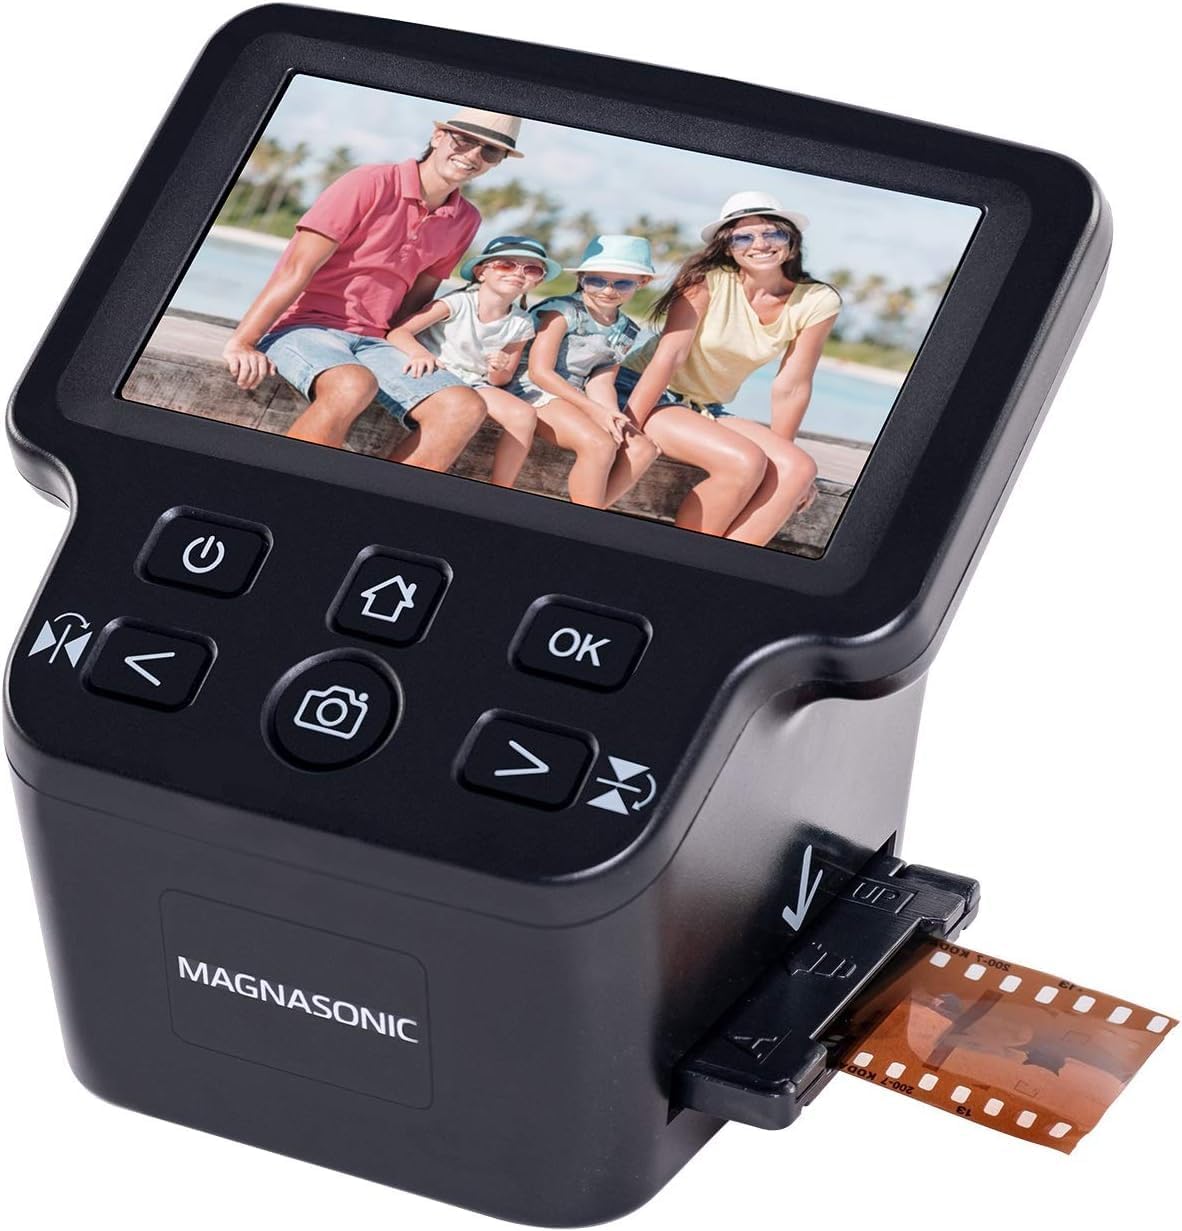
The Magnasonic FS71 is a straightforward, budget-focused film scanner that digitizes 35mm, 110, 126, Super 8 film and several slide formats into JPEGs without a computer. It captures images at an interpolated 24MP resolution using a 16MP CMOS sensor and offers quick single-pass scans in roughly 3 to 5 seconds, making it practical for batch scanning moderate collections. The large 5-inch color TFT display and HDMI output let you preview scans and play slideshows on a TV, and built-in exposure controls plus RGB adjustment let you tweak brightness and color on the device before saving. Files are written to an SD card up to 128GB or downloaded over USB, so you can archive thousands of images. Expect the image quality to be good for sharing and prints up to modest sizes, but not equivalent to professional drum or dedicated high-end film scanners; the unit relies on interpolation and fixed focus. For buyers who want a low-friction way to preserve family photos without software or a complex workflow, the FS71 delivers a dependable, easy-to-use solution at a budget price.
Best for: Buyers who want a low-risk, easy-to-use way to convert family slides and negatives into digital files without installing software or hiring a pro.
Less Ideal for: Users seeking archival-grade scans or the highest native optical resolution for professional restoration and large prints.
- Simple standalone operation with a 5" color LCD and HDMI output for previewing and slideshows
- Fast single-pass scan speed of about 3–5 seconds per image for efficient batch digitizing
- Supports multiple film and slide formats including 35mm, 110, 126 and Super 8
- Save directly to an SD card up to 128GB or transfer to a computer via USB
- Uses interpolation for its 24MP output so native optical detail is limited compared with higher-end scanners
- Fixed focus design reduces flexibility for fine-tuning sharpness on damaged or warped film
Verdict: A budget-friendly, no-fuss scanner that makes fast, shareable digital copies of family slides and negatives with minimal setup.
Choosing the Right Slide Scanner on a Budget: Key Factors to Consider
Optical Resolution and Effective DPI
Optical resolution determines how much fine detail the scanner can capture from a small slide. Higher nominal DPI is not useful if the scanner interpolates rather than resolving real detail. Look for scanners that specify native optical resolution and, when possible, sample scans or technical documentation that show actual resolved lines per millimeter.
For archival or print-quality needs, effective resolution matters more than marketing numbers. Consider how large you plan to print or crop images. If you only need small digital files for social or viewing, a lower native resolution may be acceptable. For restorations or large-format prints, prioritize units that demonstrate consistent detail across the frame.
Color Accuracy and Dynamic Range
Slides hold subtle color shifts and highlight detail that require good color reproduction and a wide dynamic range. Color accuracy affects how little postprocessing you must do to achieve natural-looking scans. Check for scanners that provide color correction tools, ICC profile compatibility, or raw capture modes for more latitude in editing.
Dynamic range is critical for preserving highlight and shadow information on contrasty slides. Units with poor tonal range can clip highlights or crush shadows, forcing heavy edits. When possible, evaluate sample scans in neutral scenes and high-contrast scenes to understand how the scanner handles extremes.
Scan Speed and Workflow Efficiency
If you are digitizing dozens or hundreds of slides, scan speed becomes a real cost in time. Throughput includes both the per-frame scan time and any handling overhead such as manual loading or software saving delays. Some budget scanners offer batch holders that reduce handling time, while others require one-by-one placement.
Workflow efficiency also covers how results are saved and named, whether scans can go straight to folders with useful filenames, and whether the software supports basic batch corrections. Faster scanners with good batch features will save hours on large projects, even if per-scan image tweaks are still needed.
Software, File Formats, and Compatibility
Scanner software controls color profiles, resolution settings, and file formats, so its quality directly impacts final output. Prefer scanners that produce lossless formats like TIFF and offer reliable drivers for current operating systems. Software should allow manual and automatic exposure correction, dust and scratch removal, and output sizing.
Compatibility matters for long-term usability. Confirm driver support for your OS version and check whether the software can export files in formats your editing apps accept. Built-in automation features such as automatic cropping, batch naming, and simple color presets can accelerate projects for nontechnical users.
Physical Design and Durability
Build quality affects how reliably a scanner will perform over time, especially if you plan multiple sessions. Durable feed mechanisms, secure slide holders, and stable optics keep alignment and focus consistent. Cheaper units sometimes cut costs on mechanical parts that wear or jam with repeated use.
Also consider the device footprint if you have limited workspace. Compact, easily storable scanners are useful for occasional projects, while larger units with better loading systems may be worth the extra desk space for heavy use. Evaluate how easy it is to replace consumables or get software updates.
Preparing Slides for Scanning
Clean, organize, and inspect slides before you start. Remove loose dust with a soft blower and use lint-free gloves to avoid fingerprints. Stains and embedded dust may need careful wet cleaning or professional attention.
Arrange slides by exposure or subject to speed batch adjustments later. If slides show fungus, severe staining, or emulsion damage, set them aside for specialized restoration rather than mass scanning. Proper preparation reduces rescans and improves final results.
- Use a soft anti-static brush or air blower for dust removal
- Wear gloves to avoid oils and fingerprints
- Group slides by exposure or color balance for batch processing
Optimizing Scanner Settings for Best Results
Start with the scanner's native optical resolution and test a few crops to confirm detail. Avoid relying on upscaling features that simply interpolate pixels. Choose lossless file formats for archival copies and create smaller JPEGs only for sharing.
Use color correction tools sparingly at capture. If possible, scan with minimal in-scanner processing to preserve latitude for later edits. For slides with heavy color casts or contrast, consider scanning a second time with different exposure settings to capture additional tonal information.
- Prefer TIFF or other lossless files for master copies
- Scan at native optical resolution and crop later as needed
- Turn off aggressive auto-corrections if you plan detailed postprocessing
Batch Scanning Strategies
If your scanner supports a multi-slide holder, use it to save time and maintain consistent framing. For scanners that require single-slide placement, set up a routine to minimize handling time and keep slides in order.
Name files systematically to preserve sequence and context, using date or roll identifiers where available. Consider scanning in passes for difficult slides: one for neutral exposure and another for highlights or color casts you can blend later.
- Use consistent file naming with roll and frame numbers
- Scan test frames before committing to a large batch
- Do multiple passes for high-contrast slides to retain detail
Basic Post-Processing Tips
After capture, perform global adjustments such as white balance, exposure, and contrast on the master files. Use localized tools only when necessary to correct specific defects. Non-destructive editing workflows preserve originals and allow future re-edits.
For dust and scratch removal, use conservative tools to avoid softening fine detail. If you plan to print, soften sharpening slightly to account for printer profiles and paper characteristics. Keep an archival TIFF and create derivative JPEGs for sharing.
- Keep a lossless master file and create smaller derivatives
- Apply dust removal carefully to avoid loss of detail
- Use ICC profiles for accurate color when printing
When to Consider Professional Scanning
If slides are badly deteriorated, extremely valuable, or require advanced restoration, professional services can offer better results than consumer gear. Professionals have specialized scanners, optical setups, and restoration workflows that recover damaged emulsions and correct severe fading.
Large archival projects may still benefit from outsourcing portions of the work, especially when tight deadlines or equipment limitations make in-house scanning impractical. Balance the cost of a service against the time investment and the level of restoration needed.
- Use professionals for damaged, moldy, or very valuable slides
- Outsource high-volume projects if time is a constraint
- Request sample scans to verify restoration approaches
How We Chose the Best Slide Scanner on a Budget
We evaluated affordable slide scanners using practical, measurable criteria that reflect what people actually need when digitizing frames on a budget. First, we prioritized optical resolution and effective detail capture to ensure small negatives reproduce as usable digital files. Color fidelity and tonal range were next, because accurate color and highlight/shadow handling determine how faithful the scans look without heavy postprocessing. We also weighed scan throughput and workflow efficiency, including how quickly a scanner processes batches of slides and whether it offers easy file handling or direct-to-computer capture. Ease of use and software quality were considered since good drivers and intuitive controls cut project time for nonexperts. Finally, build quality and long-term reliability were checked so buyers avoid units that degrade quickly with regular use. We excluded high-end drum systems and professional film scanners that fall well outside the intended budget scope. Units that lacked consistent driver support or could not produce acceptable optical detail for typical slide sizes were also removed from consideration. The result is a list focused on affordable scanners that balance image quality, speed, and usability.
Our full evaluation process is outlined in our review methodology.
FAQ
Can a budget slide scanner produce prints suitable for framing?
Often a budget scanner can produce files that look good at small to medium print sizes. Final print quality depends on effective optical resolution, capture technique, and postprocessing. For very large prints, higher-resolution capture or professional scanning may be necessary.
Do I need special software to scan slides properly?
Basic bundled software can handle most simple projects, but more advanced editing and color correction tools improve results for restoration and print output. Look for scanners that export lossless files so you can use external editing software without quality loss.
How should I handle slides with dust or scratches?
Start with careful physical cleaning using a blower or soft brush. For persistent dust or scratches, use conservative software-based dust removal and healing tools. Avoid overprocessing, which can blur fine detail; severe damage may need professional repair.
What is the difference between optical and interpolated resolution?
Optical resolution is the actual detail the scanner hardware resolves. Interpolated resolution is increased digitally after capture and does not recover real detail. For archival or print-quality work, prioritize native optical resolution over marketing interpolation figures.
Will scanner software correct color casts automatically?
Many scanner applications offer automatic color correction, but results vary and can sometimes overcompensate. Scanning with minimal in-device correction and adjusting color in dedicated editing software usually gives more predictable and accurate results.
Final Verdict
On a budget, prioritize scanners that offer genuine native resolution, reliable color handling, and a workflow that fits your scanning volume. Tradeoffs are inevitable: the most affordable units may reduce throughput or require more cleanup work in software, while slightly higher-cost options often save time on large projects. Decide whether you value speed and batch handling or the highest possible capture fidelity within your budget. Use the factors above to match a scanner to your intended use, and keep a lossless master copy of each scan for future re-editing or printing.