
Note: This article contains affiliate links. If you click on these links and make a purchase, we may earn a small commission at no extra cost to you. This helps support our research and content. Read our full affiliate disclosure here.
If you want capable desktop 3D printing without overspending, choosing the right machine matters for consistent prints, workflow and long-term reliability. Under $500 you'll find machines that suit hobbyists, educators, and small prototyping tasks, but not all budget models are built the same. This guide shortlists the top options in the under-$500 segment and explains the attributes that affect everyday printing: print quality, build volume, reliability, and how easy machines are to set up and maintain. Below are our top picks followed by clear criteria to help you pick the best fit for your needs.
Top Picks at a Glance
| Best Overall The best all-around choice for most situations | FLASHFORGE AD5X 3D Printer |  |
| Best Quality Built to a higher standard if you want something more solid | Bambu Lab P1S 3D Printer |  |
| Best Value The sweet spot between price and what you get | Creality K1C 3D Printer |  |
| Best Budget The cheapest option that still gets the job done reliably | ELEGOO Neptune 3 Pro |  |
| Top Rated A top-rated pick with lots of positive feedback | Bambu Lab A1 3D Printer |  |
| Most Popular A crowd favorite that many people choose with confidence | Creality Ender 3 V3 SE |  |
| Best Seller A high-volume bestseller chosen again and again | FLASHFORGE Adventurer 5M |  |
FLASHFORGE AD5X 3D Printer

| Build volume | 220×220×220 mm |
|---|---|
| Nozzle temp | 300°C |
| Printer type | CoreXY |
| Touchscreen | 4.3-inch color |
| Max travel speed | 600 mm/s |
The FLASHFORGE AD5X is a CoreXY desktop FDM printer aimed at faster, multicolor printing in a compact footprint. It uses an intelligent filament system for up to four-color jobs with auto loading and an auto-refill option, and a 300°C direct extruder and large-flow hotend to handle flexible and composite filaments like TPU and carbon-fiber blends. The machine includes one-click auto leveling, vibration compensation, resume-printing and filament detection to reduce failed prints, and a 4.3-inch color touchscreen for local control. Flash Maker/Orca-Flashforge remote management support and an optional camera kit let you monitor and manage prints remotely, which is handy for running multiple jobs. Practical limitations for this price tier are that true 4-color workflows still require setup and tuning, and achieving top-listed travel speeds will depend on print quality trade-offs. For a sub-$500 device the AD5X packs advanced features and material flexibility, but expect some user setup and tuning to get consistent multicolor results.
Best for: Buyers who want a capable, feature-rich desktop printer that handles flexible and composite filaments and who are willing to spend time tuning multicolor prints for better results.
Less Ideal for: Users seeking a truly plug-and-play single-color printer with minimal setup or those unwilling to calibrate slicing and filament paths for multicolor jobs.
- Multi-color printing with intelligent filament system and auto loading to streamline color changes
- 300°C direct extruder and large-flow hotend for flexible and composite filaments
- One-click auto leveling, vibration compensation, filament detection and resume-print to improve print success
- CoreXY structure for more stable, potentially faster motion
- Remote management support and touchscreen make monitoring and control easier
- Four-color printing adds hardware and slicing complexity that requires tuning to get clean transitions
- Stated maximum travel speeds may require quality compromises and careful calibration
Verdict: The AD5X delivers advanced multicolor and high-temperature printing features in a compact desktop package, making it a strong choice for hobbyists who want material flexibility and are comfortable tuning their printer.
Bambu Lab P1S 3D Printer
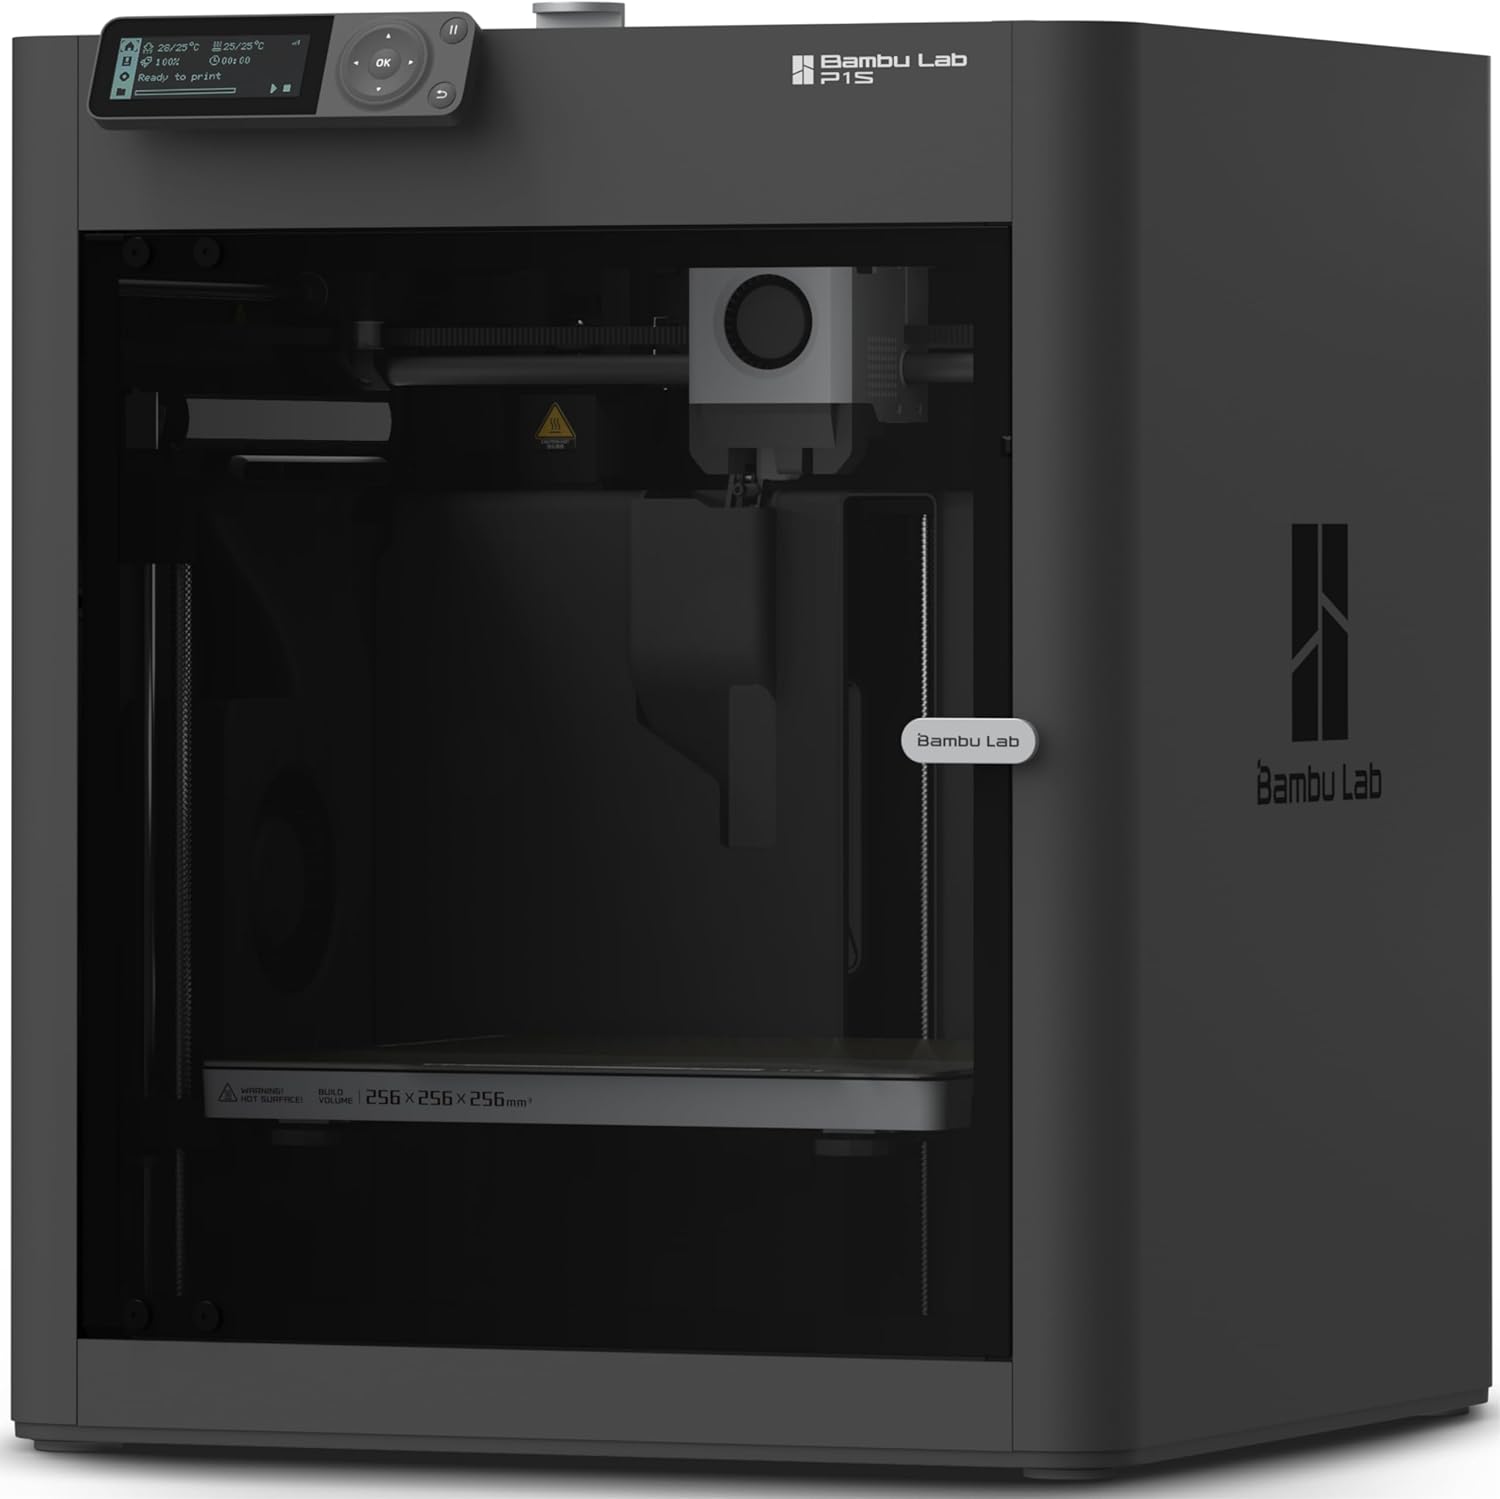
| Build Volume | 256×256×256 mm³ |
|---|---|
| Max Speed | 500 mm/s |
| Max Acceleration | 20000 mm/s² |
| Supported Filaments | PLA, PETG, TPU, PVA, PET, ABS, ASA; capable: PA, PC |
The Bambu Lab P1S is an enclosed CoreXY FDM printer designed to get prints running quickly with minimal fuss. It ships with automatic bed leveling, a direct-drive extruder that broadens material compatibility, and a guided setup that the brand says can be completed in about 15 minutes, which makes it approachable for newcomers. The P1S emphasizes speed and performance, supporting up to 500 mm/s travel and very high acceleration for much faster print times than typical hobby machines while still supporting common filaments like PLA, PETG and TPU. The enclosed frame and support for more advanced filaments help with print consistency and warp-prone materials, and a built-in camera enables timelapse monitoring. Practical limitations include the reliance on optional AMS for true multi-color/multi-material work and the manufacturer's note that reinforced carbon or glass fiber filaments are not recommended, so it is not a universal solution for composite materials. For its targeted price and class, the P1S balances fast output and reliable everyday printing without a steep setup curve.
Best for: Buyers who prioritize fast, reliable desktop prints and want a largely turnkey machine that scales from beginner to advanced filament use.
Less Ideal for: Users who need composite carbon/glass fiber printing or full multi-material color printing without buying additional accessories should consider other solutions.
- Enclosed CoreXY design for more stable prints and better temperature control.
- High-speed capability with up to 500 mm/s travel and strong acceleration for faster print times.
- Direct-drive extruder increases compatibility with flexible and specialty filaments.
- Automatic bed leveling and quick setup reduce time spent on calibration.
- Built-in camera for monitoring and timelapse capture.
- Multi-color or multi-material printing requires connecting Bambu Lab AMS accessory.
- Not recommended for carbon or glass fiber reinforced filaments.
Verdict: If you want a fast, ready-to-run enclosed printer that delivers high-speed, everyday prints, the P1S is a top choice under $500.
Creality K1C 3D Printer

| Print speed | 600 mm/s (max) |
|---|---|
| Build volume | 8.66×8.66×9.84 inch |
| Max hotend temperature | 300 ℃ |
| Filament compatibility | PLA/ASA/ABS/TPU/PLA-CF/PET-CF |
The Creality K1C is a plug-and-play desktop FDM printer that targets users who want faster prints without a lot of tuning. It arrives mostly assembled and uses auto calibration, auto Z offset, and auto input shaping so you can start printing within minutes of unboxing. A clog-free direct extruder with a reinforced feed and a steel-tipped copper nozzle plus a titanium-alloy heatbreak supports up to 300°C, opening compatibility to higher-temp and carbon-fiber–reinforced filaments. The machine pairs a high-speed motion system (600 mm/s top speed and rapid acceleration) with an upgraded multi-fan cooling layout to improve layer definition and reduce stringing on bridges and overhangs. It also includes an AI camera for basic print monitoring and failure detection and offers time-lapse capture. Trade-offs to expect are a relatively small build volume compared with larger hobby printers and the marketing emphasis on extreme top speed that you will rarely use for fine-detail prints; getting the best results still benefits from slicer tuning and some user patience with settings for advanced filaments.
Best for: Buyers who want a practical, easy-to-start printer that shortens setup time and handles a wider range of filaments without major upgrades, especially for prototyping and small functional parts.
Less Ideal for: If your priority is large-format printing or ultra-fine, high-resolution display models right out of the box, look at larger printers or machines tuned for extreme detail instead.
- Ready-to-print out of the box with auto calibration and auto Z offset for fast setup
- Clog-free direct extruder and 300°C-capable hotend for PET-CF/PLA-CF and other higher-temp filaments
- Very fast motion system (600 mm/s and high acceleration) for quicker prints when speed is prioritized
- Multi-fan, targeted cooling design improves layer cooling, reduces stringing, and helps with overhangs
- Built-in AI camera enables basic remote monitoring and failure detection plus time-lapse capture
- Small build volume limits larger projects
- Top advertised speeds are unlikely to be used for high-detail prints
Verdict: A fast, easy-to-start desktop printer that lets practical users print tougher filaments and get prototypes quickly without complex setup.
ELEGOO Neptune 3 Pro

| Build volume | 225×225×280 mm |
|---|---|
| Nozzle compatibility | Supports PLA, TPU, PETG, ABS |
| Extruder | Dual-gear direct drive |
| Auto leveling | 36-point one-click auto bed leveling |
| Noise level | ~47 dB |
The ELEGOO Neptune 3 Pro is a ready-to-run FDM printer aimed at hobbyists and makers who want reliable everyday printing without a long setup. It ships with most main parts preassembled and a toolkit, and the 36-point auto bed leveling plus a PEI magnetic platform make getting the first layer right much easier. The dual-gear direct-drive extruder, titanium throat and widened heat sink help steady filament feeding and reduce clogs when printing PLA, TPU, PETG and ABS, and the filament runout sensor and power-loss resume add useful reliability for longer prints. Motion is driven by an STM32 board and silent stepper motors with dual lead screws on the Z axis for stable layer registration, and noise is advertised around 47 dB. Limits to consider are the modest 225×225×280 mm build volume for larger projects and that higher-temperature or specialty filaments may still require tuning; advanced users chasing industrial-level speed or enclosure features may need to upgrade. For the price it balances convenience features and dependable hardware for everyday desktop prints.
Best for: Buyers on a modest budget who want a feature-rich, easy-to-start desktop 3D printer for hobby projects, prototypes, and learning without deep initial setup.
Less Ideal for: People who need very large build capacity, fully enclosed high-temperature printing, or industrial throughput should consider larger or enclosed models instead.
- One-click 36-point auto bed leveling simplifies first-layer setup
- Dual-gear direct drive extruder improves filament feeding and reduces clogs
- Filament runout sensor and power-loss resume protect long prints
- PEI magnetic removable build plate speeds part removal and bed prep
- Silent stepper motors and STM32 controller for quieter, smooth motion
- Build volume is relatively small for very large prints
- May require tuning for high-temp or specialty filaments
Verdict: A budget-friendly desktop 3D printer that packs auto-leveling, a robust direct-drive extruder, and practical reliability features for reliable everyday hobby printing.
Bambu Lab A1 3D Printer

| Build Volume | 256×256×256 mm |
|---|---|
| Max Speed | 500 mm/s |
| Max Acceleration | 10 m/s² |
| Supported Filaments | PLA, PETG, TPU, PVA |
The Bambu Lab A1 is a beginner-friendly FDM printer that focuses on making reliable prints with minimal user tuning. It automates calibration tasks such as Z-offset, bed leveling, vibration resonance, and nozzle pressure so prints start without extensive setup, and active flow rate compensation helps maintain consistent extrusion. The A1 supports high-speed motion and uses low-drag linear rails, accelerometers, and a nozzle pressure sensor to deliver stable, repeatable output at faster print speeds than typical entry-level machines. It can be paired with the AMS lite for more dependable multi-color printing and includes a touchscreen and simplified workflow that suit newcomers and casual makers. Practical limits include the open-frame design and the need to buy the AMS lite separately for multi-color work, and while the printer is described as quiet, high-speed printing may still produce noticeable noise compared with slower desktop models. For buyers prioritizing a plug-and-play experience and steady print quality under $500, the A1 is engineered to minimize fiddling and failures.
Best for: Buyers who want a low-maintenance, reliable desktop 3D printer that minimizes calibration and setup time so they can print consistently without deep technical tuning.
Less Ideal for: Users who need an enclosed build for ABS/engineering-grade filaments or those who require out-of-the-box multi-material color printing without buying add-ons.
- Full-auto calibration removes most manual tuning between prints for consistent first layers.
- Active flow rate compensation and sensors help maintain steady extrusion and reduce common print defects.
- High-speed motion system and low-drag linear rails deliver faster prints while aiming to preserve print quality.
- Beginner-friendly ecosystem with touchscreen, MakerWorld model library, and cloud/LAN connection options.
- Multi-color printing requires purchasing the AMS lite accessory separately.
- Open-frame design may limit temperature-sensitive materials and workshop safety compared with enclosed printers.
Verdict: If you want a dependable, low-fuss 3D printer under $500 that automates calibration and keeps prints consistent, the Bambu Lab A1 is a top choice.
Creality Ender 3 V3 SE

| Print speed | Up to 250 mm/s |
|---|---|
| Extruder type | Sprite direct extruder |
| Auto-leveling | CR Touch |
| Mainboard | 32-bit silent mainboard |
The Creality Ender 3 V3 SE is a consumer FDM 3D printer designed to get beginners and hobbyists printing quickly while offering a few upgrades that matter. It prints up to 250 mm/s with high acceleration for faster job completion, and the CR Touch auto-leveling plus a strain sensor for auto Z-offset simplify getting a good first layer. The Sprite direct extruder handles PLA, PETG and flexible TPU more reliably than a Bowden setup, and the dual Z-axis and reinforced Y-axis give steadier motion for cleaner layers on taller parts. A 32-bit silent mainboard reduces stepper noise and improves motion control, and the flexible spring steel build plate makes part removal easier. Practical limits include a modest build volume suitable for small-to-medium prints and the usual need for occasional tuning and maintenance common to budget printers. Assembly is reported as straightforward and the UI uses motion graphics to guide leveling and filament loading, which helps new users start printing with less fuss.
Best for: Buyers who want a fast, well-rounded starter 3D printer with useful upgrades that reduce setup friction and improve print stability while relying on community feedback to confirm performance.
Less Ideal for: People who need a very large build volume or a fully plug-and-play industrial machine ready for nonstop production should consider larger, more specialized systems.
- CR Touch auto-leveling and strain sensor make first-layer setup easier
- Sprite direct extruder supports PLA, PETG and TPU reliably
- High top speed (250 mm/s) and strong acceleration shorten print times
- Dual Z-axis and reinforced Y-axis improve stability and print quality
- 32-bit silent mainboard reduces noise and improves motion precision
- Build volume is limited to small-to-medium parts compared with larger printers
- Still requires routine tuning and maintenance typical of budget desktop printers
Verdict: A feature-packed entry-level 3D printer that speeds up printing and reduces leveling headaches, making it a strong choice under $500 for cautious buyers who value real-world reliability.
FLASHFORGE Adventurer 5M
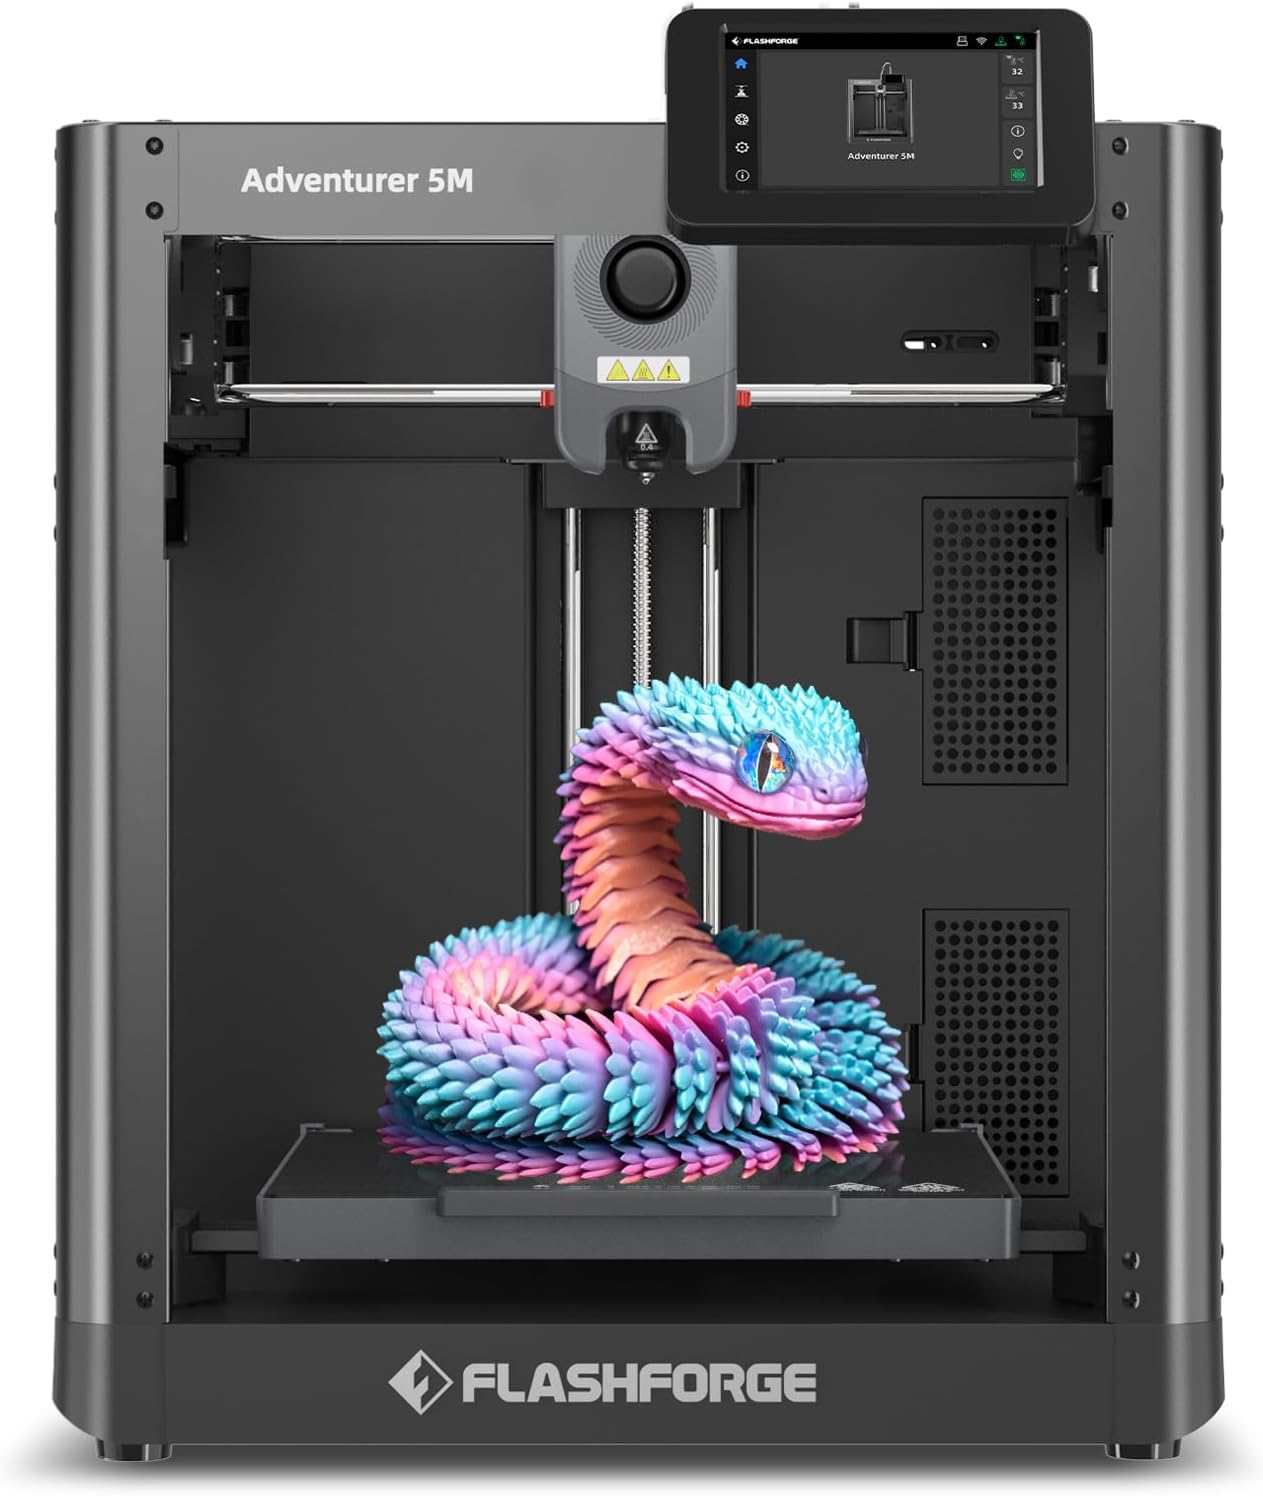
| Build Volume | 220 x 220 x 220 mm |
|---|---|
| Extruder Max Temp | 280°C |
| Travel Speed | 600mm/s |
| Platform Type | Double-Sided PEI Platform |
| Structure | All-metal Core XY Structure |
The Adventurer 5M is a CoreXY desktop printer designed for quicker prototyping without a lot of setup fuss. It automates bed leveling with one-click auto leveling, offers a 280°C direct-drive extruder and swap-friendly 3s detachable nozzles, and uses a dual-sided PEI platform for easier part removal. FlashForge points to very high travel speeds (up to 600mm/s) and fast warm-up times, which help shorten print cycles for small parts and iterative runs. The printer supports a broad range of filaments including PLA, ABS, PETG, TPU and carbon-fiber blends, and the Flash Maker mobile app enables remote monitoring. Practical strengths are the compact enclosed design, quick nozzle changes and the platform that reduces fiddly removal; these make it useful for hobbyists, classrooms, and small-scale prototyping. Limitations to note are the modest 220×220×220mm build volume, which restricts large single-part prints, and real-world high-speed printing will still require tuned settings and good filament to avoid quality loss at extreme speeds.
Best for: Buyers who want a mostly hands-off, compact desktop printer that speeds up prototyping while supporting common engineering and hobby filaments and easy remote monitoring.
Less Ideal for: Users who need to print large one-piece models or who prefer a bare-bones DIY machine for deep mechanical tuning should look elsewhere.
- One-button automatic bed leveling for reliable first layers
- CoreXY structure with high travel speed for faster print cycles
- 280°C direct extruder and quick-change nozzle for material flexibility and easy maintenance
- Dual-sided PEI platform simplifies part removal
- Mobile app support for remote monitoring and control
- Build volume limited to 220×220×220 mm, not suited for large prints
- Achieving top advertised speeds requires careful tuning and high-quality filament
Verdict: A compact, factory-ready CoreXY printer that delivers faster small-part prototyping and easy setup for risk-averse buyers seeking reliable prints under $500.
Choosing the Right 3D Printer: Key Factors to Consider
Print Quality & Layer Resolution
Higher print resolution and stable motion hardware produce finer detail and smoother surfaces. Look for a machine with a rigid frame, minimal play in linear motion, and an extrusion system that can hold consistent filament flow.
Layer height, nozzle diameter, and slicer settings all influence the final surface finish, but the printer's mechanical stability sets the ceiling for achievable detail. For under-$500 machines, assess sample prints and community images to confirm realistic quality expectations.
Build Volume and Project Scope
Build volume determines the maximum object size you can print without splitting models. A larger build area is useful for prototyping bigger parts or printing multiple items in one run, but bigger beds can take longer to heat and require more calibration.
Consider the types of projects you plan to do. If you mainly print small figurines or parts under 150 mm, a compact bed is fine and often easier to manage. If you expect to print functional prototypes, prioritize printers with a larger, square build platform and stable bed leveling.
Ease of Setup and User Experience
How quickly you can get the printer running affects the value of the purchase. Machines with clear manuals, pre-calibrated firmware, and guided first-run wizards reduce setup time and frustration.
Also consider the user interface and connectivity options. A responsive control screen, easy-to-navigate menus, and common file transfer methods like SD card or USB make basic use more pleasant. For many beginners, robust community guides and active support forums are as important as the official documentation.
Reliability, Durability, and Maintainability
Parts that fail or drift out of alignment will increase downtime and maintenance effort. Prioritize printers with proven motion components, replaceable wear parts, and accessible hotends and extruders.
Check that belts, pulleys, guide rods, and lead screws are standard sizes and can be sourced easily. A straightforward mechanical layout reduces the learning curve for repairs and upgrades, which is especially valuable in the budget range where long-term serviceability determines total ownership value.
Material Compatibility and Extrusion System
Different projects require different materials, from PLA for easy prints to tougher filaments for functional parts. Ensure the printer can reach the temperatures needed for the filaments you intend to use and that the extruder can handle the filament type reliably.
Bowden setups are lighter but can struggle with flexible filaments, while direct-drive extruders perform better with soft materials. Check stock hotend temperature limits and whether upgrades are straightforward when you later need additional capabilities.
Software, Firmware, and Community Support
Accessible firmware and slicer compatibility simplify troubleshooting and feature upgrades. Printers that work with mainstream slicers and have an active user community offer more example profiles and troubleshooting tips.
Open or well-documented firmware makes advanced tuning possible, and community support often supplies profile settings, modification guides, and replacement part designs. For budget printers, a large, active user base can significantly shorten the time to a reliable setup.
Preparing Your Workspace
Set aside a stable, level surface for your printer and allow adequate clearance for cable routing and filament spools. A dedicated table reduces vibration and keeps the printer away from drafts that can warp prints.
Ensure good ventilation if you plan to print higher-temperature or specialty materials. While PLA is low-odor, ABS and some composites can produce fumes that are best handled with an extractor fan or printing in a well-ventilated room.
- Place the printer on a rigid table that does not flex during printing
- Keep filament spools in a dry area; consider sealed storage with desiccant
- Reserve space for basic tools, spare nozzles, and replacement belts
Basic Maintenance Tasks to Expect
Regular maintenance keeps prints consistent. Expect to clean and occasionally replace nozzle tips, re-tension belts, lubricate motion rails, and check for loose fasteners. These are normal tasks for any 3D printer and are generally simple with basic tools.
Bed-leveling can be the most frequent adjustment, especially on machines without automatic leveling. Learning how to tweak endstop positions or firmware offsets will shorten setup time for each new print surface.
- Inspect belts and pulleys monthly for wear or slack
- Replace nozzles after substantial use or when print quality degrades
- Keep firmware and slicer profiles backed up for quick recovery
Choosing Filament for Budget Printers
Start with PLA for ease of printing, low warp, and forgiving cooling behavior. It is widely available and works well for learning without demanding high hotend temperatures or heated beds.
If you need stronger or more heat-resistant parts, consider PETG or TPU, but verify the printer's hotend and feed system can handle these materials. Some budget machines require slight hardware or profile tuning to achieve reliable results with flexible or abrasive filaments.
- PLA: Best for beginners and detailed prints
- PETG: Good balance of strength and ease
- TPU: Flexible parts, requires direct-drive or tuned extrusion
Upgrades Worth Considering Later
Common upgrades can materially improve reliability and print quality. A glass or textured build plate improves adhesion and flatness. A better part cooling fan or duct can enhance overhang performance and detail.
Hardware upgrades such as a more robust extruder, a higher-temperature hotend, or improved bed-leveling sensors are typically low-cost and deliver noticeable returns. Prioritize upgrades that match your most common print types.
- Glass or PEI build surface for flatter first layers
- All-metal hotend for higher-temperature filaments
- Upgraded extruder for flexible filament support
Slicing Tips for Consistent Results
Slicer settings have the biggest immediate effect on print success. Start with conservative print speeds and moderate retraction settings, then dial them in as you gain confidence. Use recommended temperature ranges from filament manufacturers as a baseline.
Layer height influences both strength and surface finish. For general-purpose prints, a 0.2 mm layer height balances speed and detail. For fine detail, step down to 0.12 mm but expect longer print times and possibly more visible layer lines.
- Use a brim or raft for small footprint parts prone to warping
- Enable cooling for PLA, reduce for PETG to improve layer adhesion
- Keep print speed moderate until you verify mechanical stability
How We Chose the Best 3D Printer
We prioritized practical, real-world factors that matter when buying a budget 3D printer. Our selection filters focused on machines with documented print consistency, a usable build volume for common projects, and firmware or community support that keeps troubleshooting manageable. We also required straightforward mechanical design that can be serviced with basic tools, and either a supported filament range or reliable stock extruder performance. Evaluation criteria included print quality potential, out-of-the-box setup and documentation, reliability and durability of motion components, and accessibility of replacement parts. We excluded machines that rely on proprietary consumables or have no clear parts or firmware support because that limits long-term usability. We reviewed manufacturer specifications, community feedback, and user-reported failure modes to judge which units are likely to deliver dependable printing under normal hobby or light professional use. The scoring criteria below reflect the concrete dimensions we used to compare each model.
Our full evaluation process is outlined in our review methodology.
FAQ
Can I get usable prints from a 3D printer under $500?
Yes. Many budget printers can produce high-quality prints with proper setup and tuning. Expect to spend some time calibrating and learning slicer settings to reach the best results.
What is the easiest material to start with on a budget printer?
PLA is the easiest option because it prints at low temperatures, has minimal warping, and is forgiving of modest cooling setups. It is a good starting point for learning both hardware and slicing.
Do I need a heated bed for good prints?
A heated bed helps with adhesion and reduces warping for materials like ABS and PETG, but it is not strictly necessary for PLA. If you plan to use higher-temperature filaments, a heated bed becomes more important.
How much maintenance should I expect with these printers?
Routine maintenance includes nozzle cleaning, belt tension checks, and occasional lubrication of motion parts. With regular care, many issues are preventable and quick to resolve.
Are upgrades necessary for reliable printing?
Not always. Many out-of-the-box machines perform well after initial calibration, but simple upgrades such as a better build surface or improved cooling can significantly enhance reliability and print quality over time.
Final Verdict
When shopping for a 3D printer under $500, prioritize the dimensions that affect your everyday use: print quality potential, a build volume that fits your projects, and a machine that is easy to set up and maintain. Expect to invest time in calibration and basic maintenance, which often yields better returns than chasing higher specifications alone. Balance tradeoffs between size, material capability, and serviceability to pick the right entry-level machine. With careful selection and a modest amount of tuning, a budget 3D printer can be a dependable tool for learning, prototyping, and hobby work.