
Note: This article contains affiliate links. If you click on these links and make a purchase, we may earn a small commission at no extra cost to you. This helps support our research and content. Read our full affiliate disclosure here.
If you are digitizing film on a Mac, picking the right negative scanner makes a big difference in final image quality and day-to-day workflow. A dedicated negative scanner for Mac streamlines film handling, produces higher-resolution scans, and integrates with macOS editing tools so you spend less time troubleshooting drivers and more time restoring images. This guide presents seven shortlisted negative scanners for Mac, chosen for their scan quality, macOS software support, and practical handling features. Below we summarize what mattered in our selection and walk through considerations to help you choose the best fit for your workflow.
Top Picks at a Glance
| Best Overall The best all-around choice for most situations | Plustek OpticFilm 8300i SE |  |
| Best Quality Built to a higher standard if you want something more solid | Plustek OpticFilm 8200i SE |  |
| Best Value The sweet spot between price and what you get | Wolverine F2D Film to Digital Converter |  |
| Best Budget The cheapest option that still gets the job done reliably | DIGITNOW 35mm Film Scanner |  |
| Top Rated A top-rated pick with lots of positive feedback | KODAK Slide N Scan Scanner |  |
| Most Popular A crowd favorite that many people choose with confidence | KODAK SCANZA Film Scanner |  |
| Best Seller A high-volume bestseller chosen again and again | Magnasonic FS71 24MP Film Scanner |  |
Plustek OpticFilm 8300i SE

| Scanner Type | Film |
|---|---|
| Connection Type | USB |
| Resolution | 7200 |
| Media Type | Slide |
The Plustek OpticFilm 8300i SE is a desktop 35mm negative and slide scanner built for hobbyists and photo enthusiasts who want high-resolution digitization without a drum scanner workflow. It scans up to 7200 dpi and outputs 48-bit color, uses a built-in infrared channel for automatic dust and scratch detection, and includes SilverFast SE Plus 9 and Plustek QuickScan Plus for image correction and batch processing. Typical use is feeding strips or mounted slides via the included holders, running a multi-exposure or iSRD pass to reduce noise and defects, then fine-tuning tones in the bundled software. Practical benefits include very high detail for enlargements, automated dust removal that saves cleanup time, and batch scanning support for longer jobs. Limitations are that achieving the best dynamic range and color accuracy requires careful software setup and longer scan times with multi-exposure enabled, and Mac users must confirm compatibility with their OS versions despite stated support. The unit is better suited to users who will invest time in software calibration rather than casual one-off conversions.
Best for: Mac users who want a high-resolution film-to-digital workflow and are willing to spend time learning scanning software to get the best results.
Less Ideal for: If you need instant, casual conversions or a plug-and-play consumer scanner for occasional slides, a simpler flatbed or service scan may be a better fit.
- Very high optical resolution up to 7200 dpi for detailed enlargements
- Integrated infrared channel for automatic dust and scratch removal
- Bundles SilverFast SE Plus 9 and QuickScan Plus for advanced scanning and batch workflows
- Supports multi-exposure to extend dynamic range and reduce noise
- Getting accurate colors and maximum dynamic range requires time-consuming calibration and software work
- High-resolution and multi-exposure scans can be slow for large archives
Verdict: Choose the OpticFilm 8300i SE if you want a high-resolution, software-driven film scanner with built-in infrared dust removal for serious Mac-based archiving.
Plustek OpticFilm 8200i SE

| Scanner Type | Photo |
|---|---|
| Connection Type | USB |
| Resolution | 7200 |
| Color Depth | 48 bits |
| Media Type | Negatives, Photo, Slide |
The Plustek OpticFilm 8200i SE is a desktop 35mm film and slide scanner aimed at users who need high-resolution archival scans. It scans negatives and mounted slides up to 7200 dpi with 48-bit color depth and includes an infrared channel for iSRD dust and scratch detection, which saves time on manual retouching. The scanner supports multi-exposure to improve dynamic range and ships with QuickScan and SilverFast SE Plus software for color correction and batch workflows. Its USB connection makes it straightforward to connect to a Mac running compatible drivers, and the built-in ICC profile and NegaFix support help reproduce accurate tones from different film stocks. Practical limitations are its focus on single-frame 35mm scanning rather than medium-format or batch motorized feeding and the learning curve of SilverFast for precise color work. Expect careful handling and some setup to get the best results, but the unit produces detailed, high-quality scans suitable for preservation and fine image editing.
Best for: Mac users who prioritize maximum detail and archival-quality scans from 35mm negatives or slides and are willing to invest time learning scanning software to extract the best results.
Less Ideal for: Photographers who need fast, automated batch scanning of large film volumes or those who primarily work with medium-format film should consider different models geared to that workflow.
- Very high optical resolution up to 7200 dpi for detailed 35mm scans
- Integrated infrared dust and scratch detection reduces manual cleanup
- 48-bit input and bundled SilverFast/QuickScan software for robust color control
- Multi-exposure function increases dynamic range for better shadow and highlight detail
- Designed for single-frame 35mm negatives and slides, not for medium-format or high-volume automated batch scanning
- SilverFast has a learning curve for users new to professional scanning software
Verdict: Choose the OpticFilm 8200i SE if you want a Mac-compatible 35mm scanner that emphasizes maximum resolution and built-in dust removal for archival-quality film scans.
Wolverine F2D Film to Digital Converter

| Resolution | 3600 |
|---|---|
| Color Depth | 24 bits |
| Connection Type | USB |
| Media Type | Negatives, Slide |
| Minimum System Requirements | Windows 7 |
The Wolverine F2D is a purpose-built converter that turns various small-format film and Super 8 into digital JPEGs without requiring a computer. You load negatives, slides, or Super 8 into the speed-load adapters, press the single button, and the unit captures 20 megapixel images stored on its internal memory or an optional SD/SDHC card (up to 32GB). It connects over USB when you want to offload files to a Mac or PC or to view images on a TV. The device is convenient for batch conversion thanks to its adapters and standalone operation, and the 24-bit color depth and 3600 resolution deliver serviceable archival results for casual preservation and sharing. Limitations include modest onboard storage (about 40 images minimum) and simplified controls that offer little image-editing or advanced scanning options; power users wanting raw output, dust/scratch repair, or higher-resolution cinema transfers may find it too basic. For quick, no-fuss digitization of family slides and Super 8 reels, it handles the job reliably.
Best for: Buyers who want a straightforward, fast way to digitize family slides, negatives, and Super 8 on a Mac without learning complex scanning software or workflows.
Less Ideal for: Archivists, photographers, or restoration shops that need high-resolution raw scans, advanced dust and scratch correction, or precise color controls should look for dedicated film scanners or professional services.
- Stand-alone operation with one-button capture so no computer is required for basic conversion
- Works with multiple formats: 35mm, 126, 110 negatives/slides and Super 8 film
- Saves 20MP JPEGs to internal memory or SD/SDHC card for easy file management
- USB connectivity for transferring images to a Mac or PC
- Limited onboard storage minimum (around 40 images) without an SD card
- No advanced image correction or raw output for professional restoration
Verdict: A user-friendly, standalone converter that quickly turns family slides, negatives, and Super 8 into shareable 20MP JPEGs with minimal setup.
DIGITNOW 35mm Film Scanner
| Scanner Type | Film |
|---|---|
| Connection Type | USB |
| Resolution | 1800 DPI |
| Light Source Type | LED |
| Media Type | Negatives, Slide |
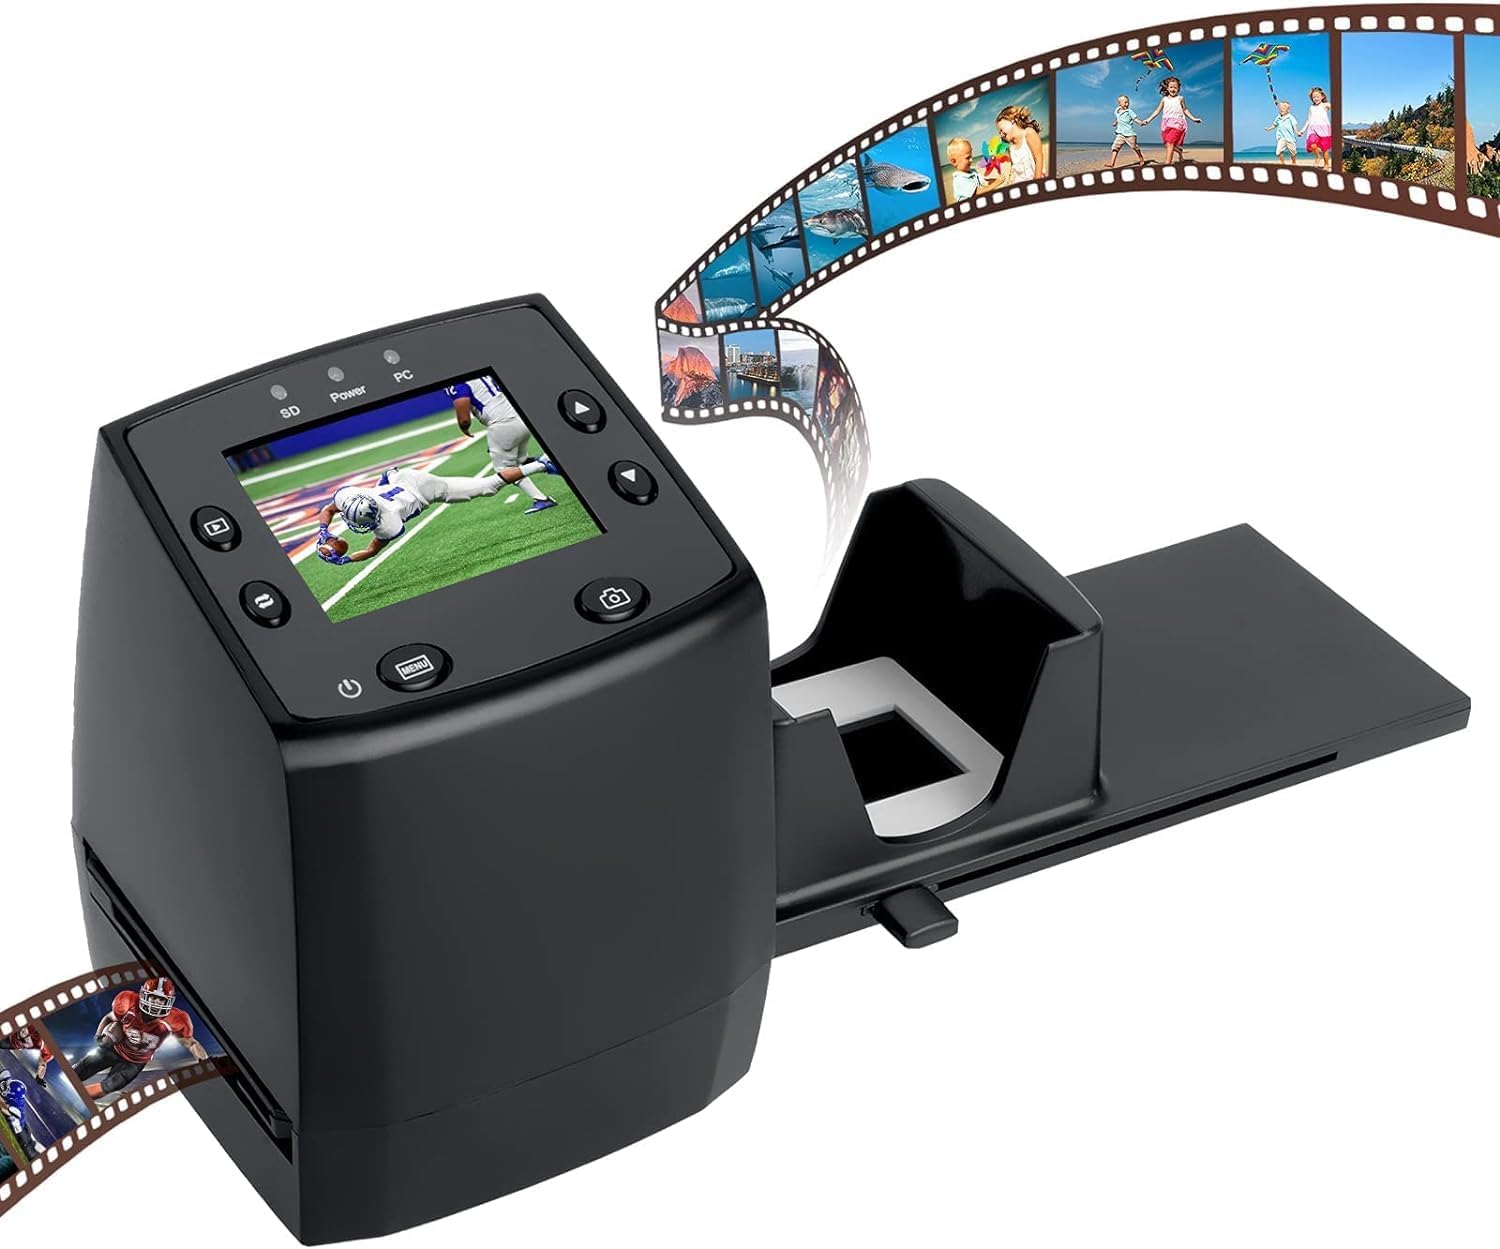
The DIGITNOW 35mm Film Scanner is a budget-friendly, standalone unit for turning old 35mm negatives and slides into JPEGs without needing a computer. You load a slide or negative into the included holders or rapid feeder, select scan on the 2.4-inch color LCD, and the unit saves images to an inserted SD card or to a computer via USB. The scanner uses an LED light source and a CIS sensor with up to 1800 dpi resolution and 16-bit color depth support, producing decent digital files for casual archiving and sharing. It includes a TV-out option for quick previews and ships with basic accessories like holders, a cleaning brush, power adapter, and cables. Image quality and color accuracy are modest compared with higher-end film scanners, and the small display and manual handling make batch work slower; the unit is best for one-off scans or occasional projects rather than professional restorations. Compatibility with modern Macs requires using the SD card or selecting USB MSDC mode to transfer files rather than relying on dedicated Mac scanning software.
Best for: Buyers on a tight budget who want a simple, no-software way to digitize a small collection of 35mm slides and negatives for sharing or basic archiving.
Less Ideal for: Photographers or archivists who need high-precision color reproduction, batch throughput, or professional-grade scans should consider higher-end dedicated film scanners.
- Standalone operation with built-in 2.4-inch LCD so no PC is required for scanning
- Supports saving JPEGs to SD card (up to 32GB) for easy file transfer
- Includes slide and negative holders plus a rapid feeder for simple single-frame scanning
- LED light source and CIS sensor offer reasonable detail at 1800 dpi for casual archiving
- Image quality and color fidelity are limited compared with dedicated high-end film scanners
- Small display and single-frame workflow make large-volume scanning slow
Verdict: A low-cost, easy-to-use standalone scanner that gets casual 35mm slides and negatives digitized quickly without a computer.
KODAK Slide N Scan Scanner
| Image sensor | 13MP CMOS (22MP interpolated) |
|---|---|
| Supported film types | 50mm slides, 135/110/126 negatives |
| Interface | USB, HDMI |
| Storage | SD/SDHC card (up to 32GB) |
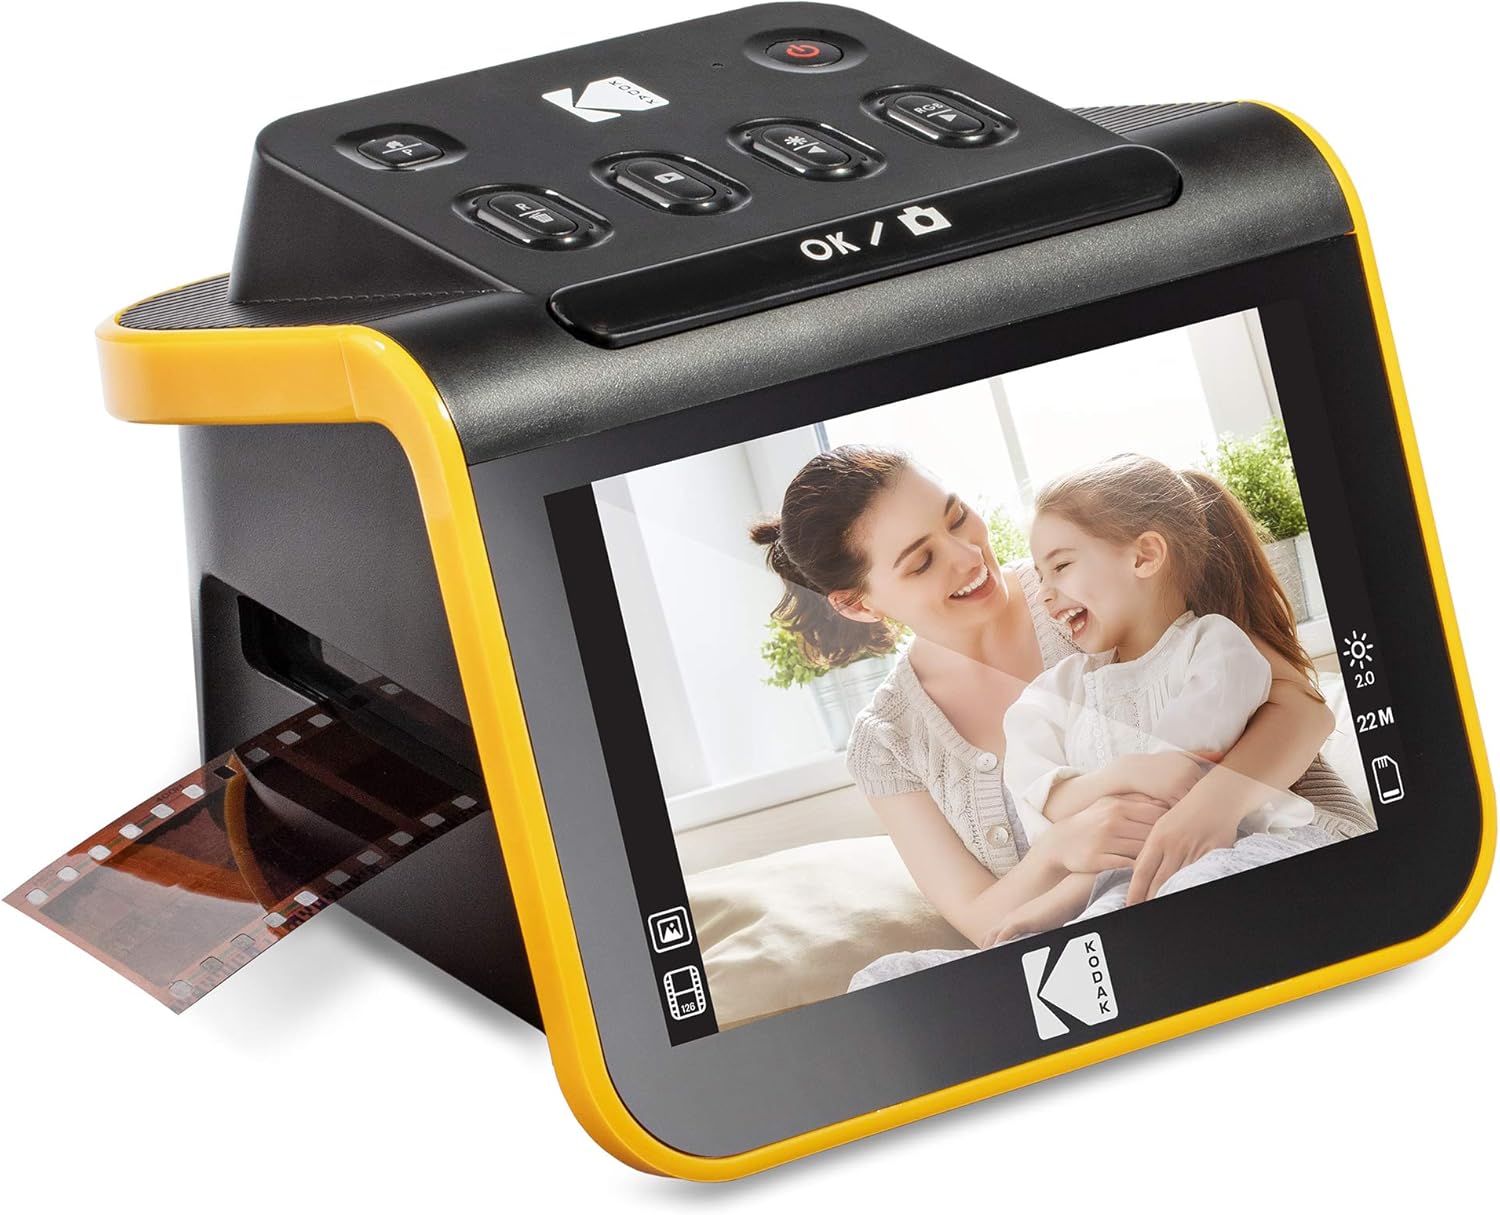
The KODAK Slide N Scan is a turn-key film and slide scanner aimed at users who want a simple, mostly hardware-driven path from old negatives and slides to digital JPEGs. It accepts 50mm slides and includes adapters for 135, 110 and 126 formats, uses a 13MP sensor with optional interpolation to 22MP, and previews images on a large 5" LCD so you can scan without a computer. Images save directly to an SD/SDHC card and the unit can also connect to a Mac or PC over USB or output to a TV via HDMI. The quick-feeding tray and easy-load inserts speed up batch work and the one-touch scan controls plus basic onboard editing (film type, color/brightness, date/time) keep the workflow straightforward. Limitations to note are the reliance on SD card storage for standalone operation, modest native sensor resolution before interpolation, and the basic image editing compared with desktop software. For users prioritizing a reliable, no-fuss way to digitize collections, this unit keeps the process simple and consistent.
Best for: Buyers who want a reliable, fuss-free way to digitize whole boxes of slides and negatives without depending on complex software or frequent troubleshooting, especially those who value predictable hardware workflows.
Less Ideal for: Photographers seeking the highest possible optical resolution or advanced image correction and batch-editing workflows on a Mac should consider flatbed scanners or dedicated film scanners with higher native sensor quality and desktop software support.
- Standalone operation with built-in 5" LCD for previewing and gallery mode
- Supports 135, 110, 126 negatives and 50mm slides with included adapters
- Quick-feeding tray and easy-load inserts for faster batch scanning
- Saves scans directly to SD/SDHC card and connects via USB or HDMI for transfer or display
- Simple one-touch scanning and basic onboard editing controls
- Requires an SD card to operate in standalone mode as one is not included
- Native sensor is 13MP with interpolation to 22MP rather than true higher optical resolution
Verdict: A dependable, easy-to-use standalone scanner that makes fast, consistent digitizing of slides and common negative formats simple for users who prioritize reliability.
KODAK SCANZA Film Scanner

| Compatible film types | 35mm, 126, 110, Super 8, 8mm |
|---|---|
| Image sensor | 14MP (interpolates to 22MP) |
| Display | 3.5" tilt-able LCD |
| Connection type | HDMI, USB |
| SD card support | Up to 128GB (SD not included) |
The KODAK SCANZA is a purpose-built film and slide scanner aimed at quickly converting common consumer film formats (35mm, 126, 110, Super 8, 8mm) into JPEGs saved to an SD card or exported via USB or HDMI. Setup is straightforward: load film into the numbered inserts, preview and adjust images on the 3.5-inch tilt-able LCD, then press Capture to save stills. The unit's 14MP sensor with optional 22MP interpolation delivers usable, archival-friendly photos for sharing and casual archiving, and included adapters and a brush make handling small-format film easier. Practical benefits include the built-in screen for immediate review, direct SD saving so you do not need a computer, and TV output for group viewing. Limitations are that it is not a flatbed scanner so extremely high-resolution professional scans will be inferior to dedicated drum or high-end flatbed devices, Super 8 converts only to still images, and the device will auto-shutoff after idle periods. For Mac users plan to use the SD card or USB transfer workflow since the unit is SD-forward and Mac compatibility is via standard file transfer rather than bundled Mac software.
Best for: Buyers who want a fast, simple way to digitize family negatives and slides for archiving and sharing, and who value an easy out-of-the-box workflow and visible preview over pro-level resolution.
Less Ideal for: Professional photographers, preservation labs, or users who need the absolute highest resolution and color fidelity should consider a high-end flatbed or drum scanner instead.
- Supports multiple consumer film formats including 35mm, 126, 110, Super 8 and 8mm
- Built-in 3.5" tilt-able LCD for previewing, editing and slideshow review without a PC
- Saves scans directly to SD card and offers USB and HDMI outputs for easy transfer and TV display
- Includes numbered inserts, adapter trays and a cleaning brush for straightforward film handling
- Not a flatbed scanner so it will not match the highest professional scan quality
- Super 8 film is converted into still images only, not video
- No SD card included so you need to supply compatible storage
Verdict: If you want an easy, all-in-one way to turn legacy negatives and slides into shareable JPEGs without a computer-heavy workflow, the SCANZA makes the process fast and simple.
Magnasonic FS71 24MP Film Scanner
| Scanner Type | Film, Photo |
|---|---|
| Connection Type | HDMI, USB |
| Resolution | 24MP (interpolation) / 16MP sensor |
| External Memory Card | SD up to 128GB |
| Scan Speed | 3-5 Seconds |
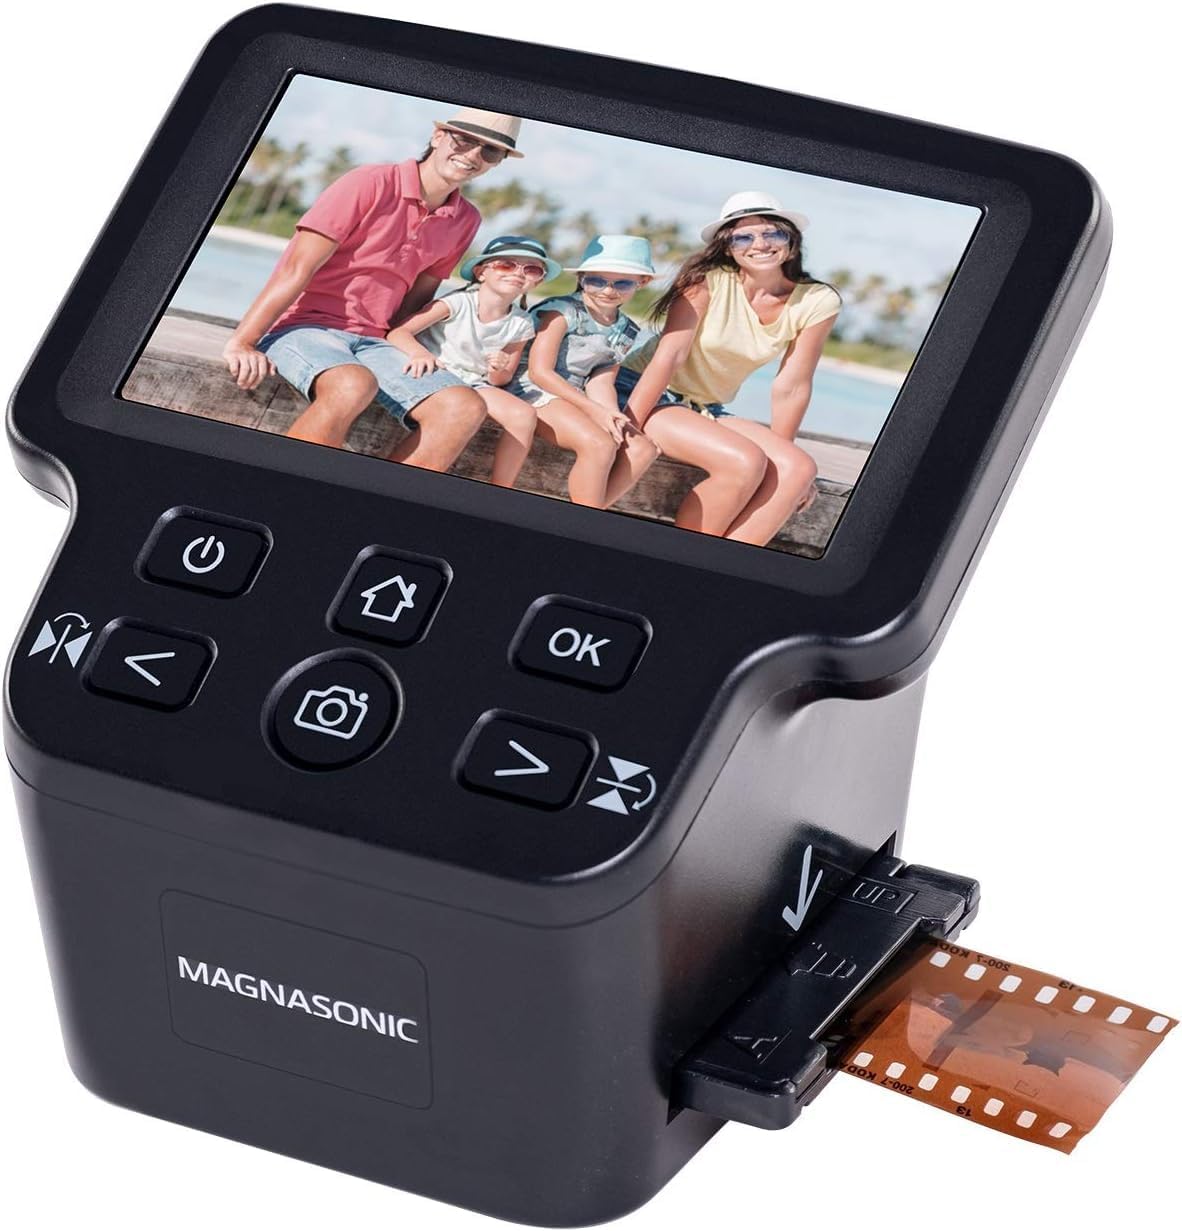
The Magnasonic FS71 is a standalone film and slide scanner designed to turn old negatives and slides into digital JPEGs without needing a computer. It accepts 35mm, 110, 126 and Super 8 film plus 135/126/110 slides and scans each frame in roughly 3 to 5 seconds, showing the result on a large 5" color LCD. You can adjust exposure and RGB color directly on the device, flip or mirror images, and save files to an SD card up to 128GB or transfer via USB. The unit also offers HDMI output to display scans on a TV and supports NTSC/PAL output. Resolution is listed as 16 MP sensor with 24 MP interpolation and scan quality up to 3280/4920 dpi interpolated, which is useful for sharing and printing standard-sized photos. Limitations include fixed focus optics and JPEG-only output, so it does not produce raw files for advanced restoration, and the interpolation claim inflates true native detail. For Mac users the scanner works via USB transfer but does not require drivers for basic SD card workflows, making it a low-friction option for cautious buyers who prefer predictable, standalone operation.
Best for: Buyers who want a low-risk, easy-to-use, standalone scanner to quickly digitize family slides and negatives without installing software or handling complex workflows on a Mac.
Less Ideal for: Photographers or archivists who need native RAW output, adjustable optics, or the highest true optical resolution for professional restoration should look at higher-end dedicated scanners.
- Standalone operation with on-board 5" LCD and controls so no computer is required for scanning and basic edits.
- Fast single-pass scans at about 3–5 seconds per frame, which speeds up large batches.
- Supports multiple film formats including 35mm, 110, 126 and Super 8, plus adapters included for common trays.
- Saves directly to SD card up to 128GB and offers HDMI output to view scans on a TV or monitor.
- Fixed-focus lens and JPEG-only output limit advanced restoration and high-end archival work.
- Resolution figures rely on interpolation so native sensor detail is more modest than advertised.
Verdict: A straightforward, no-fuss film scanner that reliably converts common film formats into shareable JPEGs without requiring a computer, ideal for cautious Mac users who prioritize simplicity.
Choosing the Right Negative Scanner for Mac: Key Factors to Consider
Optical Resolution and True Detail
Higher optical resolution matters when you need to enlarge scans or extract fine grain and texture from film. Look at the scanner's native optical resolution instead of interpolated numbers because interpolation only upsamples without adding real detail.
Optical resolution affects file sizes and post-processing time. If you plan to print or crop heavily, choose a scanner that provides a resolution headroom to retain detail after editing. For typical 35mm negatives, aim for a scanner that captures enough native pixels to achieve your intended output size without resorting to aggressive upscaling.
Dynamic Range and Tonal Latitude
Dynamic range determines how well a scanner captures highlight and shadow detail from negatives, which is critical for film that has high contrast scenes or aged dyes. A unit with greater tonal latitude lets you recover shadow detail without clipping highlights, producing more natural results in RAW conversion.
Higher dynamic range also reduces the need for extreme exposure adjustments in software, which preserves color fidelity. When evaluating scanners, consider how the device records RAW scan data and whether its output preserves the negative's subtleties for later color correction on your Mac.
Mac Software Compatibility and Workflow
Native macOS drivers and bundled scanning software make a big difference in setup and day-to-day scanning. Compatibility avoids running virtual machines or awkward third-party wrappers and ensures color management profiles and ICC workflows function correctly on a Mac.
Also consider whether the scanner exports high-bit-depth files and whether those files integrate smoothly with macOS editing tools and common photo editors. A scanner that offers straightforward TIFF or DNG output simplifies color correction and archival workflows on a Mac.
Film Format Support and Holders
Different film projects use different formats. Confirm the scanner supports the film sizes you work with, such as 35mm strips, 35mm slides, and medium-format frames. The quality and rigidity of film holders matter because poorly secured film can shift or bend, causing focus issues and light leaks.
If you digitize in batches, look for reliable multi-frame holders or dedicated feeders that keep alignment consistent. For single-frame or delicate negatives, consider scanners with individual frame holders and careful light source control to reduce handling damage.
Scan Speed and Batch Throughput
Throughput affects how much time you spend scanning versus editing. Faster scanners or those with efficient batch holders save time for large projects, but speed should not come at the expense of image quality. Check whether faster modes reduce resolution or bit depth.
Also evaluate how the scanner manages previews and prescans. A responsive preview workflow on macOS shortens the adjustment cycle. For heavy workloads, factor in how long post-scan processing takes on your Mac, since larger high-bit-depth files demand more CPU and storage resources.
Build Quality and Long-Term Reliability
Film scanning often requires precise mechanics and stable illumination. Solid build quality reduces the chance of light leaks, misalignment, and mechanical wear. Metal or well-engineered plastic holders and accurate transport systems yield more consistent results over time.
Consider warranty terms and support options that cover macOS compatibility issues. A scanner that arrives with comprehensive documentation for macOS users will save setup time and reduce the risk of compatibility surprises after major macOS updates.
Color Management on macOS
Getting accurate color from negatives requires a good color management workflow on your Mac. Start by setting a consistent color profile for your editor and ensure the scanner outputs in a high-bit-depth format such as 16-bit TIFF or a DNG raw file. This preserves tonal detail for color correction and reduces banding during edits.
Use an ICC profile pipeline when possible and keep your monitor calibrated. A calibrated display reveals the full tonal range captured by the scanner and helps you make reliable adjustments. If the scanner includes its own color correction tools, test their results versus raw output to decide whether to rely on the device software or your preferred Mac editing suite.
- Prefer 16-bit output for smoother gradients
- Calibrate your monitor with a hardware calibrator
- Use scanner or custom ICC profiles for consistent color
Working With Different Film Types
Black-and-white, color negative, and slide film each pose different scanning challenges. Black-and-white responds well to high dynamic range capture, while color negatives need accurate color inversion and careful handling of orange mask corrections. Slides demand precise exposure control to avoid highlight clipping.
When scanning different film types, create or use tailored presets in your Mac editing software. Presets help you speed up batch processing while keeping consistent tonal and color corrections across similar rolls.
- Make presets for film type and ISO range
- Verify results on a few test frames before batch scanning
- Pay attention to film age and shrinkage when loading holders
Storage and File Management for High-Resolution Scans
High-resolution, high-bit-depth scans produce large files that require a practical storage strategy. Use fast external drives for working files and archive final TIFFs or DNGs to a separate long-term storage solution. Organize scans with a consistent folder and naming scheme to simplify retrieval.
Consider local SSDs for active projects to speed up editing on your Mac. Backups are essential because film scans often represent unique originals. Implement a routine backup system that includes an offsite or cloud copy for irreplaceable images.
- Keep active projects on an SSD for better performance
- Archive completed scans to slower, larger-capacity storage
- Use consistent file naming with metadata for easy searching
Maintenance and Calibration Tips
Regular cleaning of holders, glass, and the scanner's light source prevents dust spots and streaks. Use a soft brush and blower for film and lint-free cloths for glass. Avoid liquids near sensitive optics unless the manufacturer specifically allows them.
Periodically check alignment and holder integrity to prevent focus issues. If your workflow demands color accuracy, perform scanner calibration if the device supports it or run reference scans of a known target to measure consistency over time.
- Clean film and holders before each scan session
- Store film flat and in archival sleeves to reduce warping
- Run occasional reference scans to monitor scanner stability
Integrating Scans Into Your Editing Workflow
Decide whether to perform primary corrections in the scanner software or in your main editor on macOS. Many professionals capture raw output and do inversion and color work in a dedicated RAW processor for greater control. If you prefer a one-step approach, ensure the scanner's software can export high-quality TIFFs that are easy to refine.
Create channel-based or non-destructive workflows in your Mac editing app to preserve original scan data. Use virtual copies or versions when experimenting with different inversion and colorization approaches to keep the master file intact.
- Capture raw or 16-bit files for maximum editing flexibility
- Use virtual copies to preserve master scans
- Batch-apply basic corrections to speed up large projects
How We Chose the Best Negative Scanner for Mac
We focused on scanners that deliver reliable film digitization on Mac computers and that support common film formats. Our editorial filters prioritized optical resolution and dynamic range because those specifications directly affect how much detail and tonal information you can recover from negatives. We also evaluated native macOS software support and driver stability, since seamless integration avoids time-consuming workarounds. Other criteria included physical film handling features such as dedicated film holders or batch-feeding capabilities, the scanner's ease of use for both beginners and experienced users, and included or compatible scanning/RAW-conversion tools that run on Mac. We excluded multi-function photo scanners that lack true film-focused optics or that depend solely on third-party Windows-only drivers. We also screened out units that do not support at least 35mm film or that have unclear dynamic range claims. The final list balances technical scan metrics with real-world usability on macOS.
Our full evaluation process is outlined in our review methodology.
FAQ
Do I need special drivers to use a negative scanner on a Mac?
Often scanners offer native macOS drivers or bundled macOS software. Check compatibility before buying because drivers vary by model. If native drivers are not available, some scanners may work through third-party macOS utilities but that can limit features.
What file format should I choose for archival scans?
For archival work, use 16-bit TIFF or a lossless RAW format like DNG when available. These formats preserve the most tonal information and provide headroom for future edits without introducing compression artifacts.
How important is dynamic range compared with resolution?
Both matter but serve different goals. Dynamic range affects how well you can recover shadows and highlights, while resolution controls fine detail. For many film projects, slightly lower resolution with higher dynamic range produces more usable images than high-resolution scans with limited tonal latitude.
Can I scan both 35mm and medium-format film with the same scanner?
Some scanners support multiple formats through interchangeable holders or adapters. Verify the device supports the specific formats you use and that usable holders are included or available separately. Proper holders are necessary to maintain focus and alignment across formats.
How do I reduce dust and scratches during scanning?
Handle film with clean, dry hands or wear lint-free gloves, and use an anti-static blower and soft brush before scanning. Many workflows include digital dust removal in software, but preventing dust on the negative is the most reliable approach for clean results.
Final Verdict
Choosing a negative scanner for Mac comes down to balancing optical resolution, dynamic range, and how smoothly the device integrates with your macOS workflow. Prioritize native Mac compatibility and high-bit-depth output if you plan to do detailed color correction or archival work. For large projects, consider throughput and reliable film holders to reduce handling time. Decide which tradeoffs matter most for your goals: pick higher dynamic range for tonal recovery, higher native resolution for large prints, or better software integration for a faster Mac-based workflow. With those priorities set, you can narrow the field and choose a scanner that meets your technical needs and daily scanning habits.