
Note: This article contains affiliate links. If you click on these links and make a purchase, we may earn a small commission at no extra cost to you. This helps support our research and content. Read our full affiliate disclosure here.
If you are just starting with desktop 3D printing, choosing an accessible machine matters more than chasing specs. Beginner-focused 3D printers under $300 prioritize simple setup, predictable first prints, and a forgiving learning curve so you can progress without constant troubleshooting. This guide covers the top shortlisted models in that price bracket and explains the practical tradeoffs between print quality, build volume, and ease of use. We evaluate each printer on real-world factors that affect daily printing and learning, then summarize what to prioritize for your first machine.
Top Picks at a Glance
| Best Overall The best all-around choice for most situations | Creality K2 SE 3D Printer | 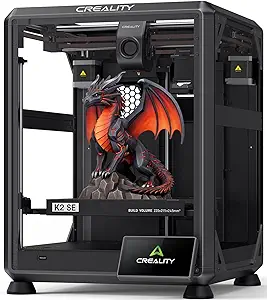 |
| Best Quality Built to a higher standard if you want something more solid | Bambu Lab A1 3D Printer |  |
| Best Value The sweet spot between price and what you get | LONGER LK5 Pro 3D Printer |  |
| Best Budget The cheapest option that still gets the job done reliably | TANGXI Mini 3D Printer |  |
| Top Rated A top-rated pick with lots of positive feedback | ELEGOO Neptune 3 Pro |  |
| Most Popular A crowd favorite that many people choose with confidence | Creality Ender 3 V3 SE |  |
| Best Seller A high-volume bestseller chosen again and again | FLASHFORGE Adventurer 5M |  |
Creality K2 SE 3D Printer
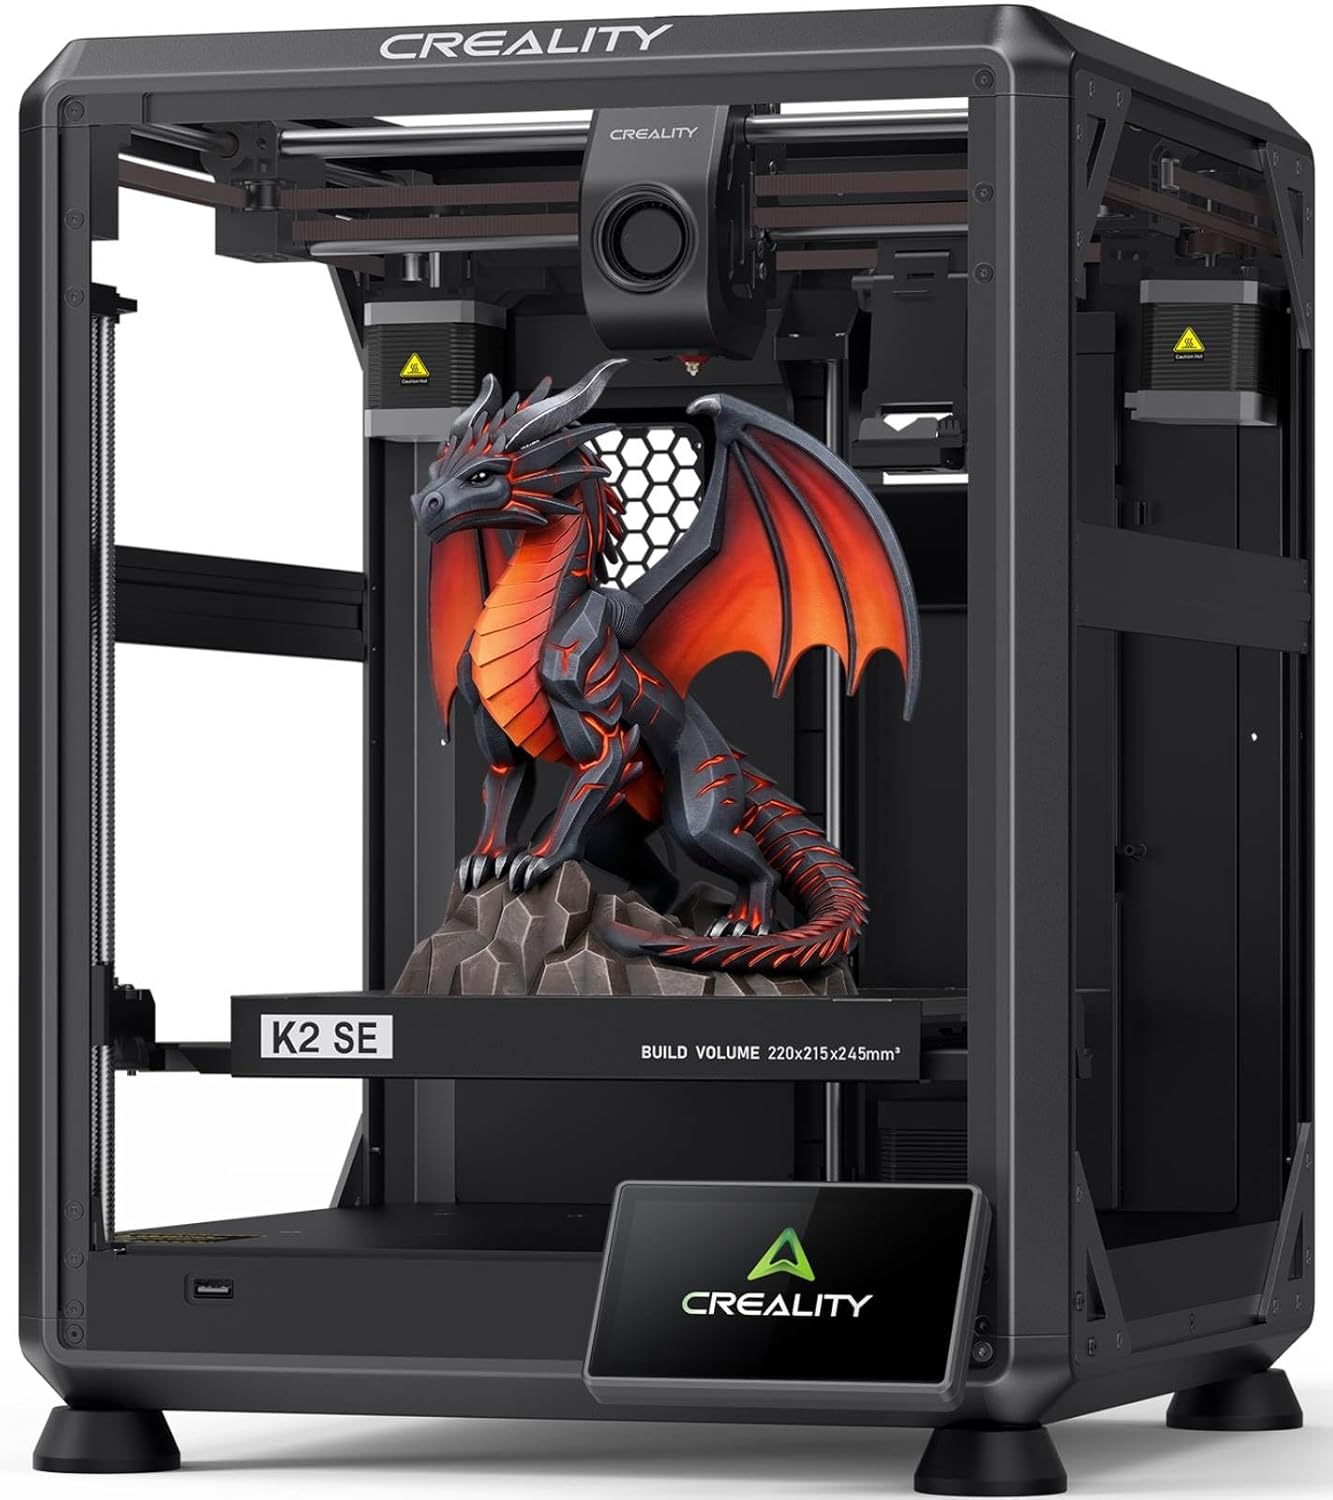
| Build Volume | 220×215×245mm |
|---|---|
| Max Printing Speed | 500mm/s |
| Extruder | Dual-gear Direct Drive |
| Nozzle | Quick-swap Nozzle |
| Filaments Supported | PLA/PETG/TPU 95A/PLA-CF |
The Creality K2 SE is a beginner-friendly CoreXY FDM printer aimed at fast, reliable desktop prints. It ships partially preassembled and uses a die-cast aluminum frame and dual-side crossbeams for rigidity, which helps reduce wobble at high speeds. The CoreXY motion system, input shaping, and vibration sensor let it attempt print speeds up to 500mm/s with high acceleration while maintaining decent surface detail. The modular direct drive extruder with hardened dual-drive gears, quick-swap nozzle, and filament run-out sensor makes filament handling simpler and broadens material compatibility. Setup is straightforward thanks to a touchscreen quick guide and one-tap automatic bed leveling, so novices can get usable prints quickly. It also supports Creality CFS multicolor upgrade and connects to Creality Print and Creality Cloud for slicing and remote control. Trade-offs are practical: achieving the fastest claimed speeds requires tuning and may reduce fine detail, and the 220×215×245mm build volume is generous for hobby projects but modest compared with larger-format machines.
Best for: Someone who wants a plug-and-play desktop 3D printer that balances speed, stability, and ease of use for learning, prototyping, and hobby projects.
Less Ideal for: Users who primarily need very large-format printing or those seeking absolute finest-detail resin-level output should look at other platforms.
- Sturdy die-cast aluminum frame and bracing for stable, repeatable prints
- CoreXY motion with input shaping and vibration sensor reduces ringing at higher speeds
- Direct drive extruder with dual-gear feed and quick-swap nozzle improves filament control and maintenance
- One-tap automatic bed leveling and touchscreen quick guide simplify setup for beginners
- Compatible with Creality CFS multicolor system and Creality Print/Cloud for expanded workflows
- Top advertised speeds require careful tuning and may sacrifice fine detail
- Build volume is moderate and may limit very large prints
Verdict: A beginner-focused Creality desktop printer that delivers a rare combination of high-speed CoreXY performance and easy out-of-the-box setup, making it a strong all-round option under $300.
Bambu Lab A1 3D Printer

| Build volume | 256 × 256 × 256 mm |
|---|---|
| Supported filaments | PLA, PETG, TPU, PVA |
| Noise level | ≤48 dB |
| Auto calibration | Full-auto (Z-offset, bed-level, resonance, nozzle pressure) |
The Bambu Lab A1 is an entry-friendly FDM printer built to get prints running with minimal fiddling. It automates Z-offset, bed leveling, vibration resonance and nozzle pressure so first-time users avoid manual tuning, and an active flow-rate compensation system helps maintain consistent extrusion quality. The open-frame machine supports a 256 × 256 × 256 mm build volume, accepts common filaments like PLA, PETG and TPU, and can be paired with the AMS lite accessory for reliable multi-color printing and RFID-synced filament profiles. A modern touchscreen and cloud or LAN connectivity simplify job control, while active motor noise canceling keeps operation under 48 dB for a quieter workspace. Expectations should be managed for advanced tuning or exotic materials since the A1 is positioned as a beginner-focused, high-speed platform rather than an industrial enclosed system, and multi-color capability requires purchasing the AMS lite separately or choosing a combo package.
Best for: Buyers who want a high-performance, low-friction introduction to 3D printing and prioritize fast, reliable first prints and automated calibration over manual tuning.
Less Ideal for: Users who need an enclosed, temperature-stable chamber for printing high-temperature specialty plastics or who require multi-color printing without buying add-on hardware.
- Full-auto calibration removes most manual setup for faster first prints
- Active flow-rate compensation yields more consistent extrusion and surface finish
- Large 256×256×256 mm build volume for an entry-level machine
- Quiet operation with motor noise canceling makes it suitable for home use
- Supports multi-color printing via AMS lite with RFID-synced filament profiles
- Multi-color printing requires purchasing the AMS lite accessory separately
- Open-frame design limits temperature control for demanding materials
Verdict: If you want a beginner-friendly printer that delivers fast, quiet, and largely hands-off prints, the Bambu Lab A1 is a top-performing pick under $300.
LONGER LK5 Pro 3D Printer

| Build volume | 300×300×400mm |
|---|---|
| Pre-assembled | 90% pre-assembled |
| Touchscreen | 4.3-inch full color |
| Driver | TMC2208 ultra-silent driver |
The LONGER LK5 Pro is a largely preassembled FDM 3D printer designed to give new users a bigger work area without a steep setup curve. It ships roughly 90% assembled and uses a reinforced triangular frame and diagonal rods for stability while printing tall parts. Practical conveniences include a 4.3-inch color touchscreen for on-device control, a lattice glass build plate for flatter beds and easier part removal, and a filament runout sensor plus resume-after-power-loss to protect long prints. Motion is driven by quiet TMC drivers and dual blowers on the hotend help cool extruded filament quickly to reduce stringing and deformation. The board is open source so you can tweak firmware or add a BLTouch probe later. Expect solid basic prints out of the box, but you may need tuning for first-layer adhesion and occasional manual adjustments since advanced auto-leveling hardware is not included. The LK5 Pro balances a large printable volume and beginner-friendly features at an entry-level price, making it a practical choice for hobbyists who want to grow into more advanced tweaks.
Best for: Buyers who want a sizable, practical starter printer that minimizes assembly and offers room to learn firmware and hardware upgrades while producing usable prints.
Less Ideal for: Those who want a turnkey, maintenance-free machine with built-in auto bed leveling and plug-and-play perfection should consider higher-end models instead.
- Large 300×300×400mm build volume for bigger parts and prototypes
- 90% preassembled frame with reinforced diagonal rods reduces setup time and vibration
- Filament runout sensor and resume-after-power-loss protect long prints
- Quiet TMC stepper drivers and 4.3-inch color touchscreen improve usability and noise profile
- No factory-installed automatic bed-leveling probe included
- May require manual tuning and occasional calibration for reliable first layers
Verdict: If you want the largest usable print area and practical beginner features in an affordable, mostly preassembled package, the LK5 Pro is a sensible choice.
TANGXI Mini 3D Printer

| Build volume | 100 x 100 x 100 mm |
|---|---|
| Filament diameter | 1.75 mm |
| Supported materials | PLA, TPU |
| Nozzle | All-metal |
| Layer resolution | 0.05 mm |
This small TANGXI Mini FDM printer is aimed at first-time users who want a simple, ready-to-run machine for basic models and learning. It ships fully assembled and prints from G-code on a memory card so you can avoid slicing software at first, and the front-panel keys let you load filament and start or stop prints quickly. The heated all-metal nozzle reaches 180°C in about five minutes and the unit claims layer resolution down to 0.05mm, which helps produce clean, detailed PLA and TPU prints within its 100×100×100mm build volume. Construction uses ABS plastic for a durable feel and the compact footprint makes it easy to tuck onto a desk or workbench. Limits to expect: the small build area restricts you to modest-sized parts, advanced slicing features and onboard connectivity appear minimal, and performance will be more modest than larger, more expensive hobby printers. For a budget learning tool that gets you printing fast, this Mini printer is a sensible starter choice.
Best for: Buyers seeking an inexpensive, turn-key first 3D printer to learn printing basics and make small models without dealing with complex assembly or advanced software.
Less Ideal for: Users who need to print large parts, want Wi-Fi/USB printing or advanced slicing and calibration options for professional-grade results.
- Fully assembled and simple front-panel controls for quick setup
- All-metal nozzle with rapid heating (reaches 180°C in ~5 minutes)
- Supports common 1.75mm PLA and TPU filaments and fine layer resolution to 0.05mm
- Compact 100×100×100mm build area fits on small desks and classrooms
- Very small build volume limits the size of printable projects
- Minimal connectivity and reliance on card-based G-code limits workflow flexibility
- Likely fewer advanced slicing or calibration options compared with larger kits
Verdict: If you want the cheapest, ready-to-run 3D printer to learn printing and make small parts without assembly, this compact TANGXI Mini is a practical starter choice.
ELEGOO Neptune 3 Pro

| Build volume | 225 x 225 x 280 mm |
|---|---|
| Noise level | 47 dB |
| Extruder | Dual-gear direct drive |
| Auto leveling | 36-point automatic |
| Filament support | PLA, TPU, PETG, ABS |
The ELEGOO Neptune 3 Pro is a user-friendly FDM printer that arrives with most major assemblies pre-built so you can start printing quickly. It uses a dual-gear direct-drive extruder for reliable filament feeding across PLA, TPU, PETG and ABS, and a titanium throat plus improved heat sink and front cooling fan to reduce clogs during longer runs. Setup and first-layer tuning are simplified by 36-point automatic bed leveling while a filament runout sensor and power-loss resume protect multi-hour prints. The machine also employs dual lead screws and dual Z motors for steadier layer registration and quieter stepper operation reported around 47 dB. Practical limits include a modest 225 x 225 x 280 mm build volume that suits hobby parts but not very large prototypes, and occasional fine-tuning of slicer settings is still needed to get the best surface finish. For beginners who want a reliable, mostly out-of-the-box printer that handles common filaments and long prints with sensor safeguards, the Neptune 3 Pro is a sensible option under $300.
Best for: Beginners who prioritize a dependable, low-fuss printer that starts printing quickly and includes sensors and hardware aimed at reducing failed prints.
Less Ideal for: Users who need very large build capacity or who want a fully enclosed, high-temperature setup for specialty industrial materials.
- Pre-assembled main parts and full toolkit reduce setup time for beginners
- Dual-gear direct drive extruder improves filament grip and lowers clog risk
- 36-point auto bed leveling simplifies first-layer calibration
- Filament runout sensor and power-loss resume protect long prints
- Dual lead screws and dual Z motors increase Z-axis stability and print quality
- Build volume is modest for larger projects
- May require slicer tuning to optimize surface finish for tougher filaments
Verdict: A reliable, beginner-friendly desktop FDM printer with direct-drive feeding and sensor features that minimize failed prints and make getting started easier.
Creality Ender 3 V3 SE

| Item model number | Ender 3 V3 SE |
|---|---|
| Printing speed | up to 250 mm/s |
| Manufacturer | Creality 3D |
The Creality Ender 3 V3 SE is a beginner-friendly FDM 3D printer designed for quick setup and reliable everyday printing. It arrives as a mostly pre-assembled kit that the manufacturer says can be ready in about 20 minutes, and the CR Touch auto-leveling plus strain-sensor auto Z-offset make getting a solid first layer much easier for new users. The Sprite direct extruder handles PLA, PETG and flexible TPU more smoothly than a basic Bowden setup, while the dual Z-axis and dual Y linear shafts help reduce wobble for cleaner tall prints. A 32-bit silent mainboard keeps motor noise low, and the flexible PC spring steel build plate simplifies print removal. The unit is also set up for one-touch filament load and unload to streamline routine filament changes. Expect practical limitations common at this price point: build volume is compact, very high-speed prints may still require tuning to avoid artifacts, and advanced users will likely swap parts or tune firmware for optimal results. For beginners prioritizing ease of start and dependable everyday prints, this model strikes a useful balance.
Best for: Buyers who want an affordable, low-friction entry into 3D printing with solid community support and easy first prints.
Less Ideal for: Users who need large-format printing, industrial-grade throughput, or a fully enclosed workspace for high-temperature materials.
- CR Touch auto-leveling and strain sensor simplify first-layer setup
- Sprite direct extruder supports PLA, PETG, and TPU with smoother feeding
- Dual Z-axis and sturdy Y linear shafts reduce wobble for more accurate prints
- 32-bit silent mainboard reduces operating noise during prints
- Flexible PC spring steel build plate makes removing prints easier
- Relatively compact build volume compared with larger hobby printers
- High-speed printing claims may need tuning to maintain print quality
Verdict: A beginner-focused, easy-to-start 3D printer that balances automated leveling and a reliable direct extruder for dependable everyday prints under a tight budget.
FLASHFORGE Adventurer 5M
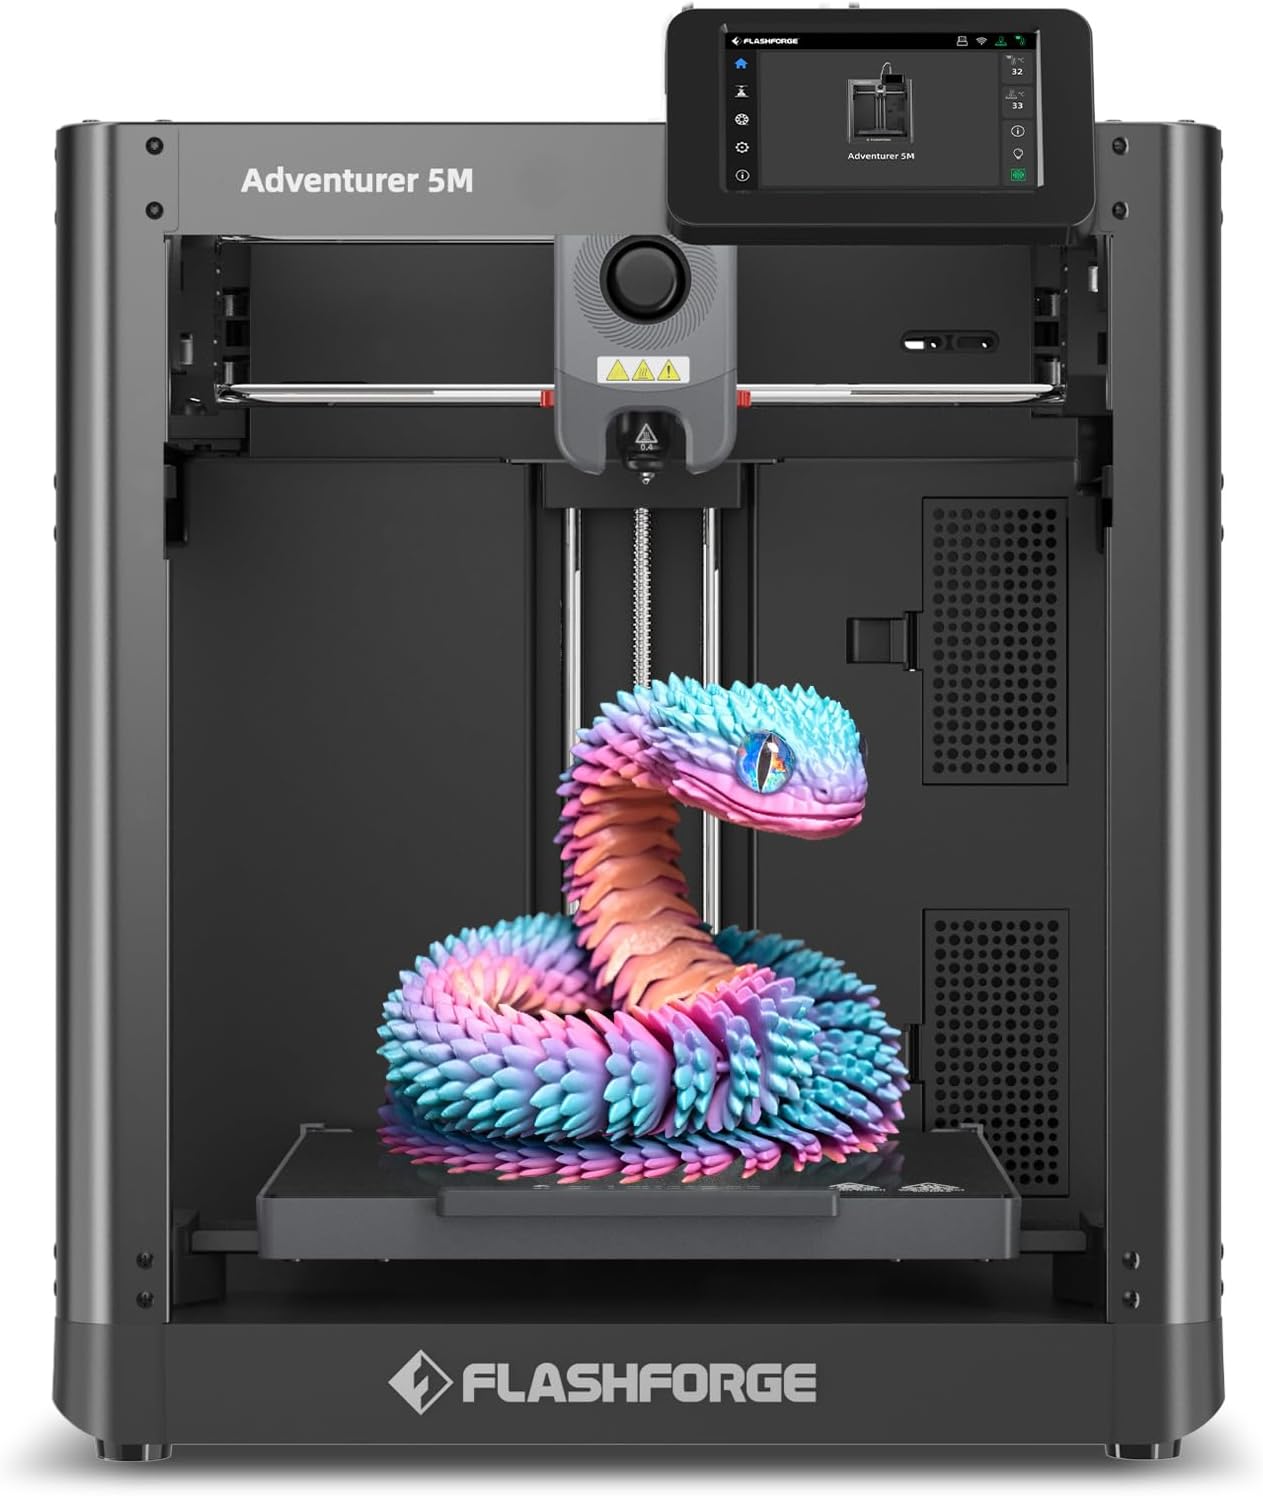
| Build Volume | 220 x 220 x 220 mm |
|---|---|
| Extruder Max Temp | 280°C |
| Travel Speed | 600 mm/s |
| Platform Type | Double-Sided PEI Platform |
| Structure | All-metal Core XY Structure |
The FLASHFORGE Adventurer 5M is a compact CoreXY desktop printer aimed at faster, straightforward 3D printing. It uses one-button automatic bed leveling and a 280°C direct-drive extruder with quick, tool-free nozzle changes to simplify setup and filament swaps, while a double-sided PEI platform makes part removal easier. The printer emphasizes speed with a quoted 600 mm/s travel and high acceleration, plus a high-flow nozzle option and fast warm-up that shorten print cycles for prototypes and small production runs. Built-in features such as vibration compensation, dual-fan cooling, and support for common filaments (PLA, ABS, PETG, TPU) help maintain good surface finish at higher speeds. For a risk-averse beginner the automatic leveling and mobile app monitoring reduce common setup errors and make day-to-day operation less fiddly. Limitations include a modest 220 mm cubic build volume that constrains larger projects and a focus on speed that may require dial-in for best quality on complex prints; higher-temperature materials beyond 280°C and advanced multi-material workflows are not supported on this model without upgrades.
Best for: Buyers seeking a beginner-friendly printer that minimizes setup hassles and offers faster prototype throughput without complex manual calibration.
Less Ideal for: Users who need large-format printing, advanced multi-material setups, or very high-temperature printing beyond 280°C should consider different models.
- One-button automatic bed leveling reduces initial setup and first-layer failures
- CoreXY all-metal structure and high travel speeds for faster printing and better positional accuracy
- 280°C direct-drive extruder with quick-change nozzle supports common engineering filaments
- Double-sided PEI platform enables easy part removal and good adhesion control
- Mobile app remote monitoring and intelligent features simplify running prints for beginners
- 220×220×220 mm build volume limits print size
- High-speed settings may require tuning to match print quality on detailed parts
Verdict: A beginner-focused CoreXY printer that reduces setup risk with auto-leveling and app monitoring while delivering faster prints in a compact format.
Choosing the Right 3D Printer: Key Factors to Consider
Ease of Setup and First-Print Experience
How quickly you can assemble, level, and produce a usable print matters a lot for beginners. Machines that come preassembled or with minimal assembly steps reduce the initial friction. Clear, labeled wiring, simple bed-leveling procedures, and calibrated slicer profiles all make it more likely you will get a successful first print.
A positive first-print experience encourages continued learning. If setup is overly technical or the printer requires constant tuning just to stick a part to the bed, new users often become discouraged. Prioritize printers with straightforward instructions and out-of-the-box presets that match common filaments.
Print Reliability and Maintenance
Consistency across multiple prints is more valuable than occasional high-resolution successes. Reliability includes how well the printer handles filament feeding, bed adhesion, and dimensional accuracy without frequent adjustments. Consider how often routine maintenance is needed and whether replacement parts are easy to access.
Maintenance simplicity affects total ownership time. Features like removable magnetic beds, straightforward belt tensioning, and accessible extruder assemblies reduce downtime and make it easier to keep the machine printing reliably as you learn.
Print Quality and Resolution
Print quality determines how detailed and functional your parts will be. Layer height, extrusion consistency, and stable motion mechanics influence surface finish and small-detail fidelity. For beginners, look for a machine that delivers acceptable detail at common layer heights like 0.2 mm rather than chasing the lowest possible micron numbers.
Good quality at practical speeds is preferable to fragile ultra-fine prints that require constant tuning. Also consider whether the firmware and slicer profiles provided produce sensible default retraction and cooling settings for common filaments.
Build Volume and Project Fit
Build volume defines the largest object you can print in one piece and affects what projects are realistic without scaling or splitting. For many new users, a modest bed size is sufficient for toys, small tools, and household parts. Larger volumes are handy if you plan to print bigger prototypes but often increase the machine footprint.
Balance the size of projects you anticipate against the space the printer will occupy and the ease of maintaining a larger bed. A slightly smaller but more reliable build area is often a better tradeoff for first-time users than a larger, finicky bed.
Safety Features and Usability Controls
Beginner printers should include basic safety and usability features such as thermal protection, power recovery, and accessible emergency stop options. Clear, responsive controls on a usable interface reduce accidental errors and make routine tasks like pausing a print or preheating the bed straightforward.
Consider whether the printer has protective covers for moving parts, how exposed hot surfaces are, and whether filament paths are easy to clear. These elements protect both the machine and the user while simplifying troubleshooting when issues arise.
Documentation and Community Support
Good documentation shortens the learning curve for new users. Look for clear setup manuals, quick-start guides, and slicer profiles that match the machine. Active community forums, tutorials, and video guides can be invaluable when you run into issues that the manual does not address.
Support availability matters more than raw specs for beginners. Machines with accessible spare parts lists, step-by-step troubleshooting resources, and an engaged user base will keep you printing while you learn.
Material Choices and Filament Compatibility
For beginner machines under $300, the best filament to start with is PLA because it prints at lower temperatures, has minimal warping, and is forgiving on adhesion. Most entry-level printers in this price range handle PLA well and include appropriate temperature ranges in their stock hotends and beds.
If you plan to try PETG later, check that the printer can reach moderate hotend temperatures and that the bed surface supports PETG adhesion without fusing. Flexible filaments and high-temperature engineering plastics generally require upgrades, so treat those as intermediate goals.
- PLA: Easiest and most consistent for first-time prints
- PETG: Good second-step material if the printer reaches higher temps
- Flexible filaments: Often need direct-drive extruders or specialized setups
Bed Leveling and Adhesion Strategies
Bed leveling is a common pain point for new users. Many affordable printers include manual leveling with thumb screws; some include assisted or semi-automatic systems that make it easier to dial in a good first layer. Learn the basic paper or feeler calibration techniques even if the machine offers assisted leveling.
Adhesion is a mix of bed surface type, first-layer settings, and ambient conditions. A removable magnetic build plate or textured surface simplifies part removal and cleanup. If adhesion issues arise, simple remedies like a brim, glue stick, or adjusted first-layer height are typically sufficient.
- Manual leveling: learn the basics to maintain reliable adhesion
- Assisted leveling: reduces day-one frustration
- Removable plates: speed cleanup and part removal
Slicer Basics and Presets
Slicer software translates 3D models into printer instructions. Beginners benefit from sensible presets that pair with the printer and filament. Use the manufacturer or community-provided profiles when available and start with conservative speeds and 0.2 mm layer height.
Understand a few core settings: layer height, print speed, infill, and support structure. Incremental changes are the safest way to learn. Back up working profiles so you can revert to them after experimenting.
- Start with default presets and make small adjustments
- Focus on layer height and print speed for visible improvements
- Save tested profiles to avoid losing working settings
Workspace Setup and Ventilation
Set up your printer on a stable, level surface away from drafts to reduce layer adhesion issues and warping. Keep filament spools dry and stored in sealed containers with desiccant when not in use to avoid moisture-related print problems.
While PLA produces minimal odor, decent room ventilation is still a good practice, especially when printing for long periods. Ensure there is adequate space around the printer for filament changes and maintenance.
- Stable surface and leveled location improve print consistency
- Dry storage prevents filament issues
- Good ventilation and clearance around the machine aid safety and maintenance
Upgrades Worth Considering Later
As you gain experience, a few low-cost upgrades can significantly improve reliability and print quality. Common first upgrades include a better bed surface such as glass or magnetic PEI, an improved extruder or filament path to reduce jams, and routine replacement of wear items like nozzles and belts.
Firmware and slicer tweaks can also yield better results without hardware changes. However, defer upgrades until you are comfortable with baseline operation so you can judge the effect of each modification.
- Replace nozzles for consistent extrusion
- Consider a PEI or glass bed for easier adhesion and flatness
- Tune firmware and slicer profiles before spending on hardware
How We Chose the Best 3D Printer
We shortlisted 3D printers that suit new users on a modest budget and then applied consistent, category-specific filters to pick the most practical options. First, we required reliable out-of-the-box setup and usable default profiles so beginners can get a successful print on the first day. Second, we prioritized consistent print quality for common filaments like PLA and PETG over headline speed claims. Third, build volume and bed type were assessed to ensure the printer can handle typical starter projects such as toy parts, small functional prints, and household fixes. Fourth, we looked at safety and usability features, including enclosed electronics, clear controls, and accessible leveling aids. Fifth, we examined community support and documentation quality because helpful guides and active forums shorten the learning curve. We excluded open-frame kits that demand extensive assembly or tuning and machines that rely on experimental filament systems not suitable for beginners. Our scoring emphasized ease of setup, print reliability, usable build volume, user safety and ergonomics, and documentation/community support. These dimensions reflect what new owners will encounter during their first months of printing.
Our full evaluation process is outlined in our review methodology.
FAQ
What should my first filament be for a beginner 3D printer?
PLA is the best first filament because it prints at lower temperatures, is less prone to warping, and is easy to remove. It requires minimal tuning and is compatible with most entry-level printers.
How important is build volume for a first machine?
Build volume matters depending on the projects you want to print. For toys, small tools, and prototypes, a modest bed is usually sufficient. Larger volumes are useful but can increase calibration complexity and the printer footprint.
Can I use these printers in a small apartment?
Yes. Many budget beginner printers are compact, but ensure you place the machine on a stable surface, maintain light ventilation, and manage filament storage to avoid moisture. Avoid enclosed, poorly ventilated closets.
Will I need to upgrade parts right away?
Most beginners do not need immediate hardware upgrades if they pick a machine with solid defaults. Simple consumables like spare nozzles may be useful, but major upgrades can usually wait until you understand your machine's behavior.
How do I handle failed prints when starting out?
Inspect the first layer for adhesion issues, check filament feed for jams, and review slicer settings for speeds and temperatures. Time spent learning simple fixes like adjusting first-layer height or using a brim often resolves common failures.
Final Verdict
For beginners on a limited budget, prioritize machines that deliver a good first-print experience and consistent, maintainable results. Focus on printers with straightforward setup, reliable default slicer profiles, and solid community documentation rather than headline specs. Accept tradeoffs between build volume and ease of use: a slightly smaller, stable bed is often a better learning platform than a larger, finicky one. With the right priorities you can pick a machine that helps you learn quickly and upgrade gradually as your skills grow.