
Note: This article contains affiliate links. If you click on these links and make a purchase, we may earn a small commission at no extra cost to you. This helps support our research and content. Read our full affiliate disclosure here.
Buying a 3D printer on a budget does not mean you must accept poor results or constant tinkering. If you plan to print small parts, prototypes, or hobby models under $350, you still need a machine that delivers consistent layer adhesion, usable bed size, and straightforward setup. This guide focuses on compact, affordable 3D printers that balance print quality, user-friendliness, and reliable hardware. Below are our top shortlisted picks in the under-$350 category. Each selection was evaluated for build reliability, print resolution, and how easy the unit is to get running so you can spend less time troubleshooting and more time printing.
Top Picks at a Glance
| Best Overall The best all-around choice for most situations | ANYCUBIC Kobra X 3D Printer |  |
| Best Quality Built to a higher standard if you want something more solid | Bambu Lab A1 3D Printer |  |
| Best Value The sweet spot between price and what you get | ELEGOO Neptune 3 Pro |  |
| Best Budget The cheapest option that still gets the job done reliably | SainSmart PrintyGo PrintyGo |  |
| Top Rated A top-rated pick with lots of positive feedback | Creality Ender 3 V3 SE |  |
| Most Popular A crowd favorite that many people choose with confidence | Creality K2 SE 3D Printer | 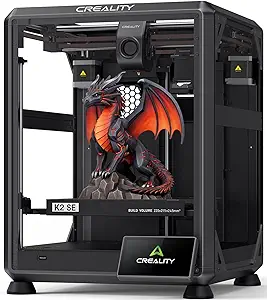 |
| Best Seller A high-volume bestseller chosen again and again | FLASHFORGE Adventurer 5M |  |
ANYCUBIC Kobra X 3D Printer

| Build volume | 260×260×260mm |
|---|---|
| Native colors | 4-color (expandable) |
| Auto-leveling | LeviQ 3.0 49-point |
| Camera | 720P AI monitoring |
| Recommended speed | Up to 600mm/s (high-speed capable) |
The ANYCUBIC Kobra X is an FDM printer aimed at fast, multicolor printing for small print farms or advanced hobbyists. It ships with native 4-color capability and an ACE GEN2 workflow that can expand to many more colors using additional filament hubs, which reduces material-change time and purge waste. The machine uses LeviQ 3.0 49-point auto-leveling to produce reliable first layers and a 260×260×260mm build volume that fits most mid-size parts. Anycubic emphasizes speed — the X can complete benchmark models very quickly — and includes a 720p camera plus AI detection for spaghetti and foreign object prevention, along with automatic power and filament recovery to keep long runs moving. Practical benefits include a compact top-mount spool layout for denser bench placement, lower filament waste during multicolor jobs, and fleet management via the Anycubic app. Important limitations for this price bracket are that true multicolor beyond four colors requires extra ACE 2 Pro hubs, and achieving the fastest speeds may need tuning and higher-quality filament to maintain print quality.
Best for: Buyers who want a fast, production-minded desktop printer that balances multicolor capability, automated bed leveling, and remote monitoring for batch work and workshop density.
Less Ideal for: If you only need simple single-color hobby prints or want full multicolor out of the box without extra accessories, a simpler single-extruder printer or an enclosed multi-material system may be a better match.
- Native multicolor support with ACE GEN2 reduces material-change time and purge waste
- 49-point LeviQ 3.0 auto-leveling for consistent first layers across prints
- High-speed capable FDM performance that shortens production time
- Integrated 720p camera and AI detection for remote monitoring and error prevention
- Top-mount, space-efficient spool design suited for denser printer placement
- Expanding to 19-color printing requires purchasing additional ACE 2 Pro hubs
- Peak high-speed settings may require extra tuning and premium filament to retain print quality
Verdict: Choose the Kobra X if you need a fast, multicolor-capable desktop FDM printer optimized for denser bench setups and small-scale production runs.
Bambu Lab A1 3D Printer

| Build Volume | 256×256×256 mm |
|---|---|
| Acceleration | 10m/s² |
| Ideal Supported Filaments | PLA, PETG, TPU, PVA |
| Item Weight | 22 pounds |
The Bambu Lab A1 is a ready-to-use FDM printer that focuses on speed, automation, and ease of use for hobbyists and newcomers who want high-quality prints with minimal setup. It handles full-auto calibration tasks such as Z‑offset, bed leveling, resonance and nozzle pressure, which reduces manual tuning before each job. The printer supports high-speed motion control and active flow rate compensation to keep extrusion consistent during fast prints, and it can be paired with the AMS lite accessory for reliable multi-color printing and RFID-synced filament profiles. Practical benefits include a generous 256 mm cubic build volume for its class, a touchscreen interface, quiet operation with motor noise canceling, and cloud or LAN connection options for remote control. Limitations to expect are that multi-color requires the AMS lite add-on, the open-frame design may not suit ABS-class high-temperature printing, and advanced users seeking extreme customization may find some automated workflows restrictive.
Best for: Buyers who prioritize fast, reliable prints with minimal manual tuning and want a beginner-friendly machine that still delivers serious performance.
Less Ideal for: People who need out-of-the-box multi-material/color printing or who print high-temperature engineering plastics requiring a fully enclosed heated chamber should consider other models.
- Full-auto calibration reduces setup and tuning for each print
- High-speed motion system with active flow rate compensation for consistent prints
- Large 256×256×256 mm build volume for more ambitious parts
- Supports multi-color printing with AMS lite and RFID-synced filament profiles
- Quiet operation and touchscreen make it easy to run in shared spaces
- Multi-color capability requires purchasing the AMS lite accessory separately
- Open-frame design limits enclosure-dependent high-temperature materials
Verdict: If you want a high-speed, largely hands-off 3D printer under $350 that scales beyond toy-size prints, the Bambu Lab A1 delivers strong performance for performance-focused hobbyists.
ELEGOO Neptune 3 Pro

| Build volume | 225 x 225 x 280 mm |
|---|---|
| Noise level | 47 dB |
| Extruder type | Dual-gear direct drive |
| Filament diameter | 1.75 mm |
The ELEGOO Neptune 3 Pro is a user-friendly FDM printer aimed at hobbyists and makers who want reliable prints without a steep learning curve. It ships with major subassemblies pre-assembled and a toolkit, so you can get to printing quickly; the 225 x 225 x 280 mm build volume handles most typical parts. The dual-gear direct drive extruder and upgraded nozzle path (titanium throat, brass nozzle, widened heat sink) improve filament feeding and reduce clogs, and the 36-point auto bed leveling helps produce a solid first layer with less fiddling. Practical features like a filament runout sensor and power-loss resume make longer prints less risky, and the PEI magnetic platform simplifies part removal. Quiet stepper motors and an STM32 controller keep operation smooth and reasonably quiet. Expect a dependable, general-purpose machine for PLA, PETG, TPU and similar materials, but advanced users chasing very high-speed printing, large industrial parts, or an enclosed heated chamber for ABS may find its capabilities limited.
Best for: Buyers who want a practical, reliable 3D printer that prints common filaments well and minimizes day-to-day printing headaches through automated leveling and runout/power-loss protections.
Less Ideal for: Users who need an enclosed, high-temperature industrial printer for large ABS or specialty engineering materials or those wanting the absolute fastest throughput at the expense of convenience.
- Dual-gear direct drive extruder for consistent filament feeding and fewer clogs
- 36-point auto bed leveling reduces setup time and improves first-layer reliability
- PEI magnetic removable build plate for easy part removal
- Filament runout sensor and power-loss resume protect long prints
- Quiet stepper motors and STM32 motherboard for smooth, low-noise operation
- Not enclosed, so it is less suited for high-temperature materials that need a heated chamber
- Assembly still requires some mechanical setup and calibration for best results
Verdict: A feature-rich, easy-to-use FDM printer that delivers dependable everyday prints and sensible safeguards for makers on a practical budget.
SainSmart PrintyGo PrintyGo
| Maximum print volume | 100×100×90mm |
|---|---|
| Compatible filaments | PLA, PLA+, PETG |
| Touchscreen | 5-inch |
| Print models included | 1,500+ ready-to-print |
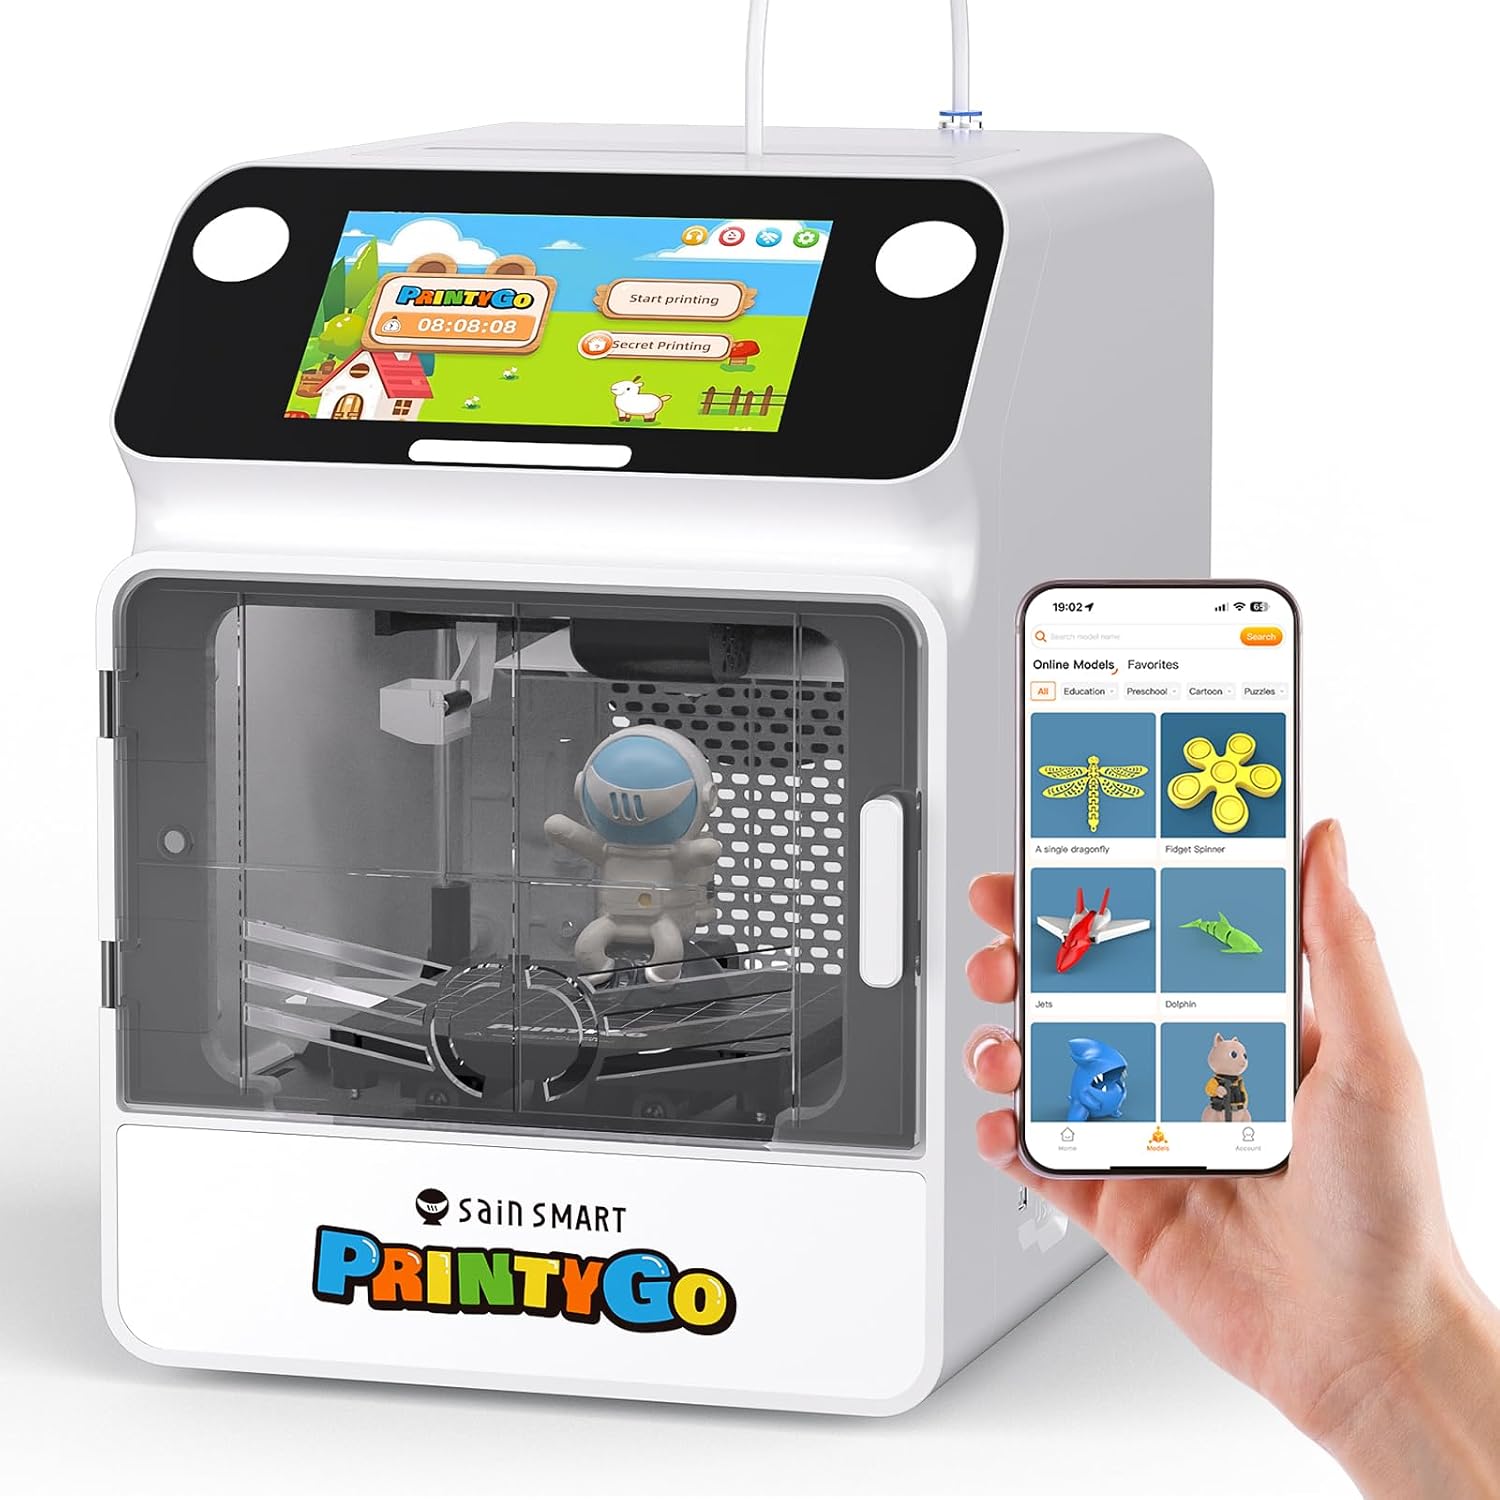
The SainSmart PrintyGo is a plug-and-play, kid-oriented desktop 3D printer that targets families and classrooms with minimal setup and safety features. It arrives pre-assembled and works standalone from its 5-inch touchscreen or via a companion app and Wi-Fi, so kids can browse the included library of 1,500+ ready-to-print models and start printing without a computer. The fully enclosed build and child-lock pause when the door opens reduce exposure to hot or moving parts, and the unit accepts PLA, PLA+ and PETG for safe, low-odor prints while advising against TPU use. With automatic leveling and included accessories such as a filament spool, bed glue and tools, it is suited for quick STEM projects and toy-scale models inside a kid-friendly space. Expect a small maximum build volume suitable for miniatures rather than large parts, and some users may need to tweak Z-axis leveling or use glue for first-layer adhesion. For buyers focused on low-cost, ready-to-use 3D printing for children, PrintyGo balances safety and ease of use at the expense of larger build capacity and advanced material flexibility.
Best for: Buyers who want an affordable, low-hassle 3D printer for children or classroom STEM activities that works out of the box and prioritizes safety and ease of use.
Less Ideal for: Makers who need large-format printing, advanced material support, or fine-grain control for professional prototyping should consider larger desktop printers instead.
- Pre-assembled and usable from the 5-inch touchscreen without a computer
- Built-in child safety features including enclosed body and door-triggered pause
- Large library of 1,500+ ready-to-print models for instant projects
- Compatible with common filaments PLA, PLA+ and PETG and includes starter filament and tools
- Small maximum build volume limits projects to miniatures and toys
- Not recommended for flexible TPU filament which reduces material versatility
Verdict: If you need an inexpensive, kid-safe, ready-to-run 3D printer for small STEM projects, PrintyGo delivers the easiest out-of-the-box experience.
Creality Ender 3 V3 SE

| Printing speed | up to 250 mm/s |
|---|---|
| Acceleration | 2500 mm/s² |
| Extruder type | Sprite direct extruder |
| Board | 32-bit silent mainboard |
| Build plate | PC spring steel flexible plate |
The Creality Ender 3 V3 SE is a budget-conscious FDM printer built for straightforward setup and reliable daily use. It ships as a mostly DIY kit that assembles in a few simple steps and includes CR Touch auto-leveling plus a strain sensor for automatic Z offset, which helps achieve a good first layer without manual fiddling. The Sprite direct extruder handles PLA, PETG and TPU reliably and the printer supports one-tap auto filament load and unload for convenience. A dual Z-axis with timing-belt synchronization and dual 8 mm Y-axis rails improve stability and reduce Z wobble for cleaner tall prints, while a 32-bit silent mainboard and advanced stepper drivers lower operational noise. The PC spring steel build plate is flexible for easier part removal. Limitations to note are its modest build volume and that high-speed printing settings may still require tuning to preserve fine detail; advanced users may want to tweak acceleration and jerk settings. For the price point it balances user-friendly automation and dependable hardware for routine prints.
Best for: Buyers who prioritize a dependable, easy-to-start printer that minimizes daily setup headaches and delivers consistent prints without extensive calibration.
Less Ideal for: Those who need very large build volumes, industrial-grade throughput, or plug-and-play advanced features for professional production should consider higher-end models.
- CR Touch auto-leveling and strain sensor streamline first-layer setup
- Sprite direct extruder compatible with PLA, PETG and TPU
- Dual Z-axis and reinforced Y-axis rails improve stability and reduce Z wobble
- 32-bit silent mainboard reduces noise and provides smoother stepping
- One-tap filament load/unload and flexible spring-steel build plate simplify workflow
- Smaller build volume compared with larger hobby printers
- High-speed settings may require tuning to maintain fine surface detail
Verdict: A reliable, user-friendly 3D printer that emphasizes automated leveling and stable mechanics to deliver consistent results for everyday hobbyists and makers.
Creality K2 SE 3D Printer
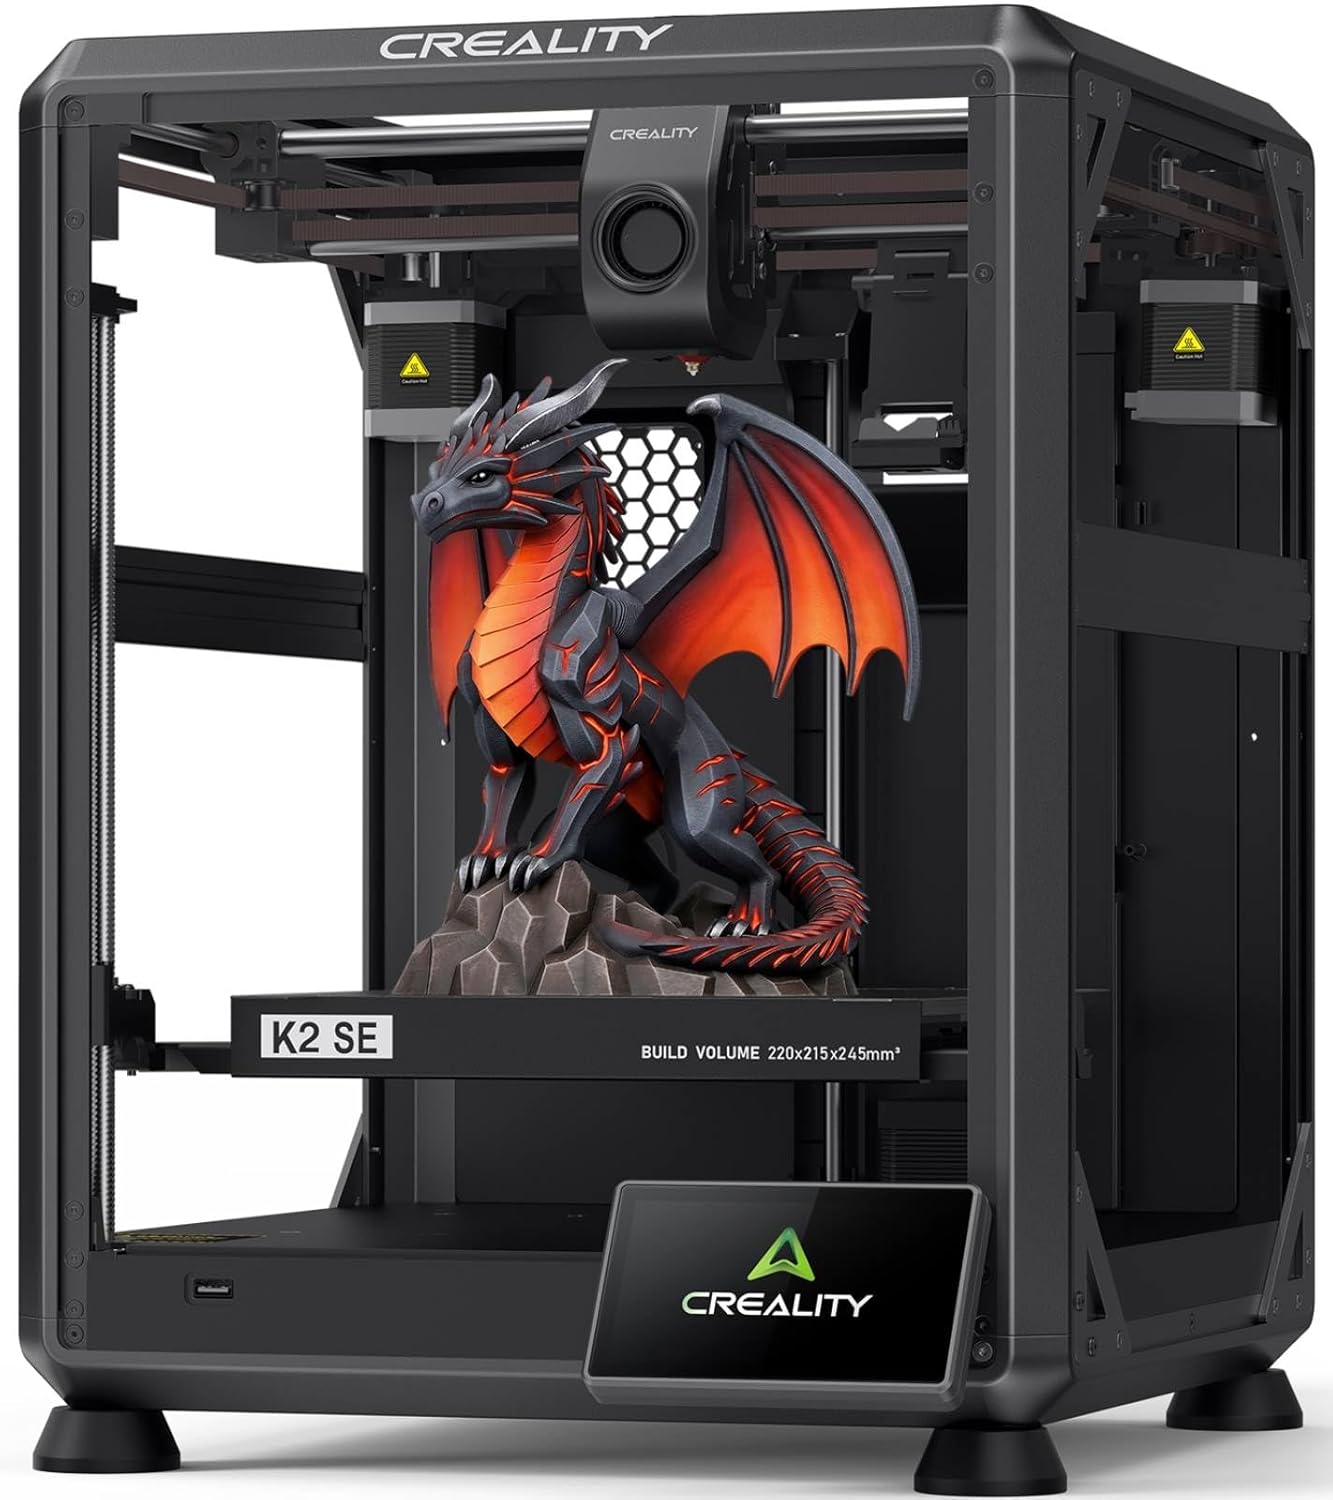
| Build Volume | 220×215×245mm |
|---|---|
| Max Printing Speed | 500mm/s |
| Extruder | Direct-drive dual-gear |
| Filaments Supported | PLA/PETG/TPU 95A/PLA-CF |
| Multi-Color Printing | Compatible with CFS (sold separately) |
The Creality K2 SE is a fast CoreXY desktop FDM printer aimed at hobbyists and makers who want higher throughput without a lot of setup fuss. It ships semi-assembled with a die-cast aluminum frame and reinforced crossbeams for mechanical stiffness, and it uses a direct-drive dual-gear extruder with a quick-swap nozzle and filament run-out sensor for consistent feeding. Creality advertises up to 500mm/s printing with input shaping and a vibration sensor to reduce ringing, which makes it useful for both draft-speed prototypes and reasonably detailed parts. The printer supports Creality CFS multicolor systems (sold separately) and integrates with Creality Print and Creality Cloud for slicing and remote control. Auto bed leveling, a touchscreen quick guide, and 5-minute assembly make it approachable for less experienced users. Limitations to note are that real-world top speeds depend on tuning and filament, and achieving the smoothest surface finish typically requires dialing in profiles rather than relying solely on high-speed presets.
Best for: Buyers who want a fast, out-of-the-box capable printer that can scale into multicolor and multi-material workflows while minimizing setup time and fiddling.
Less Ideal for: Users who need absolute factory-finish surface quality at high speed without spending time on tuning or those who want built-in multicolor hardware without extra purchases.
- Rigid all-metal die-cast frame improves dimensional accuracy at speed
- Direct-drive dual-gear extruder with hardened gears and quick-swap nozzle for reliable multi-material printing
- Automatic bed leveling and touchscreen setup reduce initial tuning time
- Supports Creality CFS multicolor system and Creality Print/Cloud for multicolor slicing and remote control
- Advertised 500mm/s is achievable only with careful tuning and light models, not guaranteed for all prints or materials
- Multicolor capability requires purchasing the Creality CFS system separately
Verdict: Pick the K2 SE if you want a stiff, fast CoreXY desktop printer that gets you printing quickly and can be expanded into multicolor workflows.
FLASHFORGE Adventurer 5M
| Build Volume | 220 x 220 x 220 mm |
|---|---|
| Extruder Max Temp | 280°C Direct Drive |
| Travel Speed | 600 mm/s |
| Platform Type | Double-Sided PEI Platform |
| Structure | All-metal Core XY Structure |
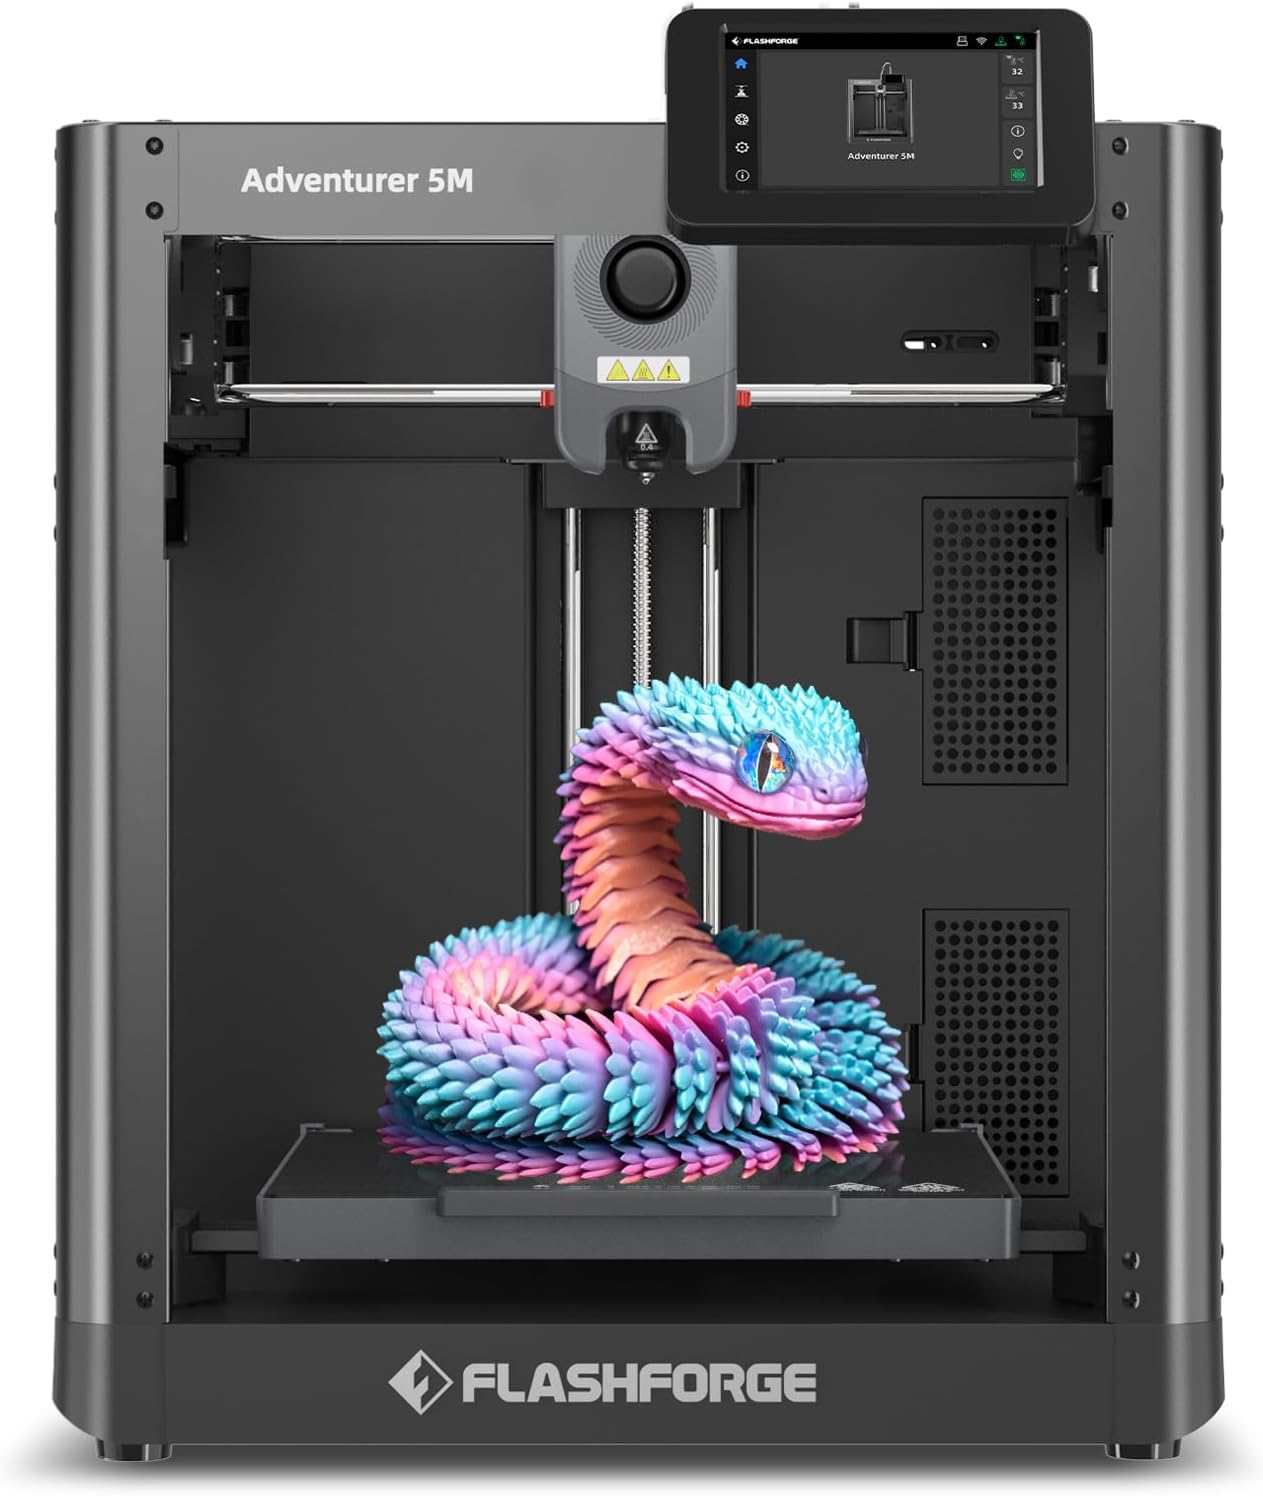
The FLASHFORGE Adventurer 5M is a CoreXY desktop machine built to prioritize speed and convenience for prototyping and light production runs. It uses one-button auto leveling and a 280°C direct-drive extruder with quick, tool-free nozzle swaps, so first-layer setup and nozzle maintenance are simpler than on many hobby printers. The printer targets high throughput with a claimed 600mm/s travel speed and aggressive acceleration plus a high-flow nozzle option for faster extrusion, while a double-sided PEI platform helps with part removal. It supports a broad range of filaments including PLA, ABS, PETG, TPU and carbon-fiber blends, and the Flash Maker mobile app enables remote monitoring. Practical limitations are that extreme top speeds often require fine tuning to keep quality acceptable, and customers should plan routine nozzle and bed care to maintain performance. For buyers who prefer a ready-to-run, feature-rich printer under $350, the AD5M balances accessible automation with industrial-style CoreXY performance.
Best for: Buyers who want a mostly turn-key desktop printer that emphasizes speed and easy setup for everyday prototyping and hobby production.
Less Ideal for: Those seeking absolute maximum print-detail for fine art models or users who prefer fully open-source ecosystems and deep firmware customization.
- Automatic one-button bed leveling simplifies first-layer setup
- CoreXY all-metal structure for faster, more stable motion
- Supports many common filaments including PLA, ABS, PETG and TPU
- Quick 3-second nozzle change and high-flow nozzle improve uptime and throughput
- Top advertised travel speeds may need tuning to avoid print artifacts
- High-speed printing increases need for regular maintenance of nozzle and platform
Verdict: If you want a feature-rich, fast CoreXY printer under $350 that minimizes fiddly bed leveling, the Adventurer 5M is a practical, risk-averse choice.
Choosing the Right 3D Printer: Key Factors to Consider
Print Quality & Resolution
Print quality determines how well fine details, curved surfaces, and part tolerances come out. Look at minimum layer height capability and whether the printer supports fine nozzle sizes. Higher nominal resolution does not guarantee perfect parts if the frame or extruder is inconsistent, so consider reviews and sample prints when possible.
Consistent extrusion path and a well-calibrated extruder reduce artifacts like blobs, stringing, and under-extrusion. For under-$350 models, small mechanical upgrades or careful calibration often yield the biggest print-quality improvements.
Build Stability & Frame Construction
A rigid frame reduces vibration and layer shifting, which directly affects dimensional accuracy and surface finish. Metal or well-braced aluminum frames perform better than thin, flexible assemblies. Check how axes are supported and whether linear rods or rails are used versus cheaper alternatives.
Sturdy construction also lowers routine maintenance and the frequency of re-calibration. If a printer includes adjustable belt tensioners, solid motor mounts, and quality fasteners, you will spend less time troubleshooting mechanical causes of failed prints.
Ease of Setup and Calibration
Time-to-first-print is important for hobbyists and newcomers. Consider how much assembly the printer requires and whether the manufacturer provides clear instructions, pre-calibrated profiles, or on-screen guidance. Automatic bed-leveling sensors greatly reduce manual tramming work, but manual leveling can be acceptable if adjustment points are accessible.
A user-friendly interface and reliable firmware reduce frustration during early use. Look for systems with straightforward file transfer options, such as SD card support and USB connectivity, plus common firmware that the community documents well.
Print Bed Size and Heated Bed Performance
Bed size dictates the maximum single-piece print you can produce. For many hobby projects, a modest bed (for example, around 200 mm square) is sufficient, but confirm the dimensions against the parts you intend to print. A heated bed expands material options and improves first-layer adhesion, especially for PETG and some flexible filaments.
Even under $350, effective thermal control and a flat, stable bed surface make a big difference. Removable or magnetic bed surfaces simplify part removal and maintenance.
Filament Compatibility and Extruder Design
A printer's extruder and hotend arrangement determine what filaments it can handle reliably. Direct-drive extruders generally handle flexible filaments better, while Bowden setups can be lighter and faster but may struggle with TPU. Ensure the hotend reaches the temperatures you need for PLA, PETG, or other hobby materials.
Check whether the filament path is enclosed, whether the extruder gears are metal, and whether the printer accepts standard filament diameters. These details affect the range of materials you can use without upgrading hardware.
Community Support and Upgradability
A strong user community provides printable upgrades, firmware tweaks, and troubleshooting help that extend a printer's useful life. Open-source or widely adopted firmware makes it easier to apply fixes and improvements. Upgradability matters for budget machines because modest hardware swaps can yield significant quality gains.
When a machine has documented upgrade paths for elements like auto-bed leveling, hardened nozzles, or better cooling ducts, you can gradually improve performance as your skills advance.
Materials and Filament Choices
Most under-$350 printers are optimized for PLA, which is forgiving and prints at lower temperatures. If you plan to print functional parts, check whether the machine's hotend and bed temperatures support PETG or higher-temperature filaments.
Flexible filaments require particular attention to the extruder path; direct-drive setups handle TPU more reliably than Bowden systems. Also consider filament diameter compatibility and whether the printer accepts third-party spools without modification.
- PLA: easiest to print and low-warp; good for models and prototypes
- PETG: stronger and more heat-resistant; needs a reliable heated bed
- TPU: flexible; best with direct-drive extruders
Common Setup Steps and Quick Calibration Tips
Expect to spend a couple of hours assembling and calibrating a budget machine. Key steps include leveling the bed, setting proper nozzle height, calibrating extruder steps per millimeter, and testing first-layer adhesion. Follow a checklist to avoid repeated failures.
Start with a simple benchy or calibration cube to tune flow rate and temperatures. If prints show layer shifting or ringing, check belt tension and pulley alignment before adjusting advanced firmware settings.
- Tighten belts to reduce slack but avoid over-tensioning
- Use a feeler gauge or paper for consistent first-layer gap
- Print small calibration files to verify extrusion multiplier
Maintenance Routine for Longevity
Regular maintenance keeps a budget printer producing reliable parts. Clean the nozzle and heat block of filament residue, ensure smooth filament feeding by keeping the spool and path clean, and periodically lubricate linear rods or lead screws with appropriate lubricants.
Inspect belts, pulleys, and electrical connectors for wear or loosening. Replace consumable parts like nozzles and PTFE tubing as needed to avoid print failures and clogged hotends.
- Monthly: inspect belts and fasteners; clean build surface
- Quarterly: check extrusion calibration and lubricate axes
- As needed: replace nozzle and PTFE liner when wear appears
Safety Considerations for Home Use
Ensure the printer is placed on a stable, non-flammable surface away from drafts and children. Budget printers may lack full enclosures, so monitor prints and avoid leaving them unsupervised for long periods. Good ventilation helps when printing materials that can release odors or ultrafine particles.
Confirm the machine has basic safety features like thermal runaway protection and reliable wiring. Securely manage filament spools and cables to prevent entanglement and accidental tipping.
- Use a smoke alarm nearby and avoid enclosed rooms without ventilation
- Keep a basic tool kit and spare parts on hand for quick fixes
- Consider adding an enclosure if printing ABS or other high-temp plastics
When to Consider Upgrades
Upgrades can extend capability and improve print quality without replacing the entire machine. Common first upgrades include a better bed surface, a hardened steel nozzle for abrasive filaments, and improved part cooling fans. Firmware updates can unlock new features and stability improvements too.
Prioritize upgrades that directly address your current limitations. For example, if you frequently print flexible filaments, invest in a direct-drive extruder rather than unrelated cosmetic mods.
- Start with a removable build surface for easier print removal
- Upgrade to a metal or hardened nozzle before printing abrasive filaments
- Install improved cooling ducts for better bridging and overhangs
How We Chose the Best 3D Printer
We shortlisted machines that provide real-world value within the under-$350 price constraint by prioritizing measurable, user-relevant specs. First, print quality and resolution were assessed through layer height capability and reported dimensional accuracy. Second, build reliability and frame rigidity were considered because a stable chassis reduces failed prints and maintenance. Third, we weighed out-of-the-box usability, including assembly time, user interface clarity, and included setup aids such as auto-leveling or guided calibration. Fourth, print bed size and heated-bed performance were reviewed to ensure the printer can handle common hobby parts and materials. Fifth, material and extruder compatibility were considered so the printer supports PLA and commonly used filaments and, when possible, PETG or TPU. We excluded machines that lack documented community support or have persistent reports of hardware failures. We also filtered out models missing basic safety features like power-loss recovery or a reliably heated bed. The resulting list emphasizes machines that balance achievable print quality, dependable hardware, and a gentle learning curve for new users. These criteria align directly with the scoring metrics used in our product cards.
Our full evaluation process is outlined in our review methodology.
FAQ
Can I reliably print functional parts with a 3D printer under $350?
Often. Many budget machines can produce functional parts if you tune print settings and use appropriate materials like PETG. Expect some trial and error and possible minor hardware tweaks for consistent mechanical tolerances.
How important is automatic bed leveling on budget printers?
Automatic bed leveling is helpful because it reduces manual adjustments, especially for beginners. However, a well-built manual leveling system with clear access points can produce equally good results when properly calibrated.
What maintenance should I expect with an entry-level 3D printer?
Routine tasks include clearing filament jams, cleaning the nozzle, checking belt tension, and ensuring the bed surface is flat and clean. These steps typically take a small amount of time but prevent larger print failures.
Are upgrades necessary for better print quality?
Not always. Many quality improvements come from calibration and slicer settings. That said, targeted hardware upgrades like a better nozzle or improved cooling can produce noticeable gains if mechanical limits are reached.
Is it safe to run a budget 3D printer at home?
Usually, when you follow basic safety precautions: good ventilation, stable placement, and monitoring. Verify that the printer has core safety protections and avoid leaving prints unattended for long durations.
Final Verdict
Picking a 3D printer under $350 is about balancing achievable print quality against ease of use and long-term reliability. Prioritize machines with a rigid frame, a heated bed, and straightforward setup to minimize time spent troubleshooting. Expect to invest effort into calibration and small upgrades when you need advanced material capabilities or finer tolerances. If you focus on the scoring criteria above and accept a modest learning curve, you can get a dependable hobby printer that handles common materials and produces clean, usable parts without breaking the bank.