
Note: This article contains affiliate links. If you click on these links and make a purchase, we may earn a small commission at no extra cost to you. This helps support our research and content. Read our full affiliate disclosure here.
If you want a capable 3D printer without spending a fortune, choosing the right model under $600 matters more than picking the flashiest specs. In this guide we shortlisted the best 3D printers under $600 that balance consistent print quality, usable build volume, and straightforward setup so you can start prototyping, making hobby parts, or producing household fixes. Each pick was evaluated for how well it performs for everyday home and small-shop projects, how easy it is to get running, and what it costs to run and maintain. Read on to see the top choices and the criteria we used to select them.
Top Picks at a Glance
| Best Overall The best all-around choice for most situations | Creality K2 Combo 3D Printer |  |
| Best Quality Built to a higher standard if you want something more solid | Bambu Lab P1S Combo |  |
| Best Value The sweet spot between price and what you get | ELEGOO Neptune 3 Pro |  |
| Best Budget The cheapest option that still gets the job done reliably | Entina Tina2C Mini 3D Printer |  |
| Top Rated A top-rated pick with lots of positive feedback | Bambu Lab P1S 3D Printer |  |
| Most Popular A crowd favorite that many people choose with confidence | Creality Ender 3 V3 SE |  |
| Best Seller A high-volume bestseller chosen again and again | FLASHFORGE Adventurer 5M |  |
Creality K2 Combo 3D Printer

| Build volume | 10.24 x 10.24 x 10.24 inch |
|---|---|
| Nozzle max temperature | 300°C |
| Heater power | 80W |
| Printing speed (max) | 600mm/s |
The Creality K2 Combo pairs the K2 FDM printer with Creality's CFS filament system for multi-color printing and brings features more common in higher-end machines into a consumer package. It uses a durable direct-drive extruder with hardened steel gears, a quick-swap hotend that reaches 300 C, and an 80 W heater to support high-flow printing; Creality claims up to 600 mm/s top speed and adaptive mesh auto-leveling that probes only where your print sits. The enclosed chamber with an AI camera helps monitor failures and capture prints, and the rigid exoskeleton, steel X-axis rail, and dual Z support improve stability for larger multi-part jobs. Practical benefits include true multi-color prints without manual filament swaps, faster prints when pushed, and a modular hotend for easier servicing. Expect a learning curve: achieving reliable multi-color results and tuning high-speed prints will take time, and the claimed top speeds are aggressive versus typical print-quality settings. The 10.24-inch cubic build volume makes larger single-piece prints feasible, but users should plan calibration and cooling carefully to get consistent, high-detail results.
Best for: Buyers who want a versatile desktop printer that can produce multi-color and larger single-piece prints and are willing to spend time tuning and learning to get the best results.
Less Ideal for: Someone seeking a plug-and-play machine for simple single-color prototyping with zero setup time or users unwilling to invest time in calibration and print optimization.
- Multi-filament CFS system enables multi-color printing up to many colors in one job
- Durable direct-drive extruder with hardened steel gears and quick-swap hotend for abrasive filaments
- AI camera and chamber monitoring for print-failure alerts and capture
- Rigid exoskeleton, steel X-axis rail, and dual Z-axis improve frame stability for larger prints
- Real-world print quality at the advertised top speeds will require careful tuning and may be lower than slower settings
- Complexity of multi-color setup increases setup and calibration time for new users
Verdict: Choose the K2 Combo if you want a capable multi-color desktop 3D printer with a rugged direct-drive extrusion system and camera monitoring and are prepared to tune it for best results.
Bambu Lab P1S Combo

| Build Volume | 256×256×256 mm³ |
|---|---|
| Max Speed | 500 mm/s |
| Max Acceleration | 20 m/s² |
| Supported Filaments | PLA, PETG, TPU, PVA, PET, ABS, ASA |
The Bambu Lab P1S Combo pairs a fast CoreXY motion system with an AMS multi-feed accessory to deliver multi-color and multi-material prints without manual filament swaps. It targets makers who want quick turnarounds: rated top speeds and high acceleration reduce print time, while the enclosed chassis and auto bed leveling improve success with PETG, ABS, and other temperature-sensitive filaments. Setup is straightforward and the printer includes a camera for time-lapse captures, making it convenient for iterative projects. The printer supports a wide range of common filaments and a 256×256×256 mm build volume that handles mid-size parts. Important limitations for buyers under $600: the AMS is required for full multi-color capability and the unit is heavier and more involved than tiny desktop models, so it needs a dedicated workspace and basic familiarity with 3D printing maintenance. For performance-focused hobbyists who want near-professional speed and multi-color output in a compact, enclosed machine, the P1S Combo is a strong value proposition.
Best for: Performance-minded makers who prioritize fast print times and multi-color or multi-material capability and are comfortable managing a more advanced desktop 3D printer.
Less Ideal for: Casual users who only want simple, small prints or plug-and-play ease without investing time in setup and upkeep should consider simpler entry-level machines instead.
- High top speed and acceleration for significantly faster prints
- Enclosed design and auto bed leveling improve print reliability with advanced filaments
- AMS accessory enables up to 16-color/multi-material printing
- Supports a broad range of common filaments including PLA, PETG, TPU, ABS, ASA
- Multi-color capability requires connecting the AMS accessory
- Heavier, larger footprint needs a dedicated workspace and routine maintenance
Verdict: If you want one of the fastest desktop printers under $600 with robust multi-color and multi-material capability, the P1S Combo delivers speed and print reliability in an enclosed package.
ELEGOO Neptune 3 Pro

| Build volume | 225×225×280 mm |
|---|---|
| Noise level | 47 dB |
| Extruder | Dual-gear direct drive |
| Filament diameter | 1.75 mm |
| Auto bed leveling | 36-point |
The ELEGOO Neptune 3 Pro is a ready-to-run FDM desktop printer aimed at hobbyists and makers who want reliable prints without a steep setup curve. It ships with most main parts preassembled and a toolkit, and the 225×225×280 mm build volume covers typical household and small-prototype projects. Key hardware includes a dual-gear direct‑drive extruder (stainless steel gears), a titanium throat with brass nozzle and widened heat sink to reduce clogs, and a PEI magnetic removable platform for easier part removal. The 36‑point one‑click auto bed leveling, filament runout sensor, and power‑loss resume make long prints less risky, while dual Z lead screws and POM guide wheels improve axis stability and layer consistency. Noise is modest at about 47 dB thanks to silent stepper motors. Limitations to note are the non-enclosed frame, which can affect printing of very temperature‑sensitive materials, and that higher‑end features like enclosure or multi-material heads are not included. For everyday PLA, PETG, TPU and similar filaments this is a practical, capable printer for users balancing ease of use and print quality.
Best for: Buyers who want a dependable, easy-to-start desktop printer that emphasizes consistent filament feeding, stable Z motion, and convenience features for regular PLA, PETG or TPU projects.
Less Ideal for: Users who need a fully enclosed, high-temperature production printer for frequent ABS, nylon, or industrial materials or who require built-in multi-material/color printing.
- Ready-to-print with preassembled main parts and toolkit for faster setup
- Dual-gear direct‑drive extruder offers consistent filament feeding and better TPU handling
- 36-point auto bed leveling and removable PEI magnetic plate simplify first-layer calibration and part removal
- Filament runout sensor and power‑loss resume protect long prints from interruption
- Dual Z lead screws and POM V-guide wheels improve Z stability and layer accuracy
- Open-frame design limits control of ambient temperature for ABS or other heat-sensitive filaments
- Does not include an enclosure or advanced multi-material system out of the box
Verdict: A practical, user-friendly desktop FDM printer that delivers reliable everyday printing with strong filament handling and easy setup, ideal for makers prioritizing consistent results under $600.
Entina Tina2C Mini 3D Printer

| Print volume | 3.9 × 3.9 × 3.9 inch |
|---|---|
| Connectivity | 2.4G WiFi, TF card |
| Supported hosts | Windows, macOS, Linux, Chromebook |
| Printing tech | FDM |
The Entina Tina2C is a fully assembled mini FDM printer aimed at first-time users and kids, designed to get you printing quickly via the Poloprint Cloud app. Setup is guided in the app so you can be up and running in minutes, and Wi‑Fi or TF card printing gives flexible workflows. Useful beginner features include intelligent auto-leveling, power-loss recovery, a flexible magnetic build plate for easy part removal, and a quick-swap printhead that simplifies maintenance. The printer also leans into education with AI search, photo-to-print tools, and a growing library of models and STEM modules. Because the Tina2C is a compact unit with a 3.9 × 3.9 × 3.9 inch print volume, it is best for small models, classroom projects, and learning rather than large functional parts. Noise is low and integrated LED lighting helps monitor prints, but the limited build area and mini form factor are intrinsic constraints buyers should expect. For budget-minded beginners who value guided software and easy maintenance, this is a useful entry-level machine.
Best for: Buyers on a tight budget who want a ready-to-run, kid-friendly 3D printer for small projects, classroom use, or hands-on STEM learning with guided software support.
Less Ideal for: People who need a larger build volume, industrial-strength throughput, or who plan to print large functional parts should consider a bigger desktop or prosumer machine instead.
- App-guided setup and one-click printing lower the learning curve for beginners
- Auto-leveling and power-loss recovery improve first-layer adhesion and print success
- Flexible magnetic build plate and quick-swap printhead simplify part removal and maintenance
- Supports Wi‑Fi printing and TF card offline printing for versatile workflows
- Includes AI tools and a large model library geared toward STEM learning and creative play
- Very small build volume limits projects to small models and prototypes
- Not intended for large functional parts or heavy-duty printing
Verdict: For budget-conscious beginners and families, the Tina2C delivers a turnkey, kid-friendly 3D printing experience with guided app controls and low-maintenance features ideal for small STEM projects.
Bambu Lab P1S 3D Printer
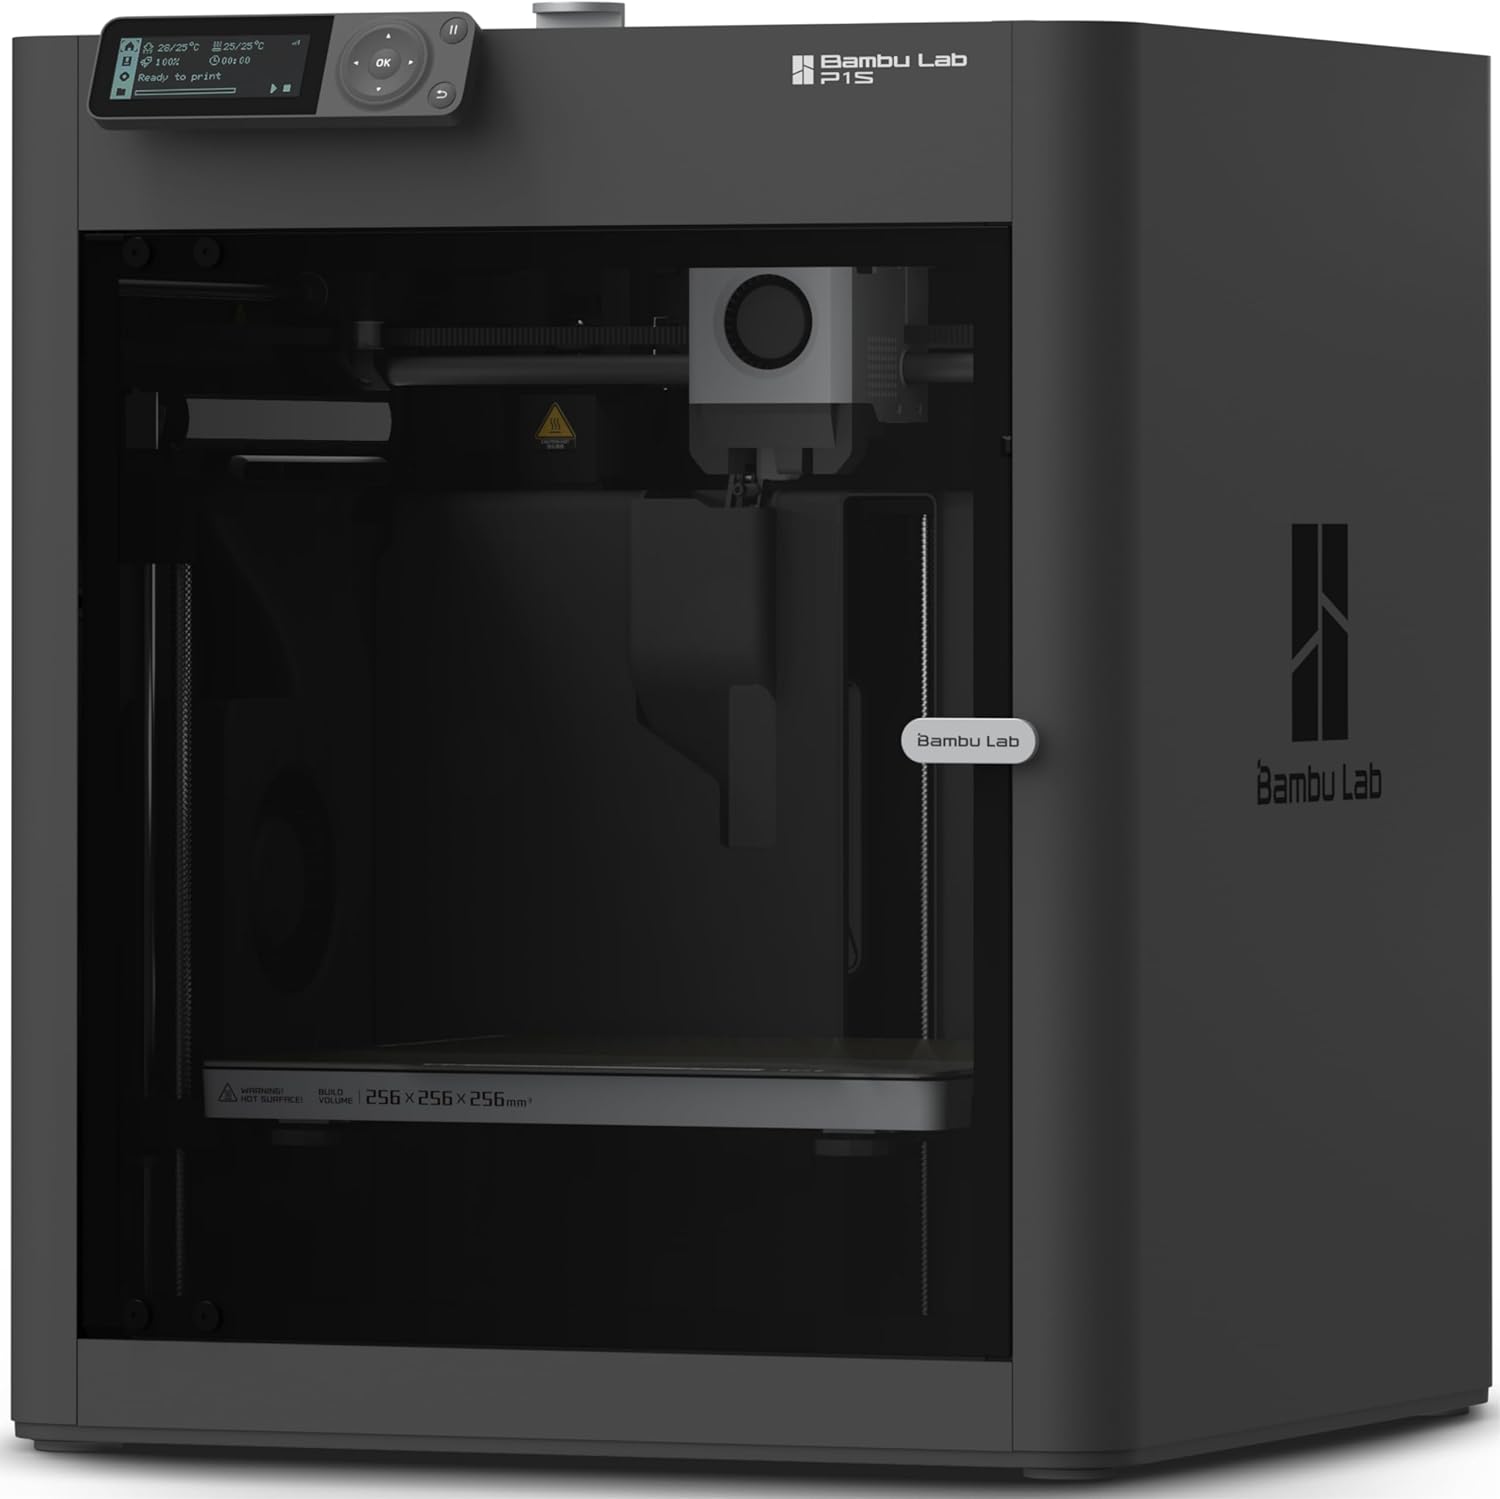
| Build Volume | 256×256×256 mm³ |
|---|---|
| Max Speed | 500 mm/s |
| Max Acceleration | 20 m/s² |
| Supported Filaments | PLA, PETG, TPU, PVA, PET, ABS, ASA; capable: PA, PC |
The Bambu Lab P1S is a compact, enclosed CoreXY FDM printer built to get prints running quickly and consistently. It ships ready to use and promises a 15-minute setup, automatic bed leveling, and a direct-drive extruder that broadens compatible filament choices from flexible TPU to tougher PETG and ABS. Notable performance specs include very high top speeds and acceleration for faster prints and an enclosed build volume that improves temperature stability for advanced materials. The system integrates a camera for time-lapse capture and supports multi-color/multi-material printing when paired with the optional AMS unit. In practical use the P1S is aimed at frequent desktop printing where uptime matters: easy leveling and a guided setup cut down on tinkering, while the enclosed frame reduces warping with temperature-sensitive filaments. Limits to consider are that true multi-color requires the AMS accessory and the printer is not recommended for carbon or glass-filled composites, so highly specialized engineering materials are outside its scope. For users focused on dependable, fast output in a small footprint the P1S balances speed and consistent print quality.
Best for: Buyers who prioritize dependable, low-fuss printing for frequent desktop use and want a machine that minimizes setup and calibration time.
Less Ideal for: Users who need native multi-color output without accessories or who plan to print abrasive, fiber-filled engineering composites should look elsewhere.
- Ready-to-use design with guided setup that accelerates first prints
- Enclosed CoreXY frame improves temperature stability and print consistency
- Direct-drive extruder expands usable filaments including TPU and PETG
- High top speed and acceleration reduce print times
- Built-in camera for time-lapse and monitoring
- Multi-color/multi-material printing requires buying the AMS accessory
- Not recommended for carbon or glass fiber reinforced filaments
Verdict: If you want a fast, reliable desktop 3D printer that boots quickly into consistent, everyday printing, the Bambu Lab P1S is a strong under-$600 choice.
Creality Ender 3 V3 SE

| Item model number | Ender 3 V3 SE |
|---|---|
| Printing speed | Up to 250 mm/s |
| Extruder | Sprite direct extruder |
| Mainboard | 32-bit silent mainboard |
The Ender 3 V3 SE is a user-friendly FDM desktop printer aimed at hobbyists and small workshops that need a fast, capable machine without a steep learning curve. It uses a Sprite direct extruder to handle PLA, PETG and flexible filaments more reliably than many Bowden setups, and CR Touch plus a strain sensor automates bed leveling and Z-offset so getting a solid first layer is simpler for newcomers. The dual Z-axis and robust Y-axis shafts improve stability for taller prints and the PC spring steel build plate makes model removal straightforward. A 32-bit silent mainboard keeps noise down during long prints and one-touch filament load/unload speeds up routine tasks. Practical limits include a modest build volume compared with larger hobby printers and real-world top speeds will be lower than the 250 mm/s claim for high-quality prints. Still, its quick assembly, auto-leveling, and direct-drive filament handling make it one of the more confidence-inspiring choices in its price tier.
Best for: Buyers who want a reliable, easy-to-start hobby 3D printer with automated leveling and a direct extruder that reduces filament feeding headaches while offering decent print speed.
Less Ideal for: Users who need very large build volume or who prioritize top-tier industrial print speeds and precision over a compact, easy-to-use desktop machine.
- Sprite direct extruder handles a wide range of filaments including TPU reliably
- CR Touch and strain sensor provide automated bed leveling and Z-offset for easier first layers
- Dual Z-axis and sturdy Y-axis shafts reduce wobble for more consistent tall prints
- 32-bit silent mainboard reduces operating noise during long prints
- PC spring steel build plate makes removing finished prints quick and simple
- True print quality at very high speeds will typically require tuning and will be lower than the advertised 250 mm/s
- Build volume is modest compared with larger hobbyist machines
Verdict: If you want a beginner-friendly desktop printer with automated leveling and a reliable direct extruder, the Ender 3 V3 SE is a practical, low-risk choice under $600.
FLASHFORGE Adventurer 5M
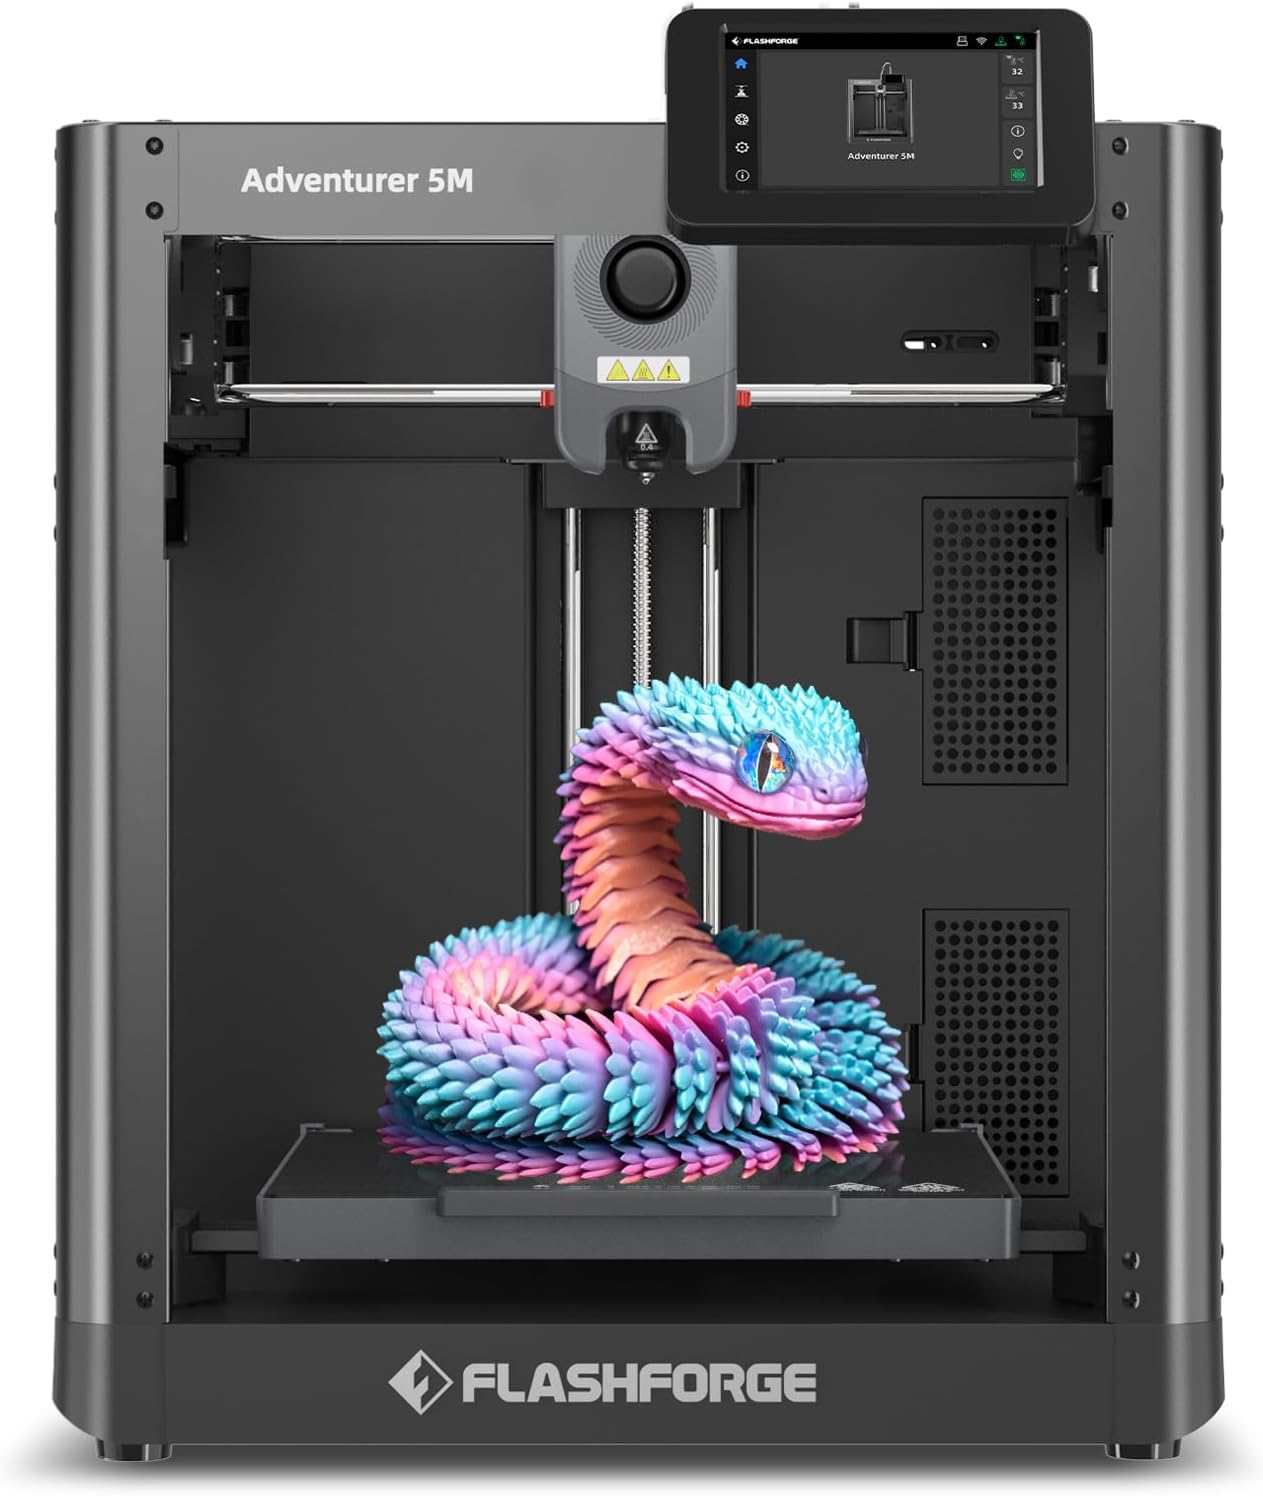
| Build Volume | 220 x 220 x 220 mm |
|---|---|
| Extruder Max Temp | 280°C |
| Travel Speed | 600 mm/s |
| Platform Type | Double-Sided PEI Platform |
| Structure | All-metal Core XY Structure |
The FLASHFORGE Adventurer 5M is a compact CoreXY desktop machine aimed at faster prototyping and straightforward setup. It prints on a 220×220×220 mm build area and uses a one-button auto leveling system to simplify first-layer adhesion, which helps reduce time spent on calibration. Key hardware highlights are a 280°C direct-drive extruder, quick 3-second detachable nozzle, double-sided PEI platform for easier part removal, and a CoreXY all-metal frame designed for higher speed and stability. The printer targets speed with quoted travel up to 600 mm/s and high acceleration, and practical touches include multiple nozzle sizes, vibration compensation, and mobile app monitoring for remote control. Trade-offs to expect are that high-speed settings will require tuning and appropriate filaments to maintain quality, and some advanced materials or very large functional parts will still need careful thermal management or an enclosure. For a buyer seeking a mostly plug-and-play experience and fast turnarounds, the AD5M balances convenience with capable hardware, but hobbyists wanting absolute top-tier industrial performance may prefer larger or purpose-built machines.
Best for: Buyers who want a dependable, easy-to-start desktop printer that prioritizes faster prototyping and minimal setup effort. It suits mainstream users who value automation and remote monitoring over fiddly manual calibration.
Less Ideal for: Users who need a factory-grade production printer for large-volume industrial parts or those who require fully enclosed, high-temperature printing out of the box. It also may not satisfy tinkerers seeking the lowest-cost kit to heavily modify.
- One-click automatic bed leveling that simplifies setup and first-layer consistency
- CoreXY all-metal structure tuned for higher travel speeds and faster prints
- Quick-change detachable nozzle and 280°C direct extruder for a range of filaments
- Double-sided PEI platform for easier part removal and versatile adhesion
- Mobile app monitoring and remote control for job supervision
- High-speed printing requires careful tuning and compatible filament to avoid quality loss
- No built-in enclosure on the base model so high-temperature or warp-prone materials need extra thermal control
Verdict: A user-friendly CoreXY desktop printer that delivers much faster, mostly worry-free prototyping with automatic leveling and quick nozzle swaps, making it a strong pick under $600 for risk-averse buyers.
Choosing the Right 3D Printer: Key Factors to Consider
Print Quality and Resolution
Layer height capability, nozzle options, and motion-system stability determine the level of detail you can reliably achieve. Higher nominal resolution does not guarantee good results if the frame, belts, or extruder introduce wobble or inconsistent filament flow.
When shopping under $600, compare real-world print samples and look for consistent dimensional accuracy across multiple models. Good quality also reduces post-processing time, which matters if you are making functional parts that need tight tolerances.
Ease of Setup and Usability
A printer that is simple to assemble, well-documented, and has user-friendly software reduces the time between unboxing and successful prints. For many buyers in this price range, a guided setup, straightforward bed leveling, and clear firmware menus matter more than advanced features you might not use.
Consider how much assistance you are willing to provide during first prints. Machines that include pre-calibrated profiles or come partially assembled will get you printing faster and lower the learning curve.
Build Volume and Workspace Fit
Build volume determines the maximum size of parts you can create in a single print. A larger build area is useful for full-scale prototypes but can increase warm-up times and parts cost. Think about the typical projects you plan to make and choose a printer with a matching build envelope.
Also factor in the printer's physical footprint and whether you need an enclosed chamber for temperature-sensitive materials. A compact but well-designed printer can be more practical than a larger model with poor access or cramped components.
Filament and Material Support
Material compatibility—PLA, PETG, TPU, and specialty filaments—affects what you can make. Check whether the extruder design and hotend temperature range handle the materials you want to use. Direct-drive setups usually print flexible filaments better, while Bowden-type systems can favor higher-speed rigid filament printing.
Availability and cost of filament types also influence ongoing expenses. Choose a printer that supports commonly stocked filament diameters and has a straightforward path to upgrade the hotend or add an enclosure if you later want to print engineering plastics.
Reliability, Serviceability, and Parts Access
Upfront cost is only part of ownership. Look for machines with robust frames, well-routed wiring, and accessible components that make routine maintenance and part replacement straightforward. A printer that is easier to maintain will spend more time printing and less time waiting on repairs.
Consider how easy it is to get spare parts, access common wear items like nozzles and belts, and perform firmware updates. A community or manufacturer that provides clear documentation and replacement parts reduces downtime.
Safety Features and Noise
Safety elements such as thermal runaway protection, secure wiring, and stable power supplies prevent hazardous situations during unattended prints. Noise level affects where you can place the machine at home; quieter printers are better suited for workshops that share living spaces.
Given the budget constraint, weigh which safety features are nonnegotiable for your environment and whether noise tradeoffs are acceptable for the size and capabilities you need.
Getting Started: What to Expect From a Sub-$600 Printer
Printers in this price bracket often offer a strong feature set for hobbyists and small workshops, but there are tradeoffs compared with higher-end models. Expect a mix of partially assembled kits and factory-built machines, simpler electronics, and a range of community support levels.
You should plan for a learning period where you dial in slicer settings, bed leveling, and filament profiles. Basic upgrades—like better nozzles, improved bed surfaces, or more rigid bed mounts—can significantly improve results without large expense.
- Most will handle PLA and PETG well; flexible or specialty filaments may need extra tuning.
- Auto bed leveling is convenient but not always perfectly tuned from the factory.
- Upgradable components are valuable for extending usable life.
Workspace Setup and Environmental Considerations
Choose a stable surface with enough clearance for the printer's moving parts and for removing finished prints. Good ventilation helps when printing materials that off-gas, and an enclosure reduces warping for temperature-sensitive filaments.
If noise or fumes are a concern, consider placing the machine in a garage, workshop, or ventilated cabinet. Monitor ambient temperature and drafts, as these factors can influence print adhesion and layer bonding.
- Allow extra space for filament spools and tools.
- Keep the printer level and on a vibration-damping surface.
- Plan for routine cleaning and filament storage to control moisture.
Slicer Settings and Common Tweaks for Better Prints
Slicer configuration affects print speed, surface finish, and part strength. Start with conservative layer heights and lower speeds, then incrementally increase speed while monitoring print quality. Calibrating extrusion multiplier and retraction settings is essential to reduce stringing and dimensional errors.
Simple hardware tweaks—tightening belts, cleaning the nozzle, and ensuring the bed surface is flat—often produce larger gains than changing slicer presets. Keep a small toolkit on hand for adjustments and routine maintenance.
- Print a calibration cube and a temperature tower to find ideal settings.
- Use brim or raft for adhesion on larger or warp-prone parts.
- Document successful profiles for each filament and application.
Upgrades That Make the Biggest Difference
Several modest upgrades can disproportionately improve capability and reliability. Consider a better bed surface for adhesion, a hardened steel nozzle if you plan on abrasive filaments, or a more rigid frame brace to reduce resonance. Firmware updates and a community-approved profile can also unlock better performance.
Prioritize upgrades that address your most common failures or limitations. For example, if you print flexible materials often, invest in a direct-drive extruder; if part size is a limit, look for ways to enable larger prints through assembly or slicing strategies.
- Swap to a glass or textured PEI bed for consistent adhesion.
- Install quieter fans or stepper dampers if noise is an issue.
- Upgrade to an all-metal hotend for higher-temperature materials.
Maintenance Schedule and Troubleshooting Tips
Routine maintenance keeps prints consistent and prevents failures. Regular tasks include cleaning the nozzle, checking belt tension, lubricating linear rails or rods, and ensuring bed surface cleanliness. Track print failures to identify whether issues are mechanical, thermal, or slicing related.
When diagnosing a print problem, isolate variables by changing one setting at a time. Common fixes include re-leveling the bed, adjusting extrusion multiplier, and verifying filament diameter and moisture content.
- Keep spare nozzles and a cleaning kit ready.
- Record filament batch and settings for reproducibility.
- Perform a quick test print after any hardware change.
How We Chose the Best 3D Printer
We focused on machines that offer a practical mix of print quality, reliability, and usable features at a sub-$600 price point. Key evaluation dimensions were layer precision and dimensional accuracy for print outcomes, out-of-the-box setup and documentation for first-run success, build volume and enclosure options for project flexibility, filament compatibility and extruder design for material choices, and durability plus serviceability for long-term ownership. We also considered firmware stability, community support, and safety features that reduce common failure modes while printing. Units with consistently poor user feedback on basic functionality, missing essential safety elements, or extremely limited material support were excluded. We prioritized printers that minimize common beginner hurdles yet still offer tunability for more experienced users. The result is a shortlist of models that perform well across the measurable criteria that matter most to budget-conscious makers and small workshops.
Our full evaluation process is outlined in our review methodology.
FAQ
Can a 3D printer under $600 produce functional parts?
Yes, many printers in this price range can produce functional parts suitable for prototypes, jigs, and hobby projects. Achieving durable results depends on correct material selection, proper print settings, and good part orientation.
How important is bed leveling for print success?
Bed leveling is critical. A properly leveled and clean bed ensures the first layer adheres well, which affects the entire print. Automatic leveling helps, but manual fine-tuning is often necessary for best results.
What materials can I expect to print reliably at this price point?
PLA and PETG are reliably printable on most sub-$600 machines. Flexible filaments and some engineering plastics may be possible but often require specific extruder designs, higher nozzle temperatures, or an enclosure.
How noisy are budget 3D printers and how can I reduce noise?
Noise varies by model and cooling design, but many budget printers are audible in a shared living space. You can reduce noise with vibration dampers, quieter fans, stepper motor dampers, or by placing the printer in a sound-dampened enclosure or separate room.
How often do I need to replace wear parts like nozzles and belts?
Replacement frequency depends on usage and filament types. Nozzles can last dozens to hundreds of hours with nonabrasive prints; belts and bearings last longer but should be inspected regularly. Replace parts at the first sign of degradation to maintain print quality.
Final Verdict
When choosing a 3D printer under $600, prioritize print quality, ease of setup, and the material support you need for your projects. Expect some setup and tuning, and plan for a few cost-effective upgrades that address your primary use cases. Focus on a machine with accessible parts and clear documentation so you can get reliable results quickly and keep printing with minimal downtime.