
Note: This article contains affiliate links. If you click on these links and make a purchase, we may earn a small commission at no extra cost to you. This helps support our research and content. Read our full affiliate disclosure here.
Buying a 3D printer on a budget does not mean you have to accept poor results or constant tinkering. If you plan to print functional prototypes, hobby models, or replacement parts, a well-chosen affordable 3D printer can deliver crisp detail, stable bed adhesion, and reliable extrusion without demanding constant maintenance. This guide shortlists the top options under $400 and walks through the practical strengths and tradeoffs of each pick. We evaluated manufacturers that focus on accessible user experience and parts availability, and we consider print quality, build volume, and ease of setup when assessing each model. Read on for a concise rundown of features to watch and which capabilities matter most for dependable everyday printing.
Top Picks at a Glance
| Best Overall The best all-around choice for most situations | FLASHFORGE AD5X 3D Printer | 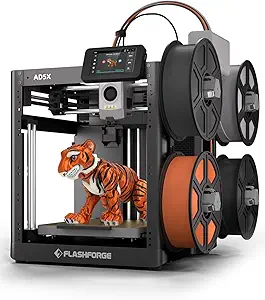 |
| Best Quality Built to a higher standard if you want something more solid | Bambu Lab P1S |  |
| Best Value The sweet spot between price and what you get | Bambu Lab A1 3D Printer |  |
| Best Budget The cheapest option that still gets the job done reliably | ELEGOO Neptune 3 Pro |  |
| Top Rated A top-rated pick with lots of positive feedback | Creality Ender 3 V3 SE |  |
| Most Popular A crowd favorite that many people choose with confidence | FLASHFORGE Adventurer 5M |  |
| Best Seller A high-volume bestseller chosen again and again | Creality K1C 3D Printer K1C |  |
FLASHFORGE AD5X 3D Printer

| Build volume | 220×220×220mm |
|---|---|
| Max nozzle temp | 300°C |
| Structure | Open, Core XY |
| Supported filaments | PLA/ABS/PETG/TPU/CF/etc. |
| Max travel speed | 600mm/s |
The FLASHFORGE AD5X is a CoreXY desktop FDM printer aimed at makers and small-scale prototyping. It prints up to four colors and uses a 300°C direct-drive extruder with quick-detach nozzles, which makes switching nozzle sizes and printing flexible materials straightforward. The machine includes one-click auto bed leveling, automatic filament feed/retract, and a resume-printing feature that helps preserve long jobs after power interruptions. Its CoreXY mechanics advertise very high travel speeds (up to 600mm/s) and high acceleration for rapid prints, while dual-channel cooling and vibration compensation help maintain print quality when pushing speed. The 220×220×220mm build volume is sensible for desktop projects, and the 0.25–0.8mm nozzle options give a useful balance between fine detail and fast infill runs. Trade-offs to expect are that extremely high advertised speeds usually require tuning and optimized slicer profiles to keep detail and adhesion, and the open structure means print environment control is limited for some temperature-sensitive filaments. For buyers focused on fast, versatile desktop printing under a constrained budget, the AD5X packs a lot of capability for the price.
Best for: Buyers who want a fast, feature-rich desktop printer for prototyping and creative multi-color projects and who are willing to tune settings for optimal speed and quality.
Less Ideal for: Users needing a fully enclosed, climate-controlled chamber for printing high-temperature engineering plastics or those who want a completely turnkey, zero-tuning experience.
- Supports up to four-color printing for multi-material/color parts
- 300°C direct-drive extruder and quick-detach nozzle for flexible materials and fast nozzle swaps
- One-click auto bed leveling and automatic filament feeding reduce setup friction
- CoreXY design with high advertised speeds and acceleration for faster prototyping
- Resume printing and remote monitoring via app add reliability and convenience
- Open-frame design limits temperature control for heat-sensitive filaments
- Top speeds require careful tuning and may not deliver factory-perfect results out of the box
Verdict: If you want a fast, versatile CoreXY desktop printer with multi-color capability and practical features for prototyping under $400, the AD5X is a compelling pick.
Bambu Lab P1S
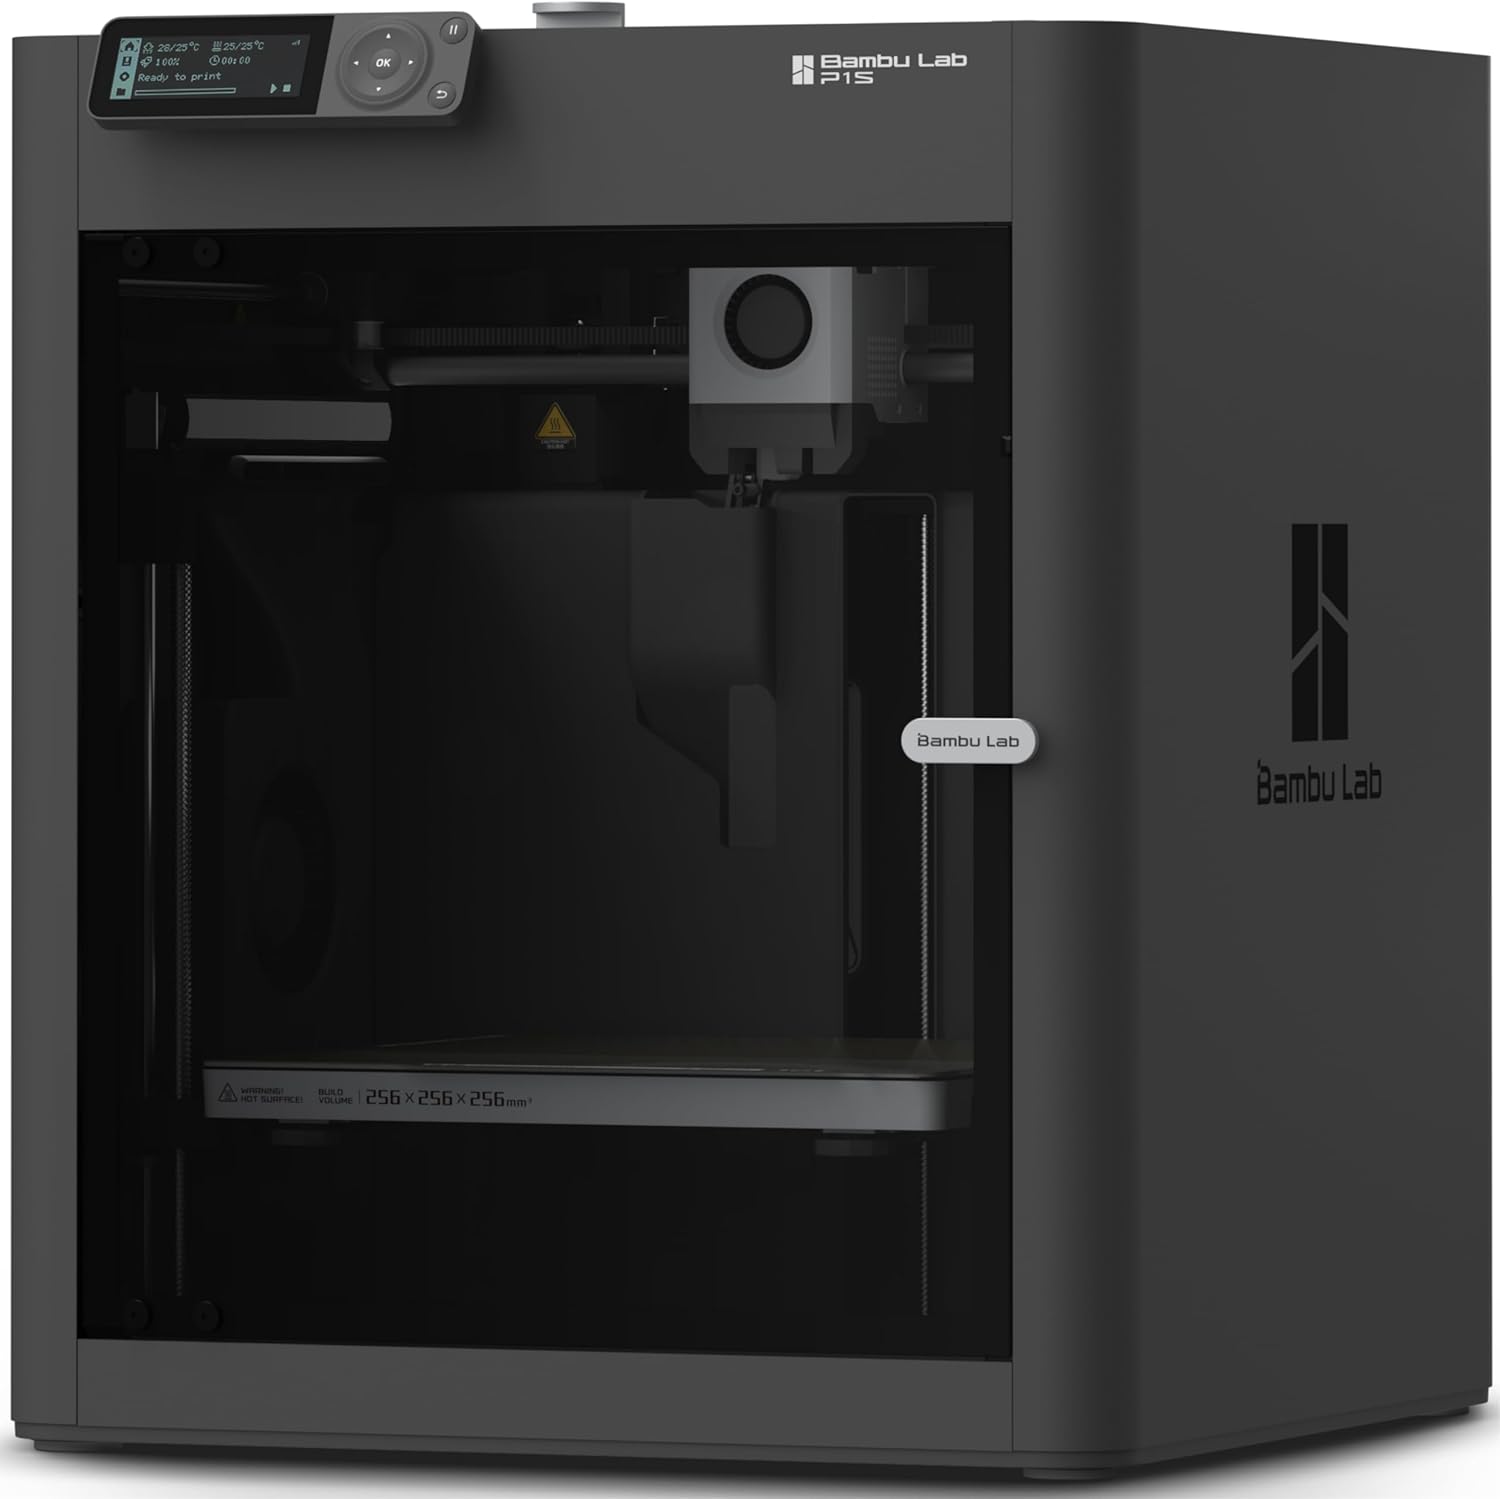
| Build Volume | 256×256×256 mm³ |
|---|---|
| Max Speed | 500 mm/s |
| Max Acceleration | 20 m/s² |
| Supported Filaments | PLA, PETG, TPU, PVA, PET, ABS, ASA |
| Item model number | P1S |
The Bambu Lab P1S is an enclosed CoreXY FDM printer aimed at delivering high-speed, reliable prints with minimal fuss. It arrives mostly ready to use and emphasizes quick setup and automatic bed leveling, so you can start printing in a short time without extensive calibration. The P1S supports a wide selection of filaments including PLA, PETG, TPU and more advanced materials such as ABS and ASA, and its enclosed body helps maintain stable temperatures for those materials. Notable performance claims include very high maximum travel speeds and acceleration, which translate to much shorter print times when tuned correctly. Practical benefits include a direct-drive extruder for better flexible filament handling and an onboard camera for timelapses and remote monitoring. Limitations to keep in mind are that truly exotic reinforced filaments are not recommended and achieving the fastest advertised speeds requires careful tuning and appropriate slicer settings, so buyers expecting perfect out-of-the-box ultrafast prints may need to invest time learning profiles.
Best for: Buyers who prioritize speed and print quality and are willing to tune slicer settings to get the most out of a high-performance, ready-to-use machine.
Less Ideal for: People who want zero-setup, guaranteed instant top-speed prints without learning tuning or those who need to print heavily with fiber-reinforced filaments.
- Enclosed CoreXY design improves temperature stability for advanced filaments
- Automatic bed leveling simplifies setup and increases first-layer success
- Direct-drive extruder handles flexible materials like TPU effectively
- High maximum speed and acceleration reduce print times when properly tuned
- Onboard camera for time-lapse and remote monitoring
- Reinforced carbon or glass-fiber filaments are not recommended
- Top speeds require careful tuning and may not be realistic for every print type
Verdict: If you want a compact, fast, enclosed printer that rewards tuning with much shorter print times and broad material support, the P1S is a strong performance-focused choice under $400.
Bambu Lab A1 3D Printer

| Build volume | 256×256×256 mm |
|---|---|
| Max acceleration | 10 m/s² |
| Supported filaments | PLA, PETG, TPU, PVA |
| Item weight | 22 pounds |
| Model number | PF002-A |
The Bambu Lab A1 is a beginner-friendly FDM 3D printer that emphasizes simple, reliable printing with a generous build volume. It handles full-auto calibration tasks such as Z-offset, bed leveling, vibration resonance, and nozzle pressure so you can start prints with minimal setup. The platform supports higher-speed prints through low-drag linear rails, a capable motion system, accelerometers, and a nozzle pressure sensor, and it includes active flow rate compensation to keep extrusion consistent. Multi-color work is possible when paired with the AMS lite accessory and the system supports filament RFID to match profiles automatically. Practical conveniences include a touchscreen interface, 1-clip quick-swap nozzles for maintenance, LAN/cloud connectivity with privacy-minded LAN-only mode, and active motor noise canceling for quieter operation. Limitations for budget buyers are that multi-color requires the separate AMS lite and the open-frame design is less suited to high-temperature or ABS-focused workflows compared with enclosed machines.
Best for: Buyers who want a low-friction, ready-to-use 3D printer that minimizes manual tuning and speeds up learning new workflows while still offering room to grow.
Less Ideal for: Users who need an enclosed, high-temperature printer for advanced engineering materials or those who want multi-color printing without buying an add-on accessory.
- Full-auto calibration reduces setup time and manual tuning for new users.
- Active flow rate compensation and sensors yield more consistent extrusion and print quality.
- Relatively large 256×256×256 mm build volume for an entry-level printer.
- Supports reliable multi-color printing when paired with AMS lite and uses RFID filament sync.
- Quiet operation with active motor noise canceling and a simple touchscreen interface.
- Multi-color capability requires purchasing the AMS lite accessory separately.
- Open-frame design is not ideal for high-temperature filaments like ABS without additional enclosure.
Verdict: The A1 is the best pick under $400 for buyers who prioritize a fuss-free, fast printer that automates calibration and delivers consistent single- and multi-color prints with an optional AMS lite.
ELEGOO Neptune 3 Pro

| Build volume | 225 x 225 x 280 mm |
|---|---|
| Noise level | 47 dB |
| Extruder type | Dual-gear direct drive |
| Bed | PEI magnetic platform |
| Sensors | Filament runout, power-loss resume |
The ELEGOO Neptune 3 Pro is a ready-to-use FDM printer aimed at hobbyists and makers who want reliable prints without a long setup. It ships with most major parts pre-assembled and a toolkit so you can start printing quickly, and the 225 x 225 x 280 mm build volume handles common projects like prototypes, figurines, and functional parts. The dual-gear direct-drive extruder and upgraded nozzle assembly (titanium throat, brass nozzle, widened heat sink) improve filament feeding and reduce clogs, while the 36-point auto bed leveling, filament runout sensor, and power-loss resume make longer prints far less nerve-racking. Dual Z lead screws and POM V-guide wheels give stable layer accuracy, and the PEI magnetic platform simplifies part removal. Noise is modest thanks to silent stepper motors and a quoted 47 dB level, but faster prints may still reveal ringing depending on settings. While it supports common filaments such as PLA, TPU, PETG, and ABS, advanced users who need enclosure-required materials or very large build volumes may find it limiting. For the price it balances convenience, print quality, and feature set well for budget-focused makers.
Best for: Buyers on a tight budget who want a feature-rich, low-hassle desktop 3D printer for everyday prototyping, hobby projects, and learning without extensive assembly.
Less Ideal for: Users who need very large build capacity, an enclosed heated chamber for advanced engineering filaments, or a purpose-built industrial machine.
- Mostly pre-assembled with toolkit for fast setup and quick first prints
- Dual-gear direct drive extruder reduces filament slips and clogs
- 36-point auto bed leveling and filament runout sensor improve print reliability
- PEI magnetic build plate makes part removal easier
- Dual lead screws and POM V-guide wheels deliver stable Z-axis movement
- Build volume is standard desktop size and not suited for very large prints
- Not a fully enclosed printer, which can limit printing of some high-temperature or warp-prone materials
Verdict: A budget-friendly desktop FDM printer that packs reliable features like direct drive extrusion and auto leveling to get consistent prints with minimal setup.
Creality Ender 3 V3 SE

| Max print speed | 250 mm/s |
|---|---|
| Acceleration | 2500 mm/s² |
| Build plate | PC spring steel flexible plate |
| Mainboard | 32-bit silent mainboard |
The Creality Ender 3 V3 SE is an entry-level to hobbyist FDM 3D printer built for quick setup and dependable printing. It arrives as a mostly DIY kit that assembles in about 20 minutes and uses CR Touch auto leveling plus a strain sensor for consistent first layers, which reduces the fiddling new users often face. The Sprite direct extruder handles PLA, PETG and flexible filaments more smoothly than many Bowden setups, and one-touch auto load/unload simplifies filament changes. A dual Z-axis with synchronized belt and sturdy Y-axis linear shafts help reduce Z wobble and keep taller prints accurate. The 32-bit silent mainboard and advanced stepper drivers lower operating noise while maintaining precise motion. Its spring steel build plate is sticky yet flexible for easier part removal. Limits include a modest build volume compared with larger machines and the usual expectation that fine tuning and occasional maintenance are needed for best results, but the V3 SE focuses on reliability and easy starting for everyday prints under a budget.
Best for: Buyers who prioritize a dependable, easy-to-start printer that minimizes leveling and filament handling headaches and will be used for regular hobby or small-project printing.
Less Ideal for: Users who need a very large build volume or a plug-and-play turnkey machine with no assembly or tuning at all should consider other options.
- CR Touch auto leveling and strain sensor simplify achieving a reliable first layer
- Sprite direct extruder supports PLA, PETG and TPU with smoother feeding
- Dual Z-axis and robust Y-axis shafts reduce wobble for steadier tall prints
- 32-bit silent mainboard with advanced stepper drivers for quieter, precise motion
- Spring steel flexible build plate makes printed part removal easier
- Build volume is modest compared with larger desktop printers
- May still require periodic tuning and maintenance for optimal print quality
Verdict: Choose the Ender 3 V3 SE if you want a budget-friendly printer that prioritizes reliable first layers, smoother filament handling, and quieter, stable printing for regular use.
FLASHFORGE Adventurer 5M
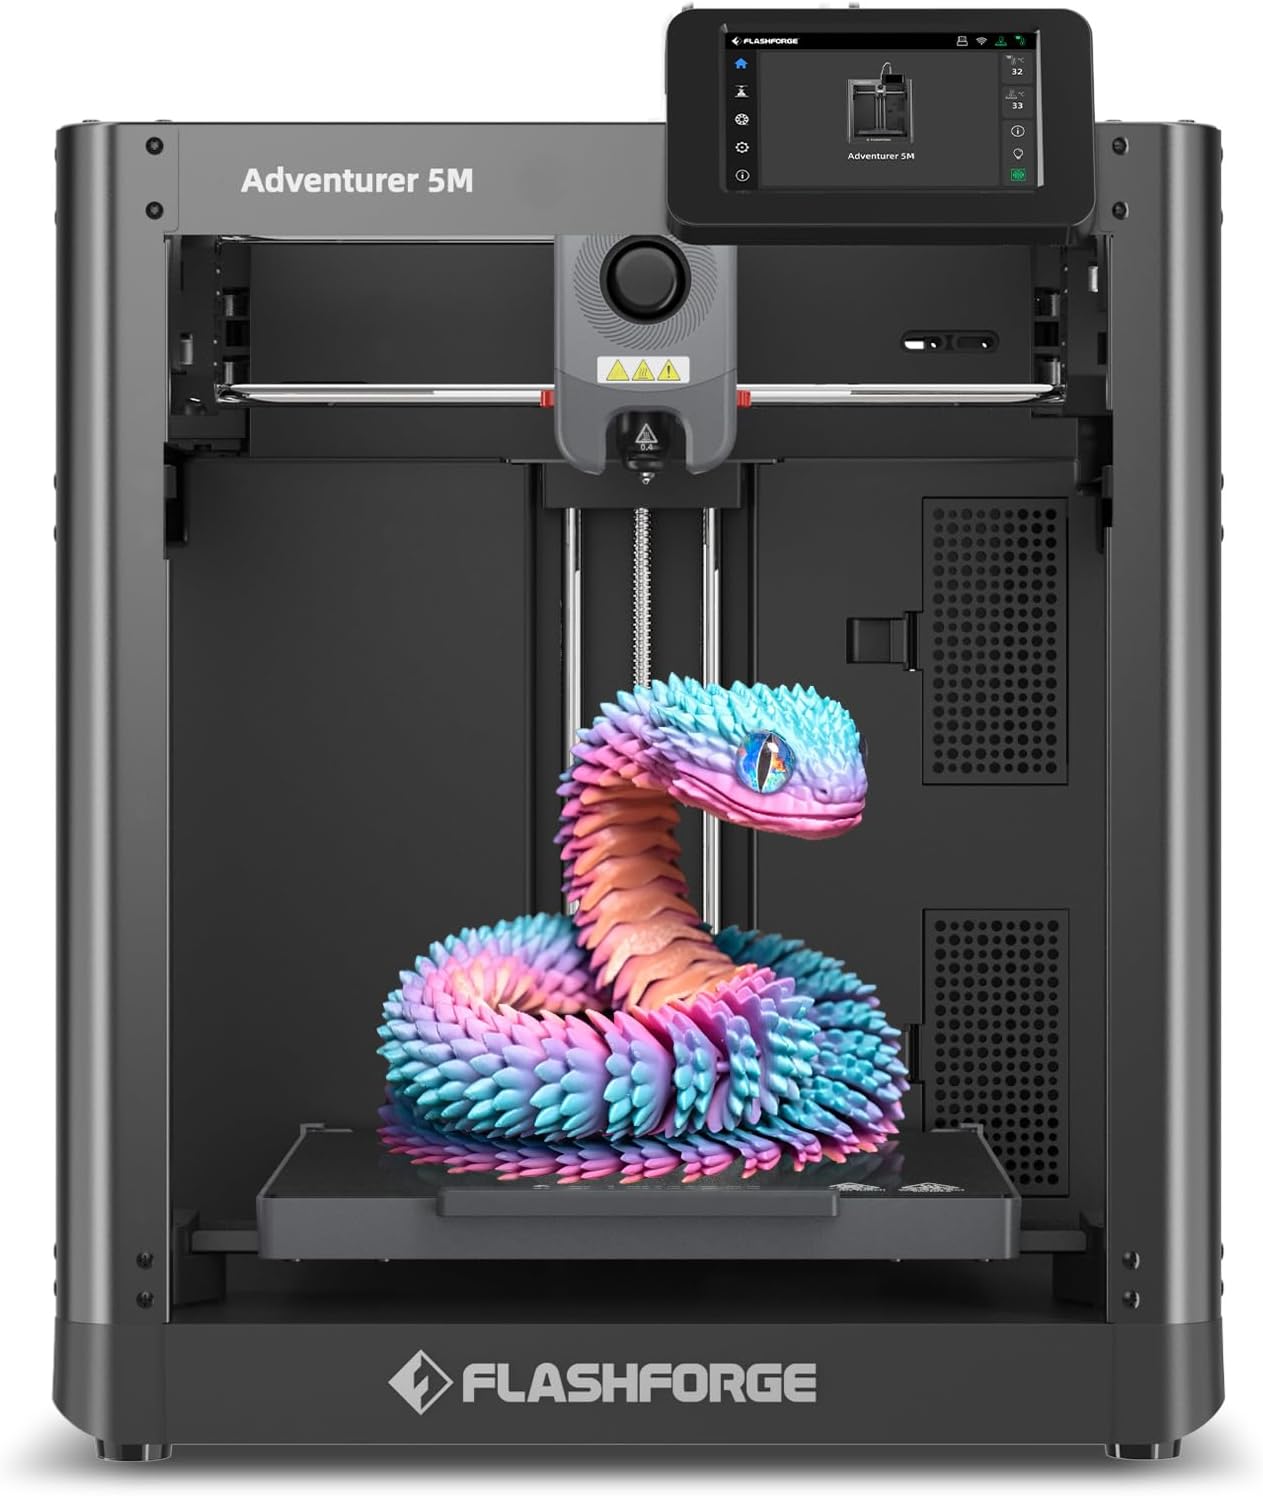
| Build Volume | 220 x 220 x 220 mm |
|---|---|
| Extruder Max Temp | 280°C |
| Travel Speed | Up to 600 mm/s |
| Platform | Double-Sided PEI |
| Structure | All-metal Core XY |
The Adventurer 5M is a compact CoreXY 3D printer designed for faster desktop prototyping and small production runs. It combines one-click automatic bed leveling, a 280°C direct-drive extruder, and a double-sided PEI platform to simplify setup and part removal, while a CoreXY all-metal structure and high travel speed (up to 600 mm/s) reduce print times. Practical features include a quick 3-second detachable nozzle system, multiple nozzle sizes for finer or faster prints, and a mobile app for remote monitoring. The machine supports common filaments such as PLA, ABS, PETG, TPU and carbon-fiber blends, so it handles functional materials used in engineering projects. Trade-offs include a modest 220×220×220 mm build volume that limits very large parts and the need for regular nozzle and platform maintenance to keep high-speed prints reliable. For users focused on faster turnaround and versatile filament use in a benchtop footprint, the Adventurer 5M balances speed and print quality well at this price tier.
Best for: Buyers who want a compact, speed-oriented printer for prototyping and iterative design and who prefer machines that minimize manual leveling and offer remote monitoring.
Less Ideal for: People who need to print very large parts or want an open-frame, hobbyist kit for heavy hardware modification.
- One-button automatic bed leveling simplifies first-layer calibration
- CoreXY all-metal structure with up to 600 mm/s travel speed for faster prints
- 280°C direct-drive extruder and quick-change nozzle support a wide range of filaments
- Double-sided PEI platform allows easier part removal and good adhesion
- Mobile app support enables remote monitoring and job management
- Build volume (220×220×220 mm) is small for larger prototypes
- High-speed printing requires regular nozzle and platform maintenance to stay reliable
Verdict: If you want a fast, user-friendly benchtop printer for reliable small-part prototyping, the Adventurer 5M is a strong choice under $400.
Creality K1C 3D Printer K1C

| Print speed | 600mm/s (rated) |
|---|---|
| Build volume | 8.66 x 8.66 x 9.84 inch |
| Max nozzle temperature | 300°C |
| Supported materials | PLA/ASA/ABS/TPU/PLA-CF/PET-CF |
The Creality K1C is a mostly ready-to-run desktop FDM printer that targets makers who want quick setup and fast prints. It ships well assembled so you can plug it in, follow the boot guide and start printing in minutes; built-in auto Z-offset and auto leveling reduce the fiddly calibration steps that often derail first prints. The machine uses a clog-free direct extruder with a steel-tipped copper nozzle and titanium-alloy heat break, letting it handle PLA, ABS, TPU and carbon-fiber blends at nozzle temperatures up to 300°C. An AI camera offers basic print monitoring and timelapse capture while an upgraded three-fan cooling layout improves bridge and overhang performance. The 8.66 x 8.66 x 9.84 inch build volume is best for small to medium parts, and the focus on speed means you may sacrifice some fine-detail tuning versus slower, highly tuned machines; advanced users expecting large-format or industrial precision may find the volume and finishing limits restrictive. For a mainstream buyer who wants low setup friction and a capable multipurpose printer, the K1C is a sensible fit.
Best for: Buyers who prioritize low setup friction and reliable everyday printing for prototypes, hobby parts, and multipurpose prints and who prefer a machine that mostly works without deep technical tuning.
Less Ideal for: Users who need large-format prints, industrial-level tolerances, or a machine they will extensively modify and tune for ultra-fine surface finish.
- Ready to run out of the box with pre-assembly and an easy boot-up guide
- Auto Z-offset and auto leveling simplify first prints and reduce setup time
- Clog-free direct extruder with 300°C capability supports carbon-fiber and high-temp filaments
- AI camera for real-time monitoring and timelapse recording
- Multi-fan cooling system improves bridging, overhangs, and print surface quality
- Relatively small build volume limits larger projects
- Emphasis on high-speed printing may require tuning to match the finest surface detail
Verdict: If you want a low-hassle, fast desktop printer that handles common and carbon-fiber filaments for small to medium parts, the Creality K1C is a practical choice.
Choosing the Right 3D Printer: Key Factors to Consider
Print Quality & Layer Resolution
Print quality determines whether a part is useful for prototypes, display pieces, or functional components. Look at achievable layer heights, nozzle compatibility, and how well the extruder maintains consistent filament flow. Finer layer resolution yields smoother surfaces but increases print time, so consider what finish you need versus throughput.
Also pay attention to extruder type and hotend temperature range because these affect the range of usable materials and how cleanly small features are printed. For budget printers, good calibration and a stable motion system often matter more to real-world print quality than the theoretical minimum layer height.
Ease Of Setup And First-Print Experience
A straightforward setup reduces frustration and shortens the time to usable parts. Check whether the printer ships mostly assembled, if the bed surface is pre-leveled or includes assisted leveling features, and whether clear start-up instructions or a sample print are provided.
User-friendly firmware, an intuitive control interface, and reliable USB or SD card printing workflows contribute to faster learning. For new users, a printer with automated or assisted bed leveling and accessible community guides will lead to a higher first-print success rate.
Build Volume And Physical Footprint
Build volume dictates the largest single-piece objects you can make and influences whether you need to split models into multiple prints. Consider both the usable X/Y/Z dimensions and how the printer's enclosure or moving parts affect placement on a workbench.
A larger bed is valuable for batch printing or bigger prototypes but often comes with a larger footprint and slightly longer heat-up times. If workspace is limited, prioritize a compact printer with the largest practical build volume for your projects.
Material Compatibility And Extruder Design
Material compatibility expands what you can build, from simple PLA parts to tougher PETG or flexible filaments. Check the hotend temperature limits, whether the extruder is direct drive or Bowden, and if the filament path supports softer materials.
Direct-drive extruders typically handle flexible filaments better, while Bowden setups can favor faster retraction and lighter carriage weight. For general-purpose hobby use, a reliable 0.4 mm nozzle with a wide temperature range offers the most versatility.
Bed Adhesion And Heating
A heated bed improves first-layer adhesion and reduces warping for many common filaments. Examine how the bed heats, the maximum bed temperature, and what surface materials are included or recommended.
Surfaces that require minimal additional adhesives are preferable for beginners. Also consider whether the bed is removable for easier part removal and whether the printer supports common aftermarket surfaces if you need to upgrade for advanced materials.
Community Support And Parts Availability
Strong community support shortens troubleshooting time and provides tested print profiles and modification advice. Look for printers with active forums, documentation, and available replacement parts such as belts, nozzles, and thermistors.
Good parts availability is especially important for budget machines where owners often perform routine maintenance and occasional upgrades. Readability of wiring, modular components, and clear documentation make repairs and small upgrades much easier.
Common Tradeoffs In Budget 3D Printers
Budget printers under $400 typically balance cost by simplifying hardware or limiting premium features. You will often see choices like smaller build volumes, a single extruder only, simplified frames, and fewer onboard sensors. These tradeoffs can be acceptable depending on your priorities, but it helps to know which concessions are reversible with aftermarket parts and which are fundamental to the printer's design.
- Simpler electronics reduce costs but may limit expansion or print speed.
- Lower-cost linear rails or rods can be replaced later if accuracy is critical.
- Single-extruder machines are fine for most users but cannot print soluble supports.
Upgrades That Give The Biggest Real-World Gains
If you expect to keep a budget printer long-term, some upgrades yield significant improvements in reliability and print quality. Common worthwhile modifications include better bed surfaces for adhesion, an upgraded hotend for higher-temperature materials, and stronger frame bracing to reduce wobble. Firmware updates or community-created profiles also often improve print consistency without hardware changes.
- Flexible PEI or glass bed surfaces for easier part removal.
- All-metal hotends for broader material support.
- Improved power supply or MOSFET mods for more stable heating.
Basic Maintenance To Keep Prints Consistent
Regular maintenance extends the usable life of any 3D printer and prevents many print failures. Keep belts tensioned correctly, lubricate smooth rods or leadscrews as recommended, and clean the nozzle and bed surface regularly. Periodic checks of endstop function and filament feed path will catch issues before they ruin a long print.
Bullets are optional here and used sparingly to list quick tasks.
- Tighten and inspect belts every 50 to 100 print hours.
- Clean the nozzle or perform a cold-pull when extrusion becomes inconsistent.
- Level the bed or run the assisted leveling routine before multi-hour prints.
Slicing Settings That Save Time And Material
Slicing settings have a major effect on print speed, strength, and finish. Adjust layer height to balance quality and time, increase infill only where strength is needed, and tune retraction for the printer's extruder type. Use adaptive slicing or spiralize modes for smoother vertical surfaces when appropriate.
Bullets are optional here and present quick tuning tips.
- Start with a 0.2 mm layer height for a balance of speed and surface detail.
- Use 15 to 25 percent infill for most non-structural prints.
- Tune retraction incrementally to reduce stringing without causing jams.
Safety And Workspace Considerations
3D printing generates heat and, depending on the filament, fumes. Ensure the printer is on a stable surface away from flammable materials and that the workspace has reasonable ventilation. Keep a small fire extinguisher accessible and follow basic electrical safety practices when servicing the machine.
Bullets are optional here and highlight quick safety notes.
- Place the printer on a non-flammable, level surface.
- Avoid enclosed spaces without ventilation when printing higher-temperature filaments.
- Disconnect power before performing wiring or heated-bed maintenance.
How We Chose the Best 3D Printer
We focused on printers that offer consistent, usable results for makers, hobbyists, and small workshop users while staying under the $400 cap. Primary evaluation criteria included measured print quality across a range of common filaments, ease of setup and first-print success rate, and hardware reliability including frame rigidity and motion systems. We also considered firmware maturity and community support because accessible documentation and active troubleshooting resources reduce downtime for new users. Additional filters excluded bare-bones kits that require extensive assembly or upgrades to be functional, and printers with unclear parts sourcing that would complicate repairs. We prioritized machines with a usable build volume for common projects, a heated bed for adhesion with PLA and PETG, and standard filament compatibility. In short, models had to be ready to produce good prints with minimal upgrades, be serviceable with commonly available parts, and deliver repeatable results across typical home applications.
Our full evaluation process is outlined in our review methodology.
FAQ
What type of filament should I start with on a budget 3D printer?
PLA is the best starting filament because it prints at lower temperatures, adheres easily, and requires minimal bed heating. It is forgiving for beginners and suitable for many hobby projects.
How important is automatic bed leveling on inexpensive printers?
Automatic bed leveling can significantly reduce setup time and improve first-layer consistency, but it is not mandatory. Manual leveling works if you are willing to calibrate occasionally and follow a careful leveling routine.
Can budget 3D printers handle flexible filaments?
Some budget printers can handle flexible filaments, especially if they use a direct-drive extruder or have a well-constrained filament path. Bowden setups can still work but may require slower print speeds and tuned retraction settings.
How often should I replace the nozzle or other wear parts?
Nozzles and other consumables should be checked regularly and replaced when you notice poor surface finish, clogging, or signs of wear. Frequency depends on usage and filament abrasiveness but expect occasional replacement after many tens to hundreds of printing hours.
Is a heated bed necessary for reliable prints under $400?
A heated bed is highly recommended because it improves first-layer adhesion and reduces warping for common filaments such as PETG and ABS. Many budget printers include a heated bed, and it is a practical feature to prioritize.
Final Verdict
For most hobbyists and small-workshop users, prioritize a machine that delivers consistent print quality, straightforward setup, and reliable hardware over bells and whistles. Decide first whether build volume or material flexibility matters more for the projects you plan to run, and then favor printers with a heated bed and a robust filament path. Remember that modest upgrades and routine maintenance often yield the best long-term value. If you choose a model with strong community support and easy parts access, you will resolve issues faster and extend the machine's useful life. Focus on core capabilities and reliability to get the most from a 3D printer under $400.