
Note: This article contains affiliate links. If you click on these links and make a purchase, we may earn a small commission at no extra cost to you. This helps support our research and content. Read our full affiliate disclosure here.
If you have boxes of photographic slides, picking the right Slide Scanner makes the difference between a usable digital archive and a frustrating project that loses color or detail. The right scanner preserves color fidelity, captures fine grain and dust detail, and fits into a workflow you will actually finish. This guide examines six shortlisted scanners that aim to balance resolution, throughput, and image quality for home archivists and small studios. Below we explain the practical tradeoffs we considered and how each shortlisted model performs on the criteria that matter most for long-term digital preservation and everyday scanning. Use the sections that follow to match features to your scanning volume and output needs.
Top Picks at a Glance
| Best Overall The best all-around choice for most situations | Plustek OpticFilm 8200i SE |  |
| Best Quality Built to a higher standard if you want something more solid | Epson Perfection V850 Pro |  |
| Best Value The sweet spot between price and what you get | Magnasonic FS71 24MP Film Scanner |  |
| Best Budget The cheapest option that still gets the job done reliably | DIGITNOW 35mm Film Scanner |  |
| Top Rated A top-rated pick with lots of positive feedback | KODAK Slide N Scan |  |
| Most Popular A crowd favorite that many people choose with confidence | KODAK SCANZA Film Scanner |  |
Plustek OpticFilm 8200i SE

| Scanner Type | Photo |
|---|---|
| Connection Type | USB |
| Resolution | 7200 dpi |
| Color Depth | 48 bits |
| Media Type | Negatives, Photo, Slide |
The Plustek OpticFilm 8200i SE is a desktop 35mm negative and slide scanner aimed at hobbyists and enthusiasts who want high-resolution digital captures. It scans 35mm film and mounted slides at up to 7200 dpi with 48-bit color depth, and includes an infrared channel for automatic dust and scratch detection to reduce manual retouching. The unit supports multi-exposure to extend dynamic range for richer shadow and highlight detail, and it ships with Plustek QuickScan and SilverFast SE Plus software for image correction and batch workflows. In practice the scanner produces very detailed files suitable for archival and print use, and the bundled software gives control over color and exposure without needing separate third-party tools. Limitations include a single-film format focus (35mm only) and a manual feed process that is slower than motorized batch scanners, so large archives will require patience or a higher-throughput model. Drivers and software support are available for modern Windows and macOS versions but expect a learning curve to get the best results from multi-exposure and SilverFast settings.
Best for: Photography enthusiasts and home archivists who want high-detail, archival-quality scans from 35mm negatives and slides and are willing to spend time learning software controls.
Less Ideal for: Users who need fast, automated batch scanning for very large archives or who must scan medium and large format film.
- Very high optical resolution up to 7200 dpi for detailed 35mm scans
- Built-in infrared dust and scratch detection reduces post-scan retouching
- Supports multi-exposure to improve dynamic range and shadow detail
- Includes QuickScan and SilverFast SE Plus software for color correction and batch processing
- Limited to 35mm negatives and slides, not suitable for larger film formats
- Manual feeding and single-scan throughput make large batches time-consuming
Verdict: Choose the OpticFilm 8200i SE if you want very high-resolution 35mm scans with infrared defect removal and software tools for archival-quality results.
Epson Perfection V850 Pro

| Scanner Type | Photo |
|---|---|
| Connection Type | USB |
| Resolution | 9600 |
| Color Depth | 48 bits |
| Optical Sensor Technology | CCD |
The Epson Perfection V850 Pro is a performance-focused flatbed scanner built for serious photographers and archivists who need high-resolution film and photo scans. It uses a dual-lens system with a CCD sensor and up to 6400 dpi film/9600 dpi optical resolution to capture fine detail, plus a 4.0 Dmax for smooth tonal gradations in shadows and highlights. ReadyScan LED lighting eliminates warmup time and the scanner includes multiple film holders for 35 mm, medium and large formats so you can batch-scan slides and negatives. Digital ICE technologies and image restoration tools actively reduce dust and scratches, which saves time in post-processing. The unit connects over Hi-Speed USB 2.0 and supports common scanning workflows on Windows and macOS with TWAIN compatibility. The trade-offs are a relatively large, heavy desktop footprint and a focus on film/photo quality rather than fast document throughput, so it is best used as a dedicated photo/film scanner in a studio or archival setting.
Best for: Photographers, archivists, and enthusiasts who prioritize maximum image quality and accurate film scanning for studio or archival work.
Less Ideal for: Users who need a small, lightweight scanner for occasional document scanning or who require the fastest possible scan throughput for large volumes.
- High optical and film resolution with dual-lens system for detailed scans
- 4.0 Dmax provides strong tonal range and fine shadow detail
- Built-in Digital ICE image restoration reduces dust and scratches
- Includes multiple film holders for 35 mm, medium and large formats
- Large and heavy compared with consumer flatbed scanners
- USB 2.0 connectivity limits transfer speeds versus newer interfaces
Verdict: Choose the V850 Pro if you need top-tier film and slide scanning with industry-grade detail and image restoration for studio or archival projects.
Magnasonic FS71 24MP Film Scanner
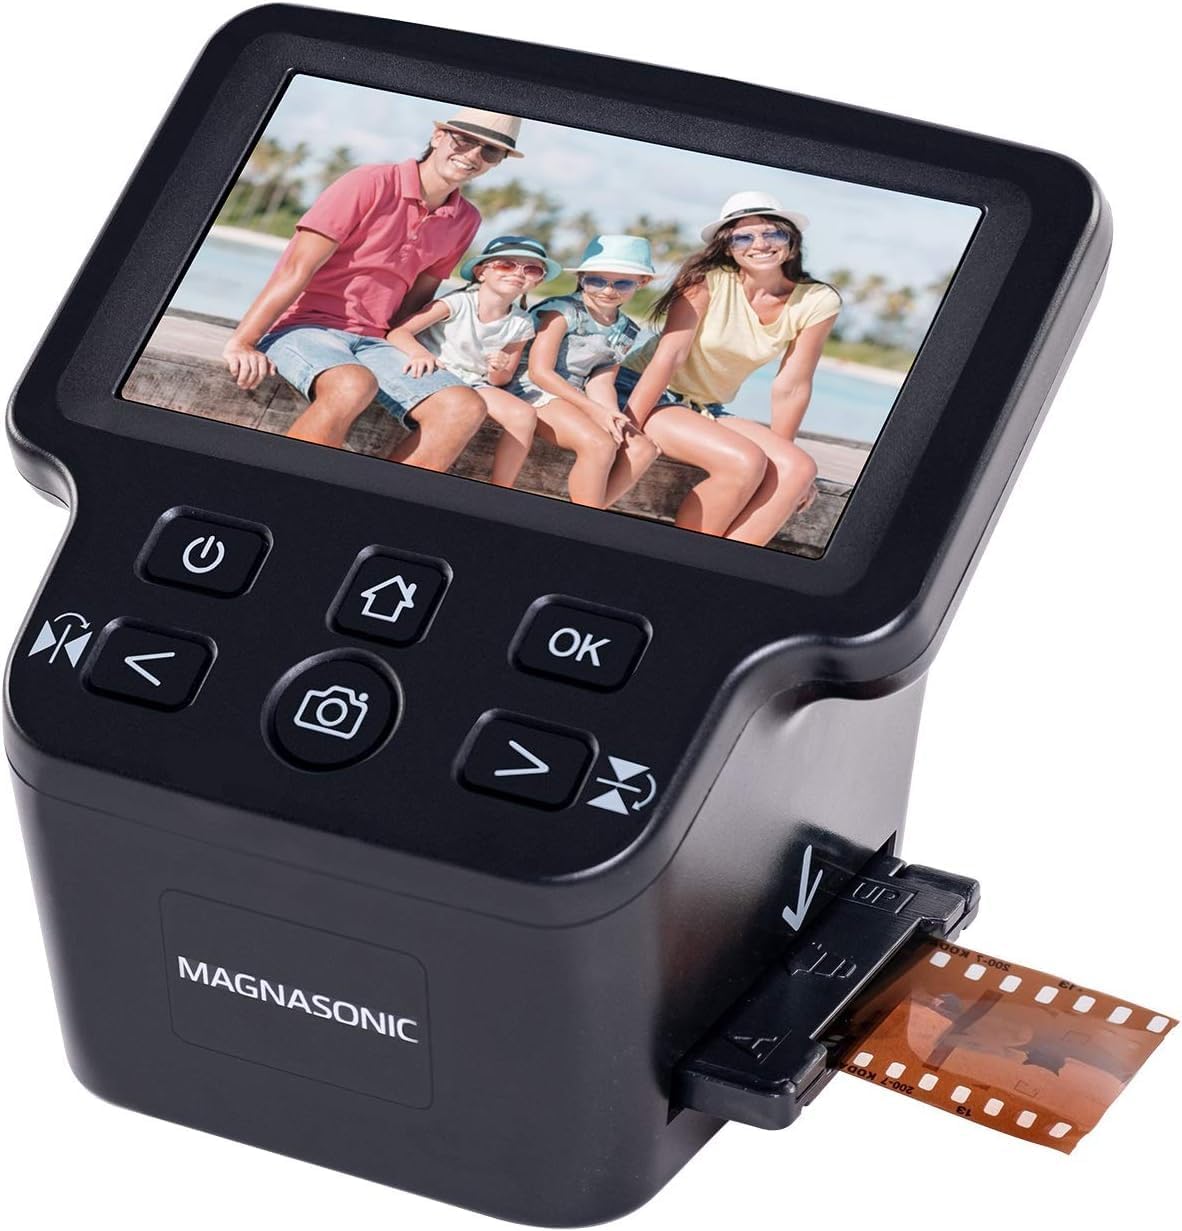
| Scanner Type | Film, Photo |
|---|---|
| Connection Type | HDMI, USB |
| Resolution | 24MP |
| External Memory Card | Up To 128GB SD Card |
| Scan Speed | 3-5 Seconds |
The Magnasonic FS71 is an all-in-one film and slide scanner designed to quickly convert 35mm, 110, 126 and Super 8 film plus 135/126/110 slides into JPEG images without a computer. It scans a single frame in about 3 to 5 seconds and saves files to an SD card or to a PC over USB, and its extra-large 5" color LCD and HDMI output make it easy to preview and show batches on a TV. The unit offers basic on-device editing including brightness and RGB adjustments and simple flip/mirror controls, plus selectable film-format trays to speed setup. Image capture is based on a 16MP sensor with 24MP interpolation for larger output and LED backlighting provides consistent exposure. Practical buyers will appreciate the fast single-pass workflow and the lack of required software, but advanced users should note this is a consumer converter rather than a high-end archival scanner: resolution is interpolated, color accuracy and dynamic range are limited compared with dedicated drum or high-end flatbed units, and it does not support 120/220 roll film formats. For digitizing home movie and slide collections quickly and affordably, the FS71 is a straightforward, easy-to-use choice.
Best for: Buyers who want a fast, no-fuss way to convert family slides and common home movie film into viewable digital files without learning photo software or investing in high-end archival gear.
Less Ideal for: Photographers or archivists who need maximum optical resolution, precise color fidelity, or support for large roll film formats should consider higher-end dedicated scanners.
- Fast single-frame scanning (about 3–5 seconds) for quick batch work
- Built-in 5" LCD plus HDMI output for instant preview and TV slideshow viewing
- On-device brightness and RGB adjustments so no computer or software is required
- Supports multiple film formats (35mm, 110, 126, Super 8) and slide types
- Accepts SD cards up to 128GB for large local storage of scans
- Uses interpolation to reach 24MP so actual optical detail is limited compared with archival scanners
- Not compatible with larger roll film formats such as 120/220
Verdict: A practical, easy-to-use film and slide scanner that quickly digitizes common home formats and displays results instantly for simple preservation and sharing.
DIGITNOW 35mm Film Scanner
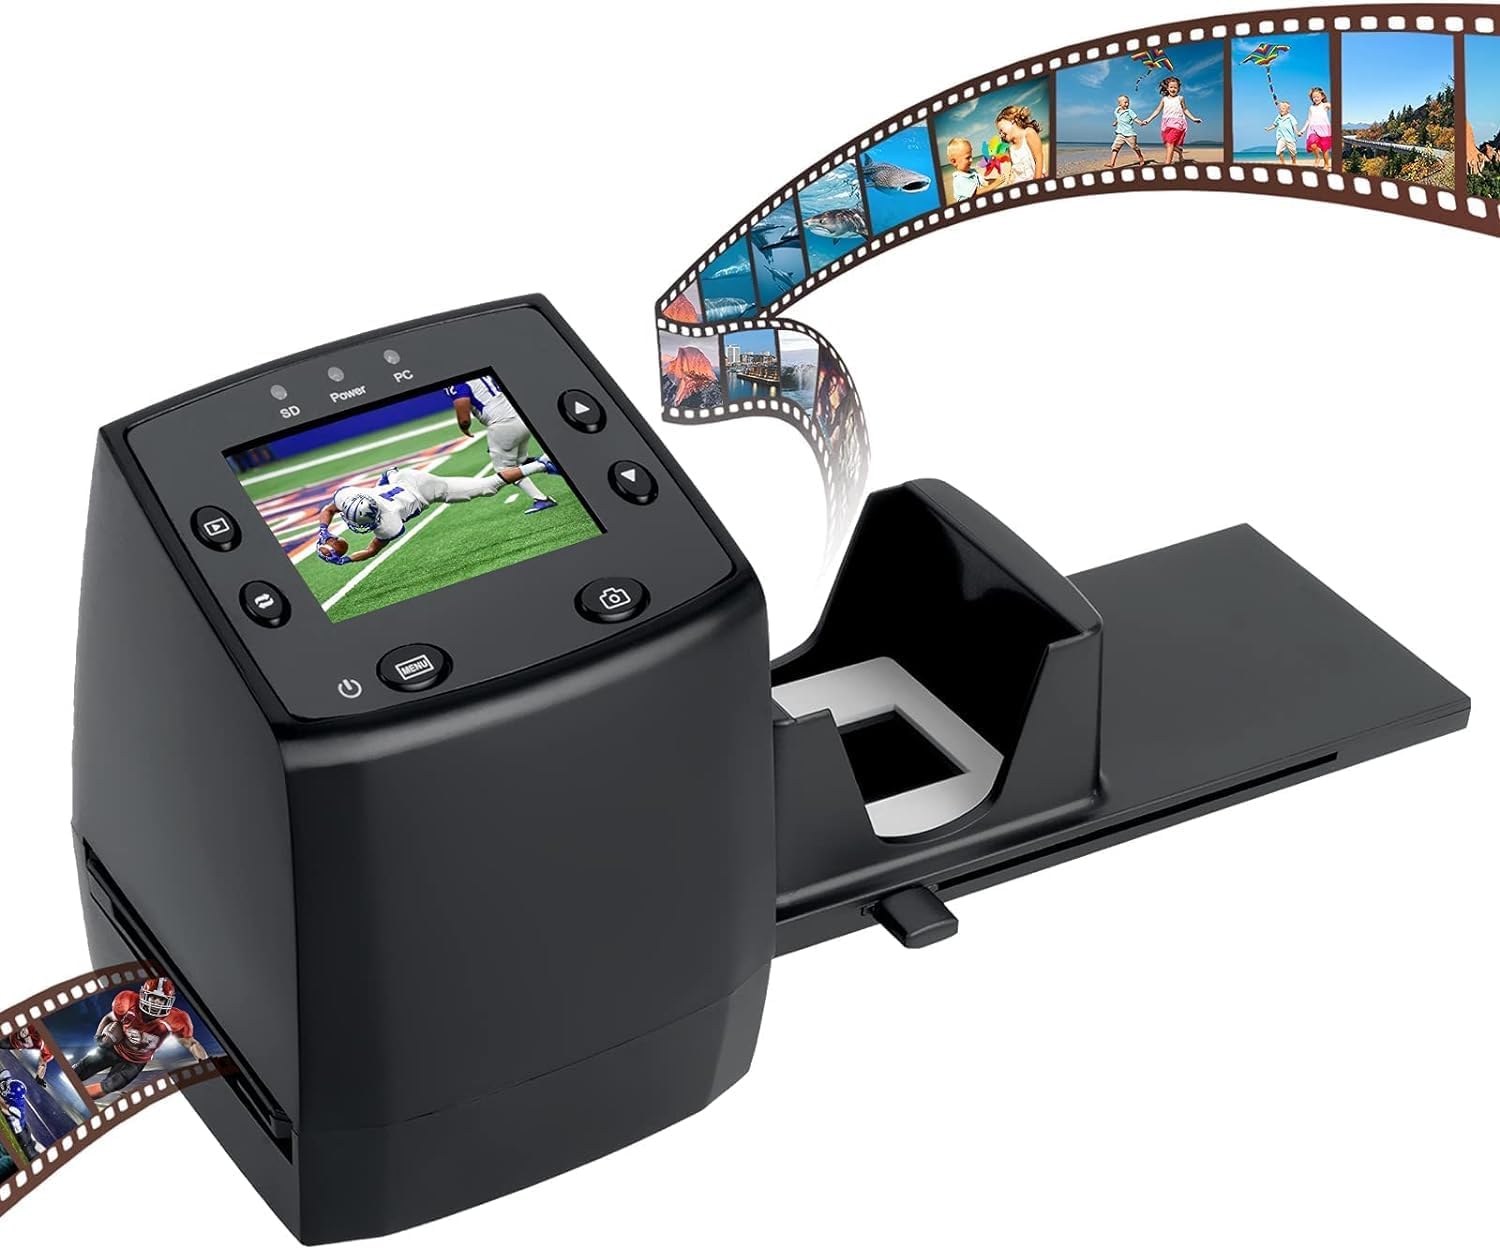
| Scanner Type | Film |
|---|---|
| Connection Type | USB |
| Resolution | 1800 |
| Light Source Type | LED |
| Media Type | Negatives, Slide |
The DIGITNOW 35mm Film Scanner is a budget-friendly, no-frills device for turning old 35mm negatives and slides into digital JPEGs. It works as a stand-alone unit with a 2.4-inch color LCD so you can scan directly to an SD card without a computer, or connect via USB to transfer files to a PC or Mac. The scanner uses a CIS sensor and LED light source and offers a quoted 1800 DPI resolution and 16-bit color depth, which is adequate for casual archiving and sharing. Included holders, a rapid slide feeder for quick single-frame scans, and TV-out support make it simple to preview and batch-scan small quantities. Expect straightforward, fast scans that require minimal setup. The trade-offs are typical of its price: image quality and dynamic range will not match dedicated film scanners or professional services, and color and dust handling are basic, so you may need post-scan editing for the best results. For occasional digitizing of family photos this model delivers a practical, easy-to-use solution on a tight budget.
Best for: Buyers looking to digitize small collections of family slides and negatives on a tight budget who want a simple, mostly self-contained workflow without complex software.
Less Ideal for: Photographers or archivists who need high dynamic range, professional color accuracy, or advanced dust and scratch removal should consider higher-end dedicated film scanners or professional scanning services.
- Stand-alone scanning to SD card without a computer required
- Includes slide and negative holders plus a rapid slide feeder for quicker single-frame scanning
- 2.4-inch color LCD for previewing scans and simple on-device controls
- USB and TV-out options let you transfer files to a computer or view images on a TV
- Optical performance and dynamic range are limited compared with higher-end film scanners
- Dust, scratches, and color accuracy may require manual post-processing
Verdict: An easy, low-cost way to convert 35mm slides and negatives into JPEGs without a computer, ideal for casual archiving of family photos.
KODAK Slide N Scan
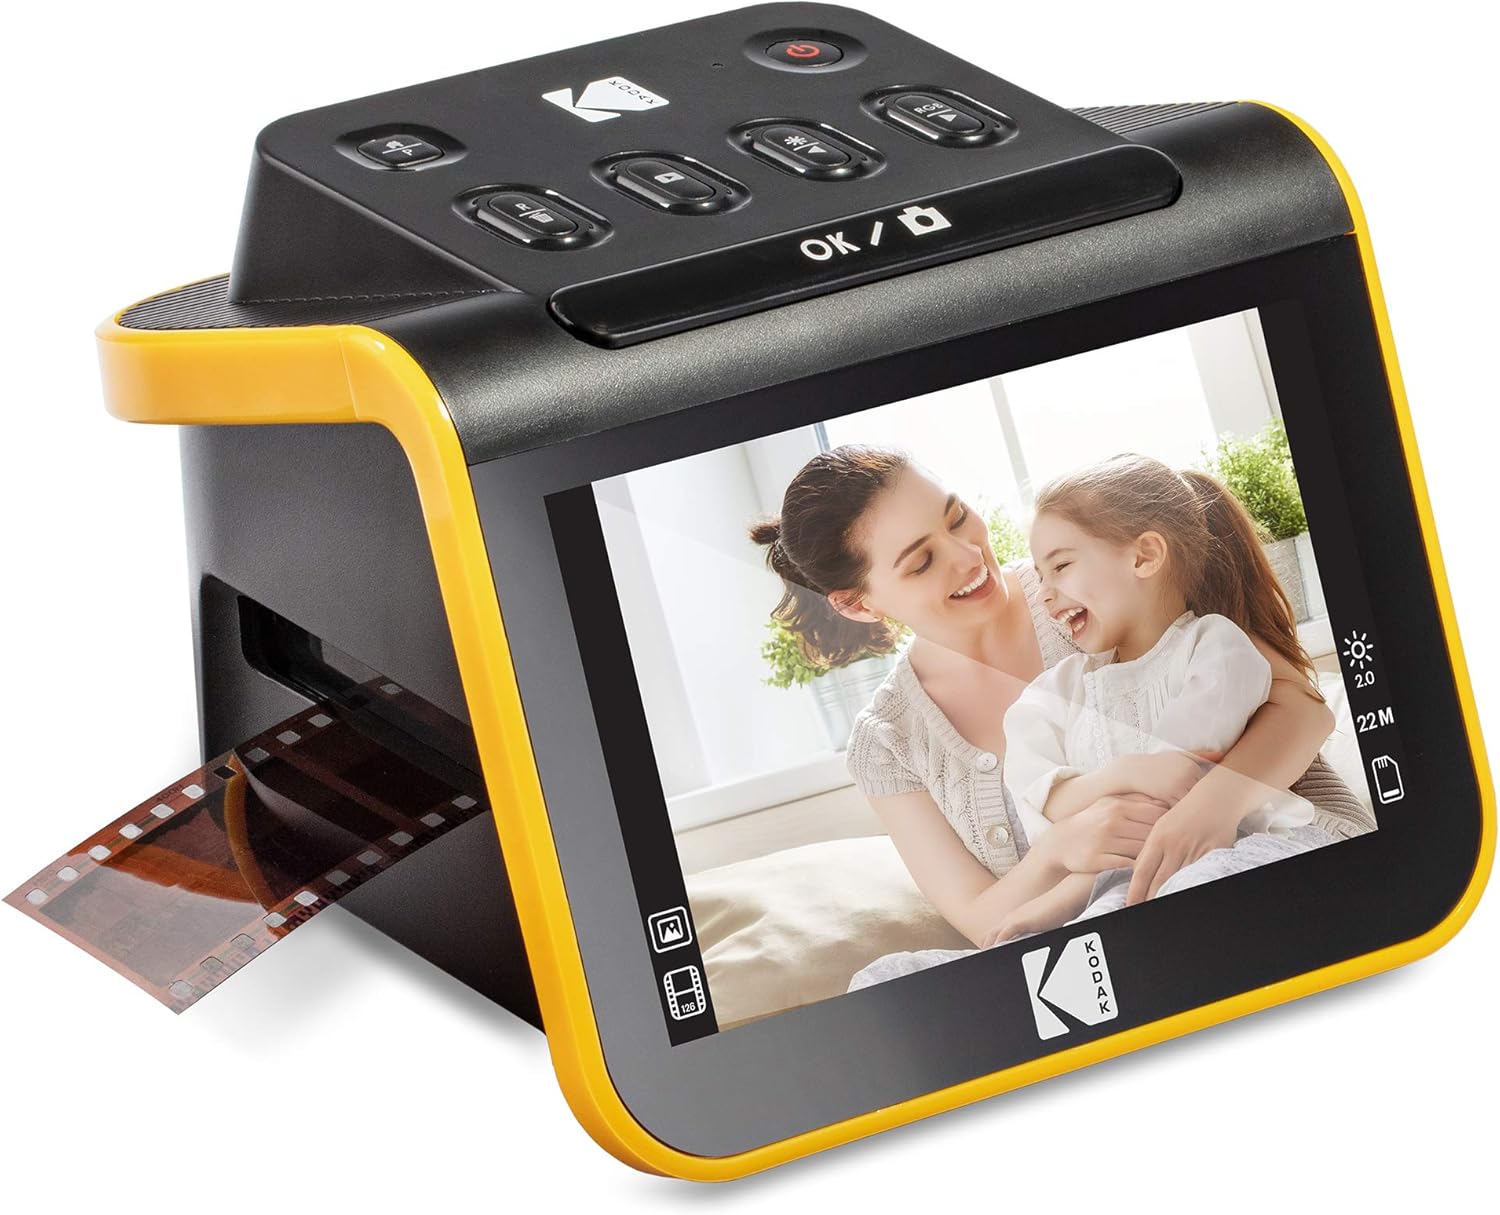
| Scanner Type | Film |
|---|---|
| Connection Type | HDMI, USB |
| Resolution | 22 Megapixels |
| Color Depth | 24 bits |
| Media Type | Negatives, Slide |
The KODAK Slide N Scan is a straightforward, purpose-built scanner for turning old slides and negatives into digital JPEGs without extra software. It uses a 13MP sensor with an optional 22MP interpolation mode and displays results on a large 5" LCD so you can preview, edit basic color and brightness, and use gallery mode like a desktop photo frame. The unit accepts 50mm slides and includes adapters for 135, 110 and 126 films plus a quick-feeding tray for continuous scanning, which speeds batch work. Files save directly to an SD/SDHC card (up to 32GB) and you can connect to a computer via USB or output to a TV with HDMI. Practical limits are its interpolation-based higher resolution rather than true optical upscaling and reliance on an SD card (not included) to operate, but for moving boxes of film into a simple digital archive this scanner keeps the process fast and accessible for nontechnical users.
Best for: Buyers who want a reliable, no-frills way to digitize family slides and negatives quickly without learning complex software.
Less Ideal for: Users who need professional-grade optical scanning or RAW output for heavy editing and restoration work should look at higher-end dedicated film scanners.
- Large 5" LCD for easy previewing and simple onboard editing before saving
- Quick-feeding tray and included adapters speed batch scanning of 50mm, 135, 110 and 126 formats
- Saves JPEGs directly to SD/SDHC card and connects to PC via USB or to a TV via HDMI
- Simple one-button scanning workflow that requires minimal technical setup
- Higher 22MP output is achieved by digital interpolation rather than true optical resolution
- Requires an SD card to operate and the card is not included
Verdict: A dependable, easy-to-use scanner for quickly converting boxes of slides and negatives into viewable JPEGs with minimal fuss.
KODAK SCANZA Film Scanner

| Compatible film types | 35mm, 126, 110, Super 8, 8mm |
|---|---|
| Sensor | 14MP (interpolates to 22MP) |
| Display | 3.5" tilt-able LCD |
| Connection type | HDMI, USB |
| SD card support | Up to 128GB |
The KODAK SCANZA is a purpose-built film-to-JPEG scanner aimed at quickly digitizing a variety of small-format film and slide types. You load film into numbered adapters, preview the image on the tilt-able 3.5-inch LCD, then capture and save standalone JPEGs to an SD card or export via USB; HDMI lets you project images to a TV for group viewing. The unit uses a 14MP sensor with optional interpolation to 22MP, and includes multiple trays, a cleaning brush, AC/USB/HDMI cables and an intuitive menu for basic RGB and resolution adjustments. Its strengths are speed and convenience for bulk conversion without a PC and clear on-device controls. Expect image quality typical of a snapshot-style scanner rather than a professional flatbed scan, and note it only handles already-developed film and does not produce video from Super 8. The automatic 10-minute shutoff and reliance on the internal camera mean very high-end restorations will still need dedicated scanning services or flatbed equipment, but for preserving old slides and negatives into usable JPEGs the SCANZA is a user-friendly, well-equipped choice.
Best for: Buyers who want a straightforward, all-in-one way to convert boxes of old negatives and slides into viewable JPEGs quickly and with minimal technical setup, valuing convenience and clear on-device controls.
Less Ideal for: Photographers or restorers seeking high-resolution archival scans or motion conversion for Super 8 should look at professional flatbed scanners or transfer services instead.
- Supports multiple film formats including 35mm, 126, 110, Super 8 and 8mm for broad compatibility
- Built-in 3.5" tilt-able LCD for previewing, editing and selecting captures without a computer
- Saves directly to SD card and offers USB and HDMI output for easy transfer or TV projection
- Includes multiple trays, adapters, cables and a cleaning brush so you can start scanning right away
- Uses a built-in camera snapshot method so image quality is lower than dedicated flatbed or professional film scanners
- Does not develop raw film and cannot convert Super 8 to video, only still images
Verdict: For fast, user-friendly conversion of diverse small-format negatives and slides into JPEGs without a computer, the SCANZA delivers the simplest end-to-end solution.
Choosing the Right Slide Scanner: Key Factors to Consider
Optical Resolution and Effective DPI
Resolution determines how much detail a scanner captures from a slide and influences how large you can print or crop images. Optical resolution is the true hardware capability, while advertised DPI can sometimes be interpolated. For slide scanning, higher optical resolution preserves film grain and fine detail from small-format originals.
Consider how you will use the digitized files. If you plan to print large enlargements or do heavy cropping, prioritize scanners with higher native optics. For casual digital viewing or modest prints, midrange resolution can be sufficient and often results in faster scans and smaller file sizes.
Color Accuracy, Bit Depth, and Dynamic Range
Slides can contain subtle tonal shifts and saturated colors that are easy to clip or misrender. Scanners that offer higher bit depth and good dynamic range reproduce shadow and highlight detail more faithfully. Accurate color profiles or RAW-like output let you correct color without losing data.
Look for devices that support 16-bit or higher capture pipelines and provide color-management tools or ICC profile compatibility. If you will be restoring old or faded slides, the scanner's ability to retain tonal gradations and handle extreme contrast is critical.
Throughput and Batch Scanning Workflow
Scanning speed matters when you have hundreds or thousands of slides. Throughput depends on raw scan time per frame, whether the scanner supports multi-slide holders or automated feeders, and the time required for software processing. A device that scans quickly but forces frequent manual handling can still be slow overall.
Evaluate how slides are loaded and queued, whether the software can process batches unattended, and whether any automatic corrections add significant time. For large projects, prioritize robust batch-handling features and predictable per-frame timing.
Dust, Scratch, and Color-Shift Correction
Physical defects like dust and scratches are common on older slides, and color shifts occur with aging dyes. Some scanners include infrared or algorithmic dust and scratch removal, which can save hours in postprocessing. Others expose more detail but require manual retouching in software.
Decide whether you prefer in-scanner correction for convenience or a cleaner raw capture for manual restoration. Understand that aggressive automated correction can sometimes soften fine detail, so balance the need for cleanup against preserving image sharpness.
File Output Options and Workflow Integration
Different projects require different file types. Archival work benefits from uncompressed high-bit TIFFs or formats that retain full color information. Casual use often relies on JPEG for smaller files and faster handling. The scanner's ability to output multiple formats, embed profiles, and work with common image-editing applications affects long-term usability.
Consider whether the scanner's software supports naming templates, batch export, and direct integration with your editing tools. Native support for non-destructive capture formats or sidecar files simplifies later color correction and cataloging.
Physical Handling and Slide Holders
How the scanner handles physical slides affects speed and safety. Dedicated slide holders or trays prevent fingerprints and ensure consistent framing. Automated feeders increase throughput but may be unsuitable for fragile or warped slides. The ease of loading and unloading also affects how long a large project will take.
If your collection includes delicate or warped slides, prioritize gentle handling and secure holders. For resilient collections with consistent mounts, automated or multi-slot trays can dramatically reduce total project time.
Preparing Slides Before Scanning
Clean and organize slides before you start to reduce artifacts and speed up the workflow. Use a soft blower and a lint-free brush to remove loose dust, and avoid touching emulsion surfaces. If slides are in paper mounts, inspect for warped or sticky frames and separate any that need special handling.
Label batches and create a consistent naming convention before scanning so files are easy to identify later. Decide whether you will apply in-scanner corrections or capture as clean, unprocessed files for post-scan restoration.
- Work in a dust-minimized area with stable lighting
- Sort by date or event to simplify post-processing
- Use archival-safe gloves when handling fragile slides
Color Management and Post-Scan Editing
Implement a basic color-management workflow to maintain consistent results. Calibrate your monitor and, if possible, use ICC profiles matched to the scanner or capture software. Even with automated color correction, profiles help maintain predictable output across multiple devices.
Capture at the highest practical bit depth for your needs if you plan to color-correct or restore images. Use nondestructive editing workflows with sidecar files or layered documents to preserve originals.
- Calibrate monitor regularly
- Capture at higher bit depth for restorations
- Save master files in lossless formats for archiving
Managing Large Scanning Projects
Break big conversion projects into manageable sessions to avoid fatigue and errors. Establish a consistent routine: clean, load, scan, verify a sample, then continue. Track progress with a simple checklist and periodically back up scanned files to separate media.
Factor in time for occasional rework. Some slides may require additional cleaning or rescanning with different settings. Allow for a final pass of color correction and dust removal after the initial capture to maintain consistency across the archive.
- Scan in small batches and verify results frequently
- Keep a backup strategy for scanned masters
- Schedule time for restoration passes after initial capture
Choosing Between Automated Cleanup and Raw Capture
Automated cleanup tools can save substantial time, but they can also reduce fine detail or introduce artifacts. If you are digitizing family archives where fidelity and texture matter, consider capturing raw or high-bit files and performing manual restoration for key images.
For large volumes where speed is the priority, automated dust removal and color correction can be worthwhile. Balance the need for throughput with your tolerance for potential loss of tiny detail in exchange for a much faster end-to-end process.
- Use automated tools for high-volume, low-restoration needs
- Reserve manual edits for high-value or problematic slides
- Test settings on a representative sample before batch runs
Backing Up and Cataloging Digitized Slides
Long-term preservation requires a disciplined backup and cataloging approach. Store master files on reliable media and keep an offsite copy when possible. Use consistent file naming, embedded metadata, or sidecar files to capture dates, locations, and subject information.
Consider lightweight cataloging tools or spreadsheets for smaller collections. Tagging and basic IPTC metadata make later searching and reuse simpler, especially if you plan to publish or print images in the future.
- Keep at least two separate copies of master files
- Embed metadata for searchable archives
- Use simple catalog tools for medium-sized collections
How We Chose the Best Slide Scanner
We selected scanners that meet real-world needs for slide digitization rather than general-purpose flatbed scanning. Our editorial filters prioritized measurable imaging specs and workflow advantages that affect final results. Key evaluation dimensions included optical resolution and scanned detail, color accuracy and dynamic range, throughput speed and batch handling, dust and scratch reduction or restoration tools, and file output options including raw or high-bit TIFF support. We also considered ease of use and software stability because a technically capable scanner is only useful when the software produces consistent results. We excluded devices that only capture slides via smartphone adapters or low-resolution consumer cameras, as well as scanners without dedicated slide holders or documented color-management support. The final shortlist contains models that cover both occasional users who need simple, fast conversions and power users who prioritize maximum resolution and archival-quality file formats. Each product was evaluated against the same criteria so buyers can compare on concrete technical and workflow factors.
Our full evaluation process is outlined in our review methodology.
FAQ
What resolution do I need to archive 35mm slides?
It depends on intended use. For screen viewing and small prints, moderate optical resolution is usually fine. For large prints or heavy cropping, choose higher native optical resolution to preserve fine grain and detail.
Should I use automatic dust removal or capture raw and edit later?
Automatic removal saves time but can soften fine detail. If fidelity is critical, capture high-bit or raw files and perform manual restoration. For high-volume projects, automated tools provide a reasonable tradeoff between speed and cleanliness.
Can I scan mounted or unmounted slides interchangeably?
Many scanners accept both, but handling differs. Mounted slides are easier to protect from fingerprints and often fit standard holders, while unmounted slides may need delicate handling or special trays. Check the scanner's loading method to match your collection.
How should I store digitized files for long-term preservation?
Save masters in lossless formats such as high-bit TIFF and keep multiple backups on separate media. Embed basic metadata and maintain an offsite copy to protect against local data loss.
Will color fade from the original slide affect scanning?
Yes. Aging dyes can shift color and reduce contrast. Scanners with higher tonal range and the ability to capture greater bit depth give you more flexibility to correct faded colors during postprocessing.
Final Verdict
When choosing a Slide Scanner, align your pick with the balance of resolution, speed, and restoration needs you actually have. Prioritize optical resolution and bit depth for archival captures, but value throughput and automated cleanup when working through large volumes. Also weigh file-format flexibility and how the scanner fits into your post-scan workflow. Decide whether fidelity or speed is your top priority, then pick a scanner whose strengths match that priority. With the right choice, you can preserve slides accurately while keeping the project manageable.