
Note: This article contains affiliate links. If you click on these links and make a purchase, we may earn a small commission at no extra cost to you. This helps support our research and content. Read our full affiliate disclosure here.
If you plan to make functional prototypes, replacement parts, or hobby models, picking the right FDM 3D printer is crucial. The best machines produce consistent layers, handle common filaments well, and minimize time wasted on troubleshooting. This guide shortlists seven top options optimized for desktop use and varied skill levels, focusing on real-world reliability and usable print quality. We examine setup, filament compatibility, and long-term ease of ownership so you can pick a printer that fits your workflow. Read on for concise evaluation and practical buying guidance.
Top Picks at a Glance
| Best Overall The best all-around choice for most situations | Creality K2 Plus 3D Printer |  |
| Best Quality Built to a higher standard if you want something more solid | QIDI Max4 Combo 3D Printer |  |
| Best Value The sweet spot between price and what you get | Creality K1C 3D Printer |  |
| Best Budget The cheapest option that still gets the job done reliably | ELEGOO Neptune 3 Pro |  |
| Top Rated A top-rated pick with lots of positive feedback | Bambu Lab A1 3D Printer |  |
| Most Popular A crowd favorite that many people choose with confidence | FLASHFORGE Adventurer 5M |  |
| Best Seller A high-volume bestseller chosen again and again | Bambu Lab P1S Combo |  |
Creality K2 Plus 3D Printer
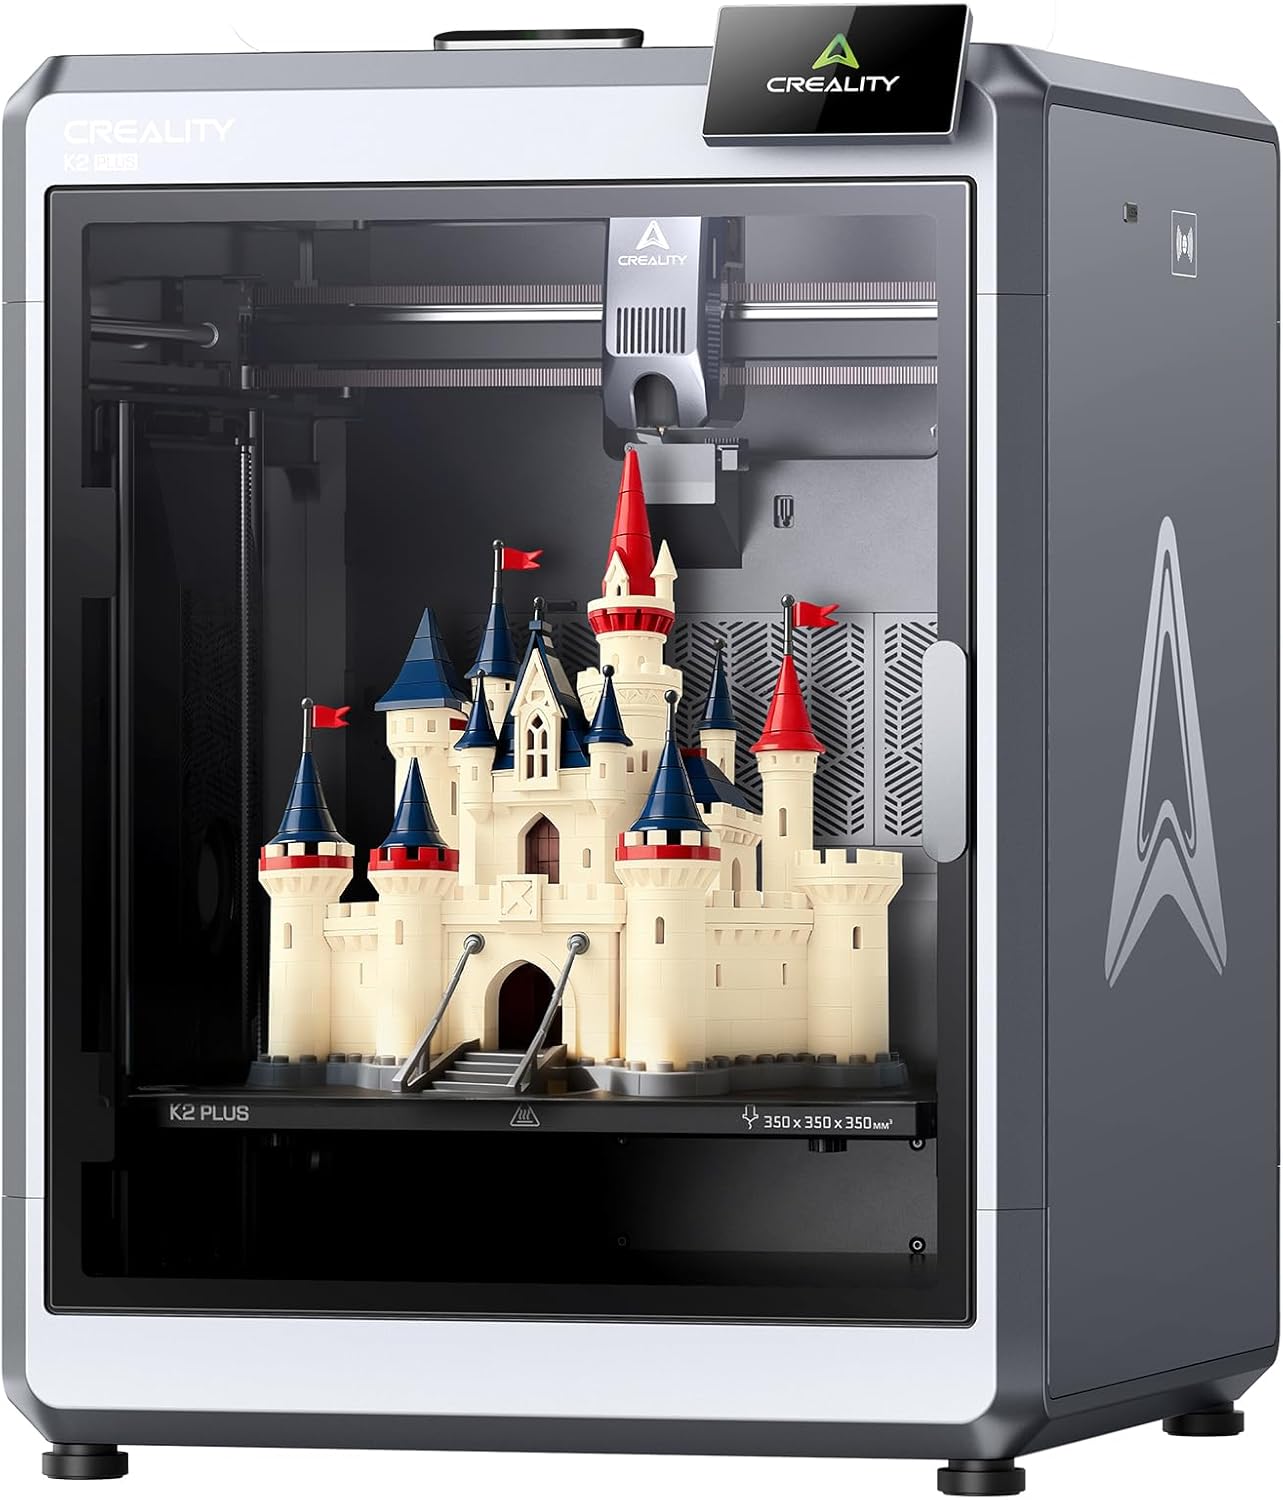
| Build Volume | 350×350×350 mm |
|---|---|
| Printing Speed | ≤600 mm/s |
| Acceleration | ≤30000 mm/s² |
| Layer Height | 0.05–0.3 mm |
| Supported Filaments | PLA/ABS/PETG/PA-CF/PLA-CF/PET/ASA/PPA-CF |
The Creality K2 Plus is a ready-to-run FDM machine aimed at fast, large prints and automated monitoring. It ships largely preassembled and uses a direct-drive dual-gear extruder and an actively heated chamber to handle a wide range of filaments including PLA, ABS, PETG and several carbon-fiber blends. The 350×350×350 mm build volume and up to 600 mm/s top speed with 30,000 mm/s² acceleration let you move from prototyping to larger parts faster than typical desktop machines, while a full auto-leveling system, belt tension sensor, and two AI cameras monitor print health and first-layer quality. Practical benefits include fewer manual adjustments, better multi-material/multi-color workflows when paired with Creality CFS, and quieter operation around 45 dB. Expect limitations typical of high-speed machines: achieving top rated speeds requires tuned profiles and quality filament, and CFS for multi-color printing is sold separately, so some advanced multi-material setups need extra parts. The printer is feature-rich for makers who want large builds, automation, and higher throughput without heavy assembly time.
Best for: Someone who wants a high-throughput, largely hands-off FDM printer for larger parts and faster prototyping without starting from a kit, and who values automated monitoring and broad filament compatibility.
Less Ideal for: If you need a simple compact desktop printer for occasional small models, or you prefer out-of-the-box multi-color printing without buying additional hardware, this is more than necessary.
- Large 350×350×350 mm build volume suits bigger prototypes and batch prints.
- Very fast motion specs (up to 600 mm/s and high acceleration) for quicker turnaround.
- Dual-gear direct drive and actively heated chamber broaden compatible filament types.
- Full auto-leveling, belt tension sensor, and dual AI cameras reduce manual tuning and help catch print issues early.
- Preassembled with quick-start guide makes initial setup faster for non-experts.
- Top speeds and acceleration need careful slicing and tuning to realize in reliable prints.
- Multi-color/multi-material printing requires the Creality CFS system, which is not included.
Verdict: Buy the K2 Plus if you want a large-volume, fast FDM printer with extensive automation and monitoring to speed up prototyping and larger prints.
QIDI Max4 Combo 3D Printer

| Build volume | 390×390×340 mm |
|---|---|
| Max hotend temp | 370°C |
| Chamber temp | ≤65°C |
| Max tool head speed | ≤800 mm/s |
| Bed type | Full-surface silicone heated bed |
The QIDI Max4 Combo is a performance-focused FDM printer built for large parts and engineering materials. It offers a 390×390×340mm build volume and a 370°C max hotend paired with an actively heated chamber up to 65°C, which together enable printing of PC, Nylon, carbon-fiber blends and other high-temperature filaments with reduced warping. The printer uses closed-loop X/Y motors, dual Z lead screws and a reinforced motion system to support high speed and consistent layer quality, and the tool head can reach very high acceleration and head speeds for faster throughput on suitable prints. Practical additions include a full-surface silicone heated bed for even adhesion, a 5-inch touch screen, AI camera monitoring that pauses on failures, and multiple connectivity options (Wi‑Fi, Ethernet, cloud, USB). The machine is large and heavy, so it is best for a dedicated workspace and technically confident users; the Polar Cooler for multi-material color printing is an optional extra, not included. Setup and tuning for high-speed or abrasive materials will require experience and appropriate nozzle/hotend consumables.
Best for: Buyers who prioritize speed, size, and the ability to print engineering-grade and abrasive composites for prototyping or small-batch production and who are comfortable tuning a capable, workshop-class machine.
Less Ideal for: Casual hobbyists who need a compact, lightweight desktop printer or users who want a fully turnkey, out-of-the-box multi-color solution without adding accessories.
- Very large 390×390×340mm build volume for single-part printing
- 370°C-capable hotend and 65°C heated chamber for engineering materials
- Closed-loop motors and dual Z lead screws for stable, precise motion at high speeds
- Full-surface silicone heated bed improves first-layer adhesion and reduces warping
- AI camera and multiple network options enable remote monitoring and control
- Physically large and heavy, requiring a dedicated, ventilated workspace
- Polar Cooler for advanced multi-color printing is sold separately
Verdict: If you need a large, high-speed FDM printer that reliably handles engineering materials, the QIDI Max4 Combo delivers the performance-oriented capability you want.
Creality K1C 3D Printer

| Printing system | CoreXY |
|---|---|
| Max speed | 600 mm/s (travel) |
| Extruder | Direct extruder with tri-metal nozzle |
| Noise level | ≤45 dB (silent mode) |
The Creality K1C is a CoreXY FDM printer engineered for much faster print throughput than typical hobby machines, advertising up to 600 mm/s travel and high acceleration for quick per-layer moves. It uses a direct extruder with a tri-metal nozzle to handle higher-temperature and abrasive filaments such as carbon fiber, and one-tap auto calibration simplifies bed leveling for routine use. Built-in features include an AI camera for live monitoring and time-lapse capture, plus an activated-carbon filtration system and a silent mode that cuts noise to around 45 dB. Practical benefits are faster turnaround on prototypes, more reliable extrusion with the clog-resistant extruder, and easier setup thanks to automated leveling and onboard monitoring. Important limitations are that optimal high-speed results depend on tuned settings and suitable slicer profiles, and very high-speed printing can still compromise surface finish compared with moderate speeds. Buyers should also plan for typical setup and tuning when pushing the hardware to its limits.
Best for: A practical buyer who values faster print turnaround and wants a largely ready-to-use desktop FDM machine that can handle specialty filaments with minimal manual fiddling.
Less Ideal for: Users who prioritize the absolute finest surface finish over speed or those who prefer a printer that needs no profile tuning at higher speeds.
- CoreXY motion system designed for high-speed printing and fast acceleration
- Direct extruder with tri-metal nozzle supports abrasive and high-temperature filaments
- One-tap auto calibration simplifies bed leveling and regular use
- AI camera enables real-time monitoring and time-lapse capture
- Effective filtration and a quiet mode reduce odors and operating noise
- Achieving advertised speeds requires careful tuning and appropriate slicer profiles
- Very high-speed printing can reduce surface quality compared with slower settings
Verdict: Buy this if you want a fast CoreXY desktop FDM printer that simplifies setup and can reliably print abrasive filaments for quicker prototyping.
ELEGOO Neptune 3 Pro

| Build volume | 225×225×280 mm |
|---|---|
| Extruder | Dual-gear direct drive |
| Nozzle materials | Titanium throat, brass nozzle |
| Bed | PEI magnetic platform |
| Sensors | Filament runout; power-loss resume |
The ELEGOO Neptune 3 Pro is a ready-to-use FDM printer aimed at hobbyists and makers who want a capable machine without a large footprint. It ships with pre-assembled main parts and a toolkit so you can start printing quickly, and the 36-point auto bed leveling plus a PEI magnetic platform make first-layer setup straightforward. The dual-gear stainless steel direct-drive extruder and titanium throat tube reduce filament slips and clogs, which is helpful when printing flexible or abrasive materials, and the front cooling fan and widened heat sink improve thermal control for longer prints. Practical features such as a filament runout sensor and power-loss resume reduce failed prints on longer jobs, and dual lead screws with dual Z motors give consistent layer accuracy. Noise is relatively low thanks to silent stepper motors. Downsides: the build volume is modest for larger projects and the machine is a typical open-frame desktop unit that lacks enclosure benefits for very high-temperature filaments.
Best for: Buyers who want a capable, budget-friendly FDM printer that is ready to set up and handles everyday prints reliably with minimal tinkering.
Less Ideal for: Users who need a large-volume or fully enclosed workstation for high-temperature engineering filaments or production-scale printing should look elsewhere.
- Quick to assemble with pre-assembled main parts and included toolkit
- 36-point auto bed leveling and PEI magnetic bed simplify first-layer adhesion and print removal
- Dual-gear direct-drive extruder improves filament feeding for TPU, PLA, PETG and similar materials
- Filament runout sensor and power-loss resume reduce failed long prints
- Dual lead screws and dual Z motors provide stable, consistent Z-axis motion
- Open-frame design and modest build volume limit printing large or high-temperature parts
- Not enclosed so printing ABS or nylon may require an external enclosure
Verdict: A solid, budget-conscious desktop FDM printer that simplifies setup and delivers reliable everyday printing with a robust direct-drive extruder.
Bambu Lab A1 3D Printer

| Build volume | 256 × 256 × 256 mm |
|---|---|
| Print acceleration | 10 m/s² |
| Supported filaments | PLA, PETG, TPU, PVA |
| Auto calibration | Full-auto (Z-offset, bed-level, resonance, nozzle pressure) |
The Bambu Lab A1 is a ready-to-use FDM printer aimed at making reliable, high-speed printing accessible to beginners and hobbyists. It handles full-auto calibration (Z-offset, bed leveling, resonance and nozzle pressure) so you can start prints with minimal setup, and features active flow rate compensation and sensors to keep extrusion consistent. The printer supports multi-color workflows when paired with the AMS lite accessory and offers a relatively large 256 × 256 × 256 mm build volume for its class. Motion hardware and onboard monitoring are designed for sustained high-speed operation while keeping noise low via active motor noise canceling. Practical benefits include quick one-click prints from the MakerWorld model library, simple touchscreen controls, and a quick-swap nozzle for maintenance. Important limitations are that multi-color printing requires the optional AMS lite accessory and the open-frame design may not suit environments that need enclosed temperature control for advanced materials. For buyers prioritizing dependable, turnkey prints at higher speeds, the A1 balances automation and print quality effectively.
Best for: Buyers who want a mostly hands-off, reliable FDM experience that delivers fast, consistent prints with minimal tuning and easy startup.
Less Ideal for: Users who need enclosed, high-temperature printing for advanced engineering filaments or those who want multi-color capability without adding hardware.
- Full-auto calibration simplifies setup and reduces the need for manual tuning
- Active flow rate compensation and sensors improve extrusion consistency
- Large 256×256×256 mm build volume for printing bigger parts in one piece
- Quiet operation with active motor noise canceling makes it suitable for home use
- Touchscreen controls and MakerWorld library enable one-click printing for beginners
- Multi-color printing requires purchasing the AMS lite accessory separately
- Open-frame design is less suitable for printing temperature-sensitive materials like ABS
Verdict: Buy the A1 if you want a fast, beginner-friendly FDM printer that prioritizes automated calibration and consistent, reliable prints.
FLASHFORGE Adventurer 5M
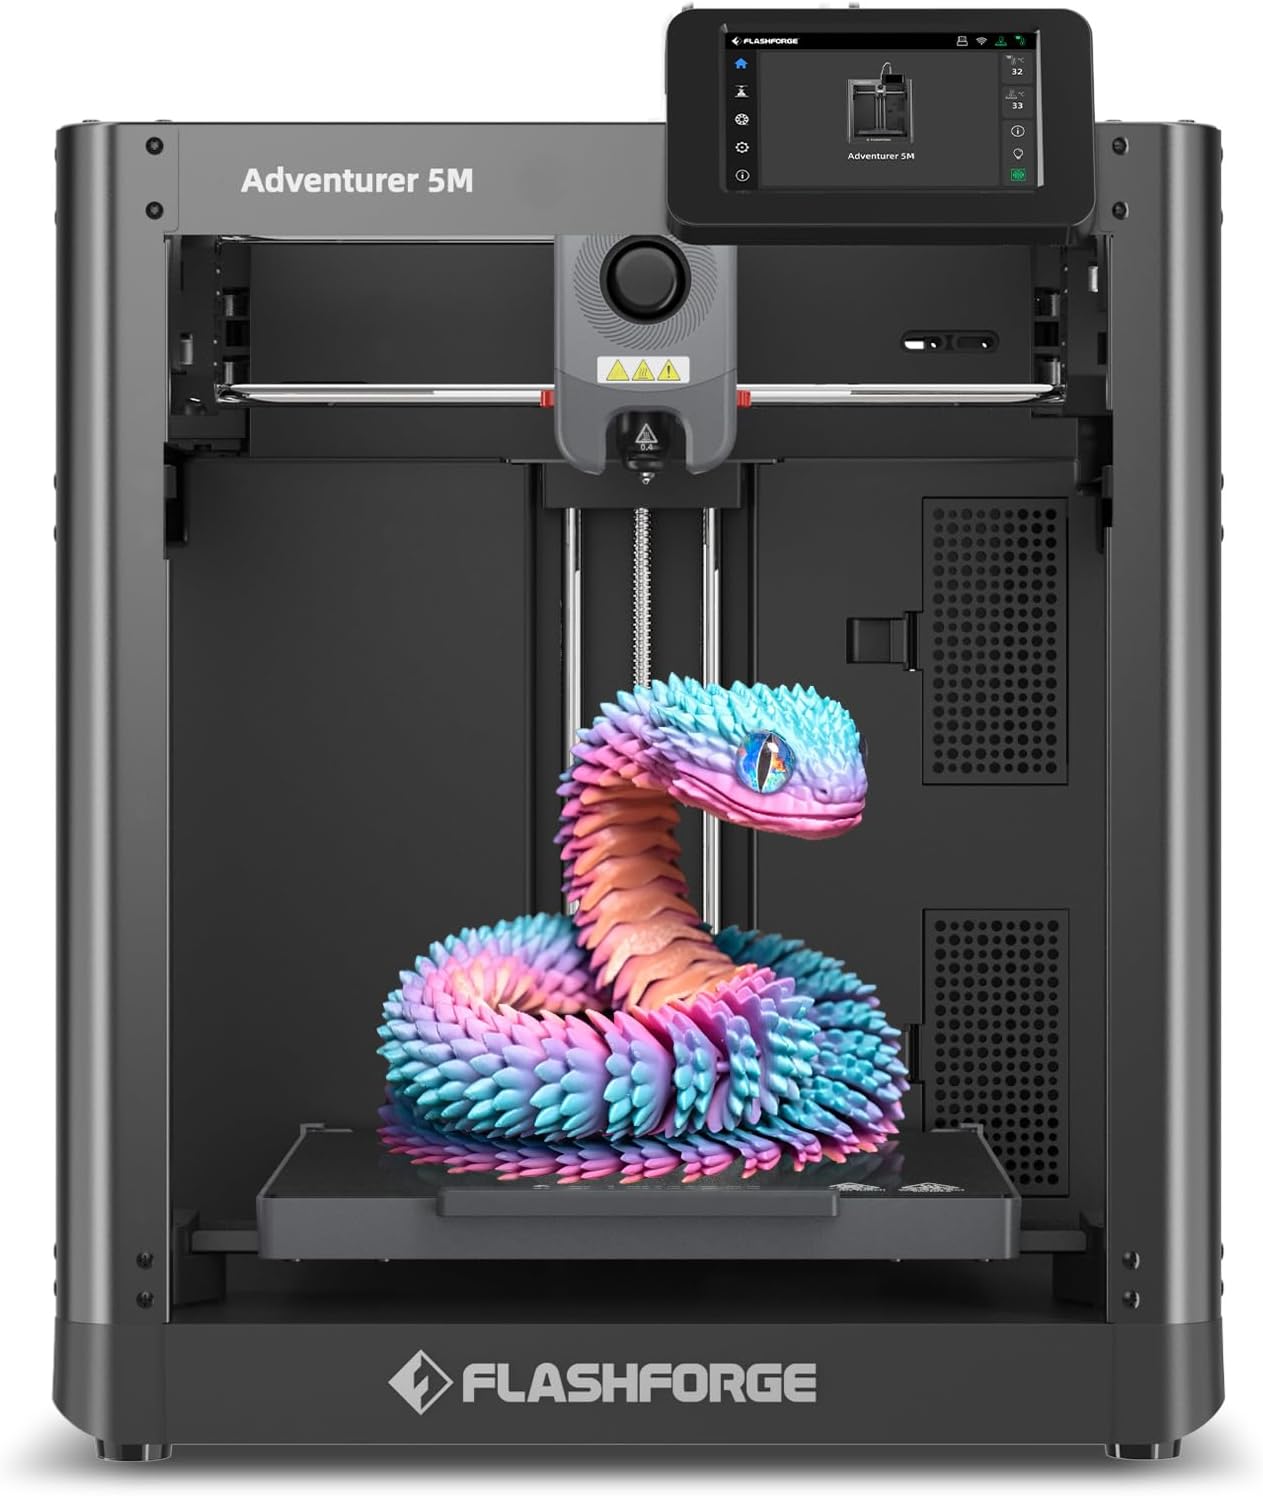
| Build Volume | 220 x 220 x 220 mm |
|---|---|
| Extruder Max Temperature | 280°C |
| Travel Speed | 600 mm/s |
| Platform Type | Double-sided PEI Platform |
| Structure | All-metal Core XY Structure |
The FLASHFORGE Adventurer 5M is a CoreXY desktop FDM printer built around speed and convenience for prototyping and repeated prints. It uses a one-button automatic bed leveling system, a 280°C direct-drive extruder with multiple nozzle sizes, and a detachable 3-second nozzle for quick swapping, while a dual-sided PEI platform simplifies part removal. The CoreXY all-metal structure and advertised 600 mm/s travel speed with high acceleration aim to cut cycle time for small production runs, and features like vibration compensation, dual-fan nozzles, and a high-flow 32 mm3/s nozzle support cleaner high-speed prints. The printer supports common engineering filaments such as PLA, PETG, ABS, TPU and carbon-fiber blends and offers remote monitoring via the mobile app. Expect practical benefits in faster turnarounds and easy setup for repeatable prints, though real-world top speed will be limited by part geometry, slicer tuning, and filament choice, and high-speed settings may require careful calibration to preserve surface quality. Maintenance like nozzle and platform cleaning remains necessary for consistent results.
Best for: Buyers who want a fast, production-minded desktop FDM printer that minimizes daily setup and supports engineering filaments while preferring a feature-rich, easier-to-run machine.
Less Ideal for: Users seeking the absolute finest surface finish out of the box or those who prefer a simpler, slower hobby printer with minimal calibration effort.
- CoreXY all-metal structure designed for higher-speed, stable motion
- One-button automatic bed leveling reduces setup time and first-layer issues
- 280°C direct-drive extruder with quick-change nozzle supports engineering filaments
- Dual-sided PEI platform and multiple nozzle sizes for flexible part removal and detail control
- Mobile app remote monitoring and vibration compensation for more reliable long prints
- Advertised top travel speeds are optimistic and require tuning to maintain print quality
- High-temperature, high-speed printing increases maintenance demands on nozzle and platform
Verdict: Choose the Adventurer 5M if you need a feature-rich CoreXY FDM printer that prioritizes speed, automated setup, and the ability to print engineering filaments reliably.
Bambu Lab P1S Combo

| Build Volume | 256×256×256 mm³ |
|---|---|
| Max Speed | 500 mm/s |
| Max Acceleration | 20 m/s² |
| Supported Filaments | PLA, PETG, TPU, PVA, PET, ABS, ASA; capable: PA, PC |
The Bambu Lab P1S Combo pairs a CoreXY 3D printer with an Automatic Material System (AMS) to deliver fast, multi-color FDM prints with a relatively large 256×256×256 mm build volume. It targets users who want quick turnaround thanks to top speeds up to 500 mm/s and high acceleration for shorter print times, while the enclosed frame and auto bed leveling improve success with temperature-sensitive filaments. The direct-drive extruder widens material compatibility to flexible filaments like TPU and supports common engineering plastics such as PETG, ABS and ASA, and the bundled AMS enables up to 16-color or multi-material jobs when connected. Setup is designed to be straightforward so getting from unboxing to first print can be done quickly, and a built-in camera makes time-lapse monitoring easy. Limitations to note are that extremely abrasive fiber-filled composites are not recommended and the combo assumes you will use the AMS for full multi-color capability, which adds system complexity and maintenance compared with a single-extruder machine.
Best for: Buyers who prioritize fast, reliable FDM prints and want an out-of-the-box multi-color/multi-material workflow without extensive tuning.
Less Ideal for: Users who only need a simple single-extruder printer or who plan to print highly abrasive, fiber-filled composites frequently.
- Very fast motion system with up to 500 mm/s speed and high acceleration for shorter print times
- Enclosed frame and auto bed leveling improve first-layer adhesion and success with advanced filaments
- Direct-drive extruder increases compatibility with flexible materials like TPU
- Includes AMS for multi-color/multi-material printing up to 16 colors when connected
- User-friendly setup and integrated camera for monitoring and time-lapses
- Multi-color capability requires connecting and maintaining the AMS, adding complexity
- Not recommended for abrasive carbon or glass fiber reinforced filaments
Verdict: If you want one of the fastest, beginner-friendly FDM systems that supports ready-to-run multi-color printing, the P1S Combo delivers speed and reliable results.
Choosing the Right FDM 3D Printer: Key Factors to Consider
Print Accuracy and Resolution
Print accuracy matters because it determines whether printed parts will meet dimensional requirements and snap-fit correctly. Look beyond advertised layer height to how consistently the machine maintains that resolution across a full build volume. Variance in X, Y, and Z axes, wobble in bed motion, and inconsistent extrusion can all produce dimensional errors.
For most desktop uses, 0.1 to 0.2 mm layer heights provide a good balance of detail and build time. If you need fine details or smooth surfaces for molds, choose a printer with a rigid frame and precise motion components. Conversely, for large functional parts, prioritize steady extrusion and thermal control over ultra-fine layer heights.
Thermal Performance and Hot End Design
Thermal stability affects layer bonding and the ability to print a variety of filaments. A well-designed hot end maintains even temperatures under load and prevents oozing or heat creep that can clog nozzles. Consider whether the machine uses an all-metal hot end for higher-temperature filaments or a PTFE-lined throat that limits max temperature but reduces some jams.
Stable heated beds and reliable thermistor or thermocouple feedback also matter. Look for printers that heat evenly across the build plate and reach target temperatures quickly. That reduces warping and improves adhesion, especially with engineering materials like PETG or ABS.
Build Volume and Mechanical Rigidity
Build volume determines the maximum part size you can print in a single piece. Choose a printer with a bed and gantry size that fits the typical parts you plan to make. Bigger volumes are appealing but require a stiffer frame and robust motion components to maintain precision across the entire area.
Mechanical rigidity reduces ringing and layer misalignment. If you plan multi-part assemblies or tall prints, a rigid frame and stable gantry will preserve tolerances and surface finish as the print progresses. Consider how the frame design and linear motion system support repeatable results at scale.
Filament Compatibility and Extrusion Options
Material choices drive what parts you can produce. Basic PLA is forgiving, but many practical applications require PETG, TPU, ASA, or nylon. Check whether the printer supports the extrusion temperatures and feeder types these materials need. Direct drive extruders generally handle flexible filaments better, while Bowden setups can be lighter for faster motion but may struggle with soft materials.
Also consider nozzle size options and whether the machine supports hardened steel or coated nozzles for abrasive filaments. The ability to swap nozzles and adjust extrusion settings gives you more flexibility for specialized projects.
Ease of Setup and Software Ecosystem
A straightforward setup shortens the time to productive prints. Look for clear assembly instructions, a guided first-print routine, and reliable bed-leveling tools, whether manual assisted or automatic. A good software ecosystem reduces friction, so check compatibility with common slicers and whether firmware updates are accessible.
Community support and documentation can also speed troubleshooting. Machines with active user forums and clear manufacturer guides simplify upgrades, calibration, and routine maintenance, which lowers the learning curve for new users.
Maintenance and Reliability
Regular maintenance affects ownership cost and uptime. Components such as belts, bearings, and fans are wear items, so evaluate how easy they are to access, replace, or adjust. Simple maintenance steps like nozzle changes, bed surface swaps, and firmware flashing should not require extensive disassembly.
Reliability also means predictable failure modes and available replacement parts. A machine built with common fasteners and modular subassemblies is easier to service and keeps downtime low for critical projects.
Matching Printer Features to Your Use Case
Decide what you will mostly print before choosing hardware. If you need one-off prototypes and cosmetic parts, focus on fine layer control and surface finish. For functional components, prioritize dimensional stability and material compatibility. Educational or hobby users may value quick setup and an intuitive interface over high-temperature capabilities.
Also think about throughput versus quality. Faster travel speeds and larger nozzles increase output but may sacrifice detail. Choose a configuration that aligns with the parts you expect to produce most often.
- Small parts with fine detail: prioritize small nozzles and rigid motion systems
- Functional parts: prioritize thermal control and material support
- Large parts: choose a bigger build volume and rigid frame
Practical Bed Surfaces and Adhesion Techniques
Successful first layers often decide whether a long print finishes correctly. Common bed surface strategies include PEI sheets, textured spring steel, glass with adhesives, or magnetic removable plates. Each has tradeoffs in adhesion strength, ease of part removal, and longevity.
Beyond the surface itself, tuning first-layer height, bed temperature, and initial extrusion width improves adhesion. Use a brim or raft for warp-prone materials and consider surface treatments like glue stick or specialized adhesives when printing challenging filaments.
- PEI offers reliable adhesion for many materials and easy part release once cooled
- Glass provides a flat surface but often needs adhesives for certain filaments
- Textured spring steel balances adhesion and easy removal with magnetic backing
Upgrades and User Modifications That Actually Help
Not all upgrades deliver meaningful improvements. Useful changes include hardened nozzles for abrasive filaments, improved part cooling ducts for small features, and better bed leveling probes for consistent first layers. Firmware upgrades that add thermal protections or improved motion algorithms can also improve reliability.
Avoid cosmetic changes that do not address printing problems. Focus on modifications that reduce downtime, improve material handling, or increase repeatability. Keep a log of changes so you can revert if a modification causes regressions.
- Hardened nozzles for filled filaments
- Improved cooling ducts for bridging and overhangs
- Auto-leveling probes for repeatable first layers
Safety and Ventilation Considerations
Printing at higher temperatures or with engineering materials can produce odors or ultrafine particles. Consider where the printer will operate and whether local ventilation or enclosure use is appropriate. Enclosures help with high-temperature materials by stabilizing the build environment and reducing drafts.
Also check electrical safety features such as thermal runaway protection in firmware and secure wiring for heated components. Follow manufacturer guidance on safe operation and maintain a smoke alarm in the workspace for additional safety.
- Use an enclosure for ABS or other warp-prone filaments
- Ensure firmware includes thermal protections
- Provide adequate room ventilation for prolonged printing sessions
Workflow Tips for Faster Time to Useful Parts
Streamline slicing profiles for frequently used materials and part types. Save tuned profiles so you can quickly produce reliable prints without re-optimizing each time. Batch slicing and print queuing improve throughput if you run many small parts.
Prepare a simple maintenance checklist to perform before long prints. Checking belt tension, nozzle cleanliness, and bed level can prevent common failures and save time in the long run.
- Maintain a library of trusted slicer profiles
- Use print queuing for multiple small jobs
- Run quick pre-print checks for critical or long prints
How We Chose the Best FDM 3D Printer
We prioritized machines that blend dependable, repeatable results with practical usability for desktop makers and prototypers. Key evaluation criteria included print accuracy and dimensional repeatability, which determine whether parts fit and function as intended; thermal system stability and hot end reliability, because consistent extrusion is essential for layer adhesion; bed adhesion and bed leveling systems, since first-layer success heavily influences overall print outcomes; and ease of setup and software support, which reduce the time from unboxing to producing usable parts. We also considered filament compatibility and the robustness of mechanical components to estimate long-term uptime. We excluded experimental prototypes, kit-only builds that require extensive modification, and printers that rely on proprietary filament ecosystems. The shortlist favors machines that perform well across common engineering and hobby filaments and that require minimal advanced tuning for reliable results.
Our full evaluation process is outlined in our review methodology.
FAQ
What filament should I start with on an FDM 3D printer?
PLA is the easiest filament to begin with because it prints at low temperatures and rarely warps. Once you are comfortable, you can experiment with PETG for stronger parts and TPU for flexible components. Higher-temperature materials require compatible hot ends and heated beds.
How important is automatic bed leveling?
Automatic bed leveling is useful because it reduces manual calibration and improves first-layer consistency, especially for new users. It does not replace a generally flat bed or good mechanical setup, but it helps compensate for minor bed irregularities across prints.
Can I print functional parts that will be load-bearing?
Often you can, but it depends on the material, print orientation, infill pattern, and wall thickness. Engineering filaments and correct part orientation increase strength, while poor layer adhesion and thin walls limit load-bearing capability.
How do I prevent warping on large prints?
Use a heated bed at the appropriate temperature, an enclosure to maintain ambient temperature, and adhesion aids like brims or rafts. Choosing a filament less prone to warping and tuning cooling settings also helps reduce deformation.
How often should I perform maintenance on an FDM printer?
Perform a quick check before any long print, including inspecting belts, cleaning the nozzle, and verifying bed adhesion. A more thorough maintenance session every few months should include lubrication of linear rails, tightening hardware, and checking for wear on consumables.
Final Verdict
Choose an FDM 3D printer by first matching the machine to the parts you plan to produce. Prioritize print accuracy and thermal stability for functional components, or ease of use and setup if you value quick, reliable prints. Remember that material compatibility, bed adhesion, and maintenance access are practical tradeoffs that affect long-term ownership. Focus on the few features that matter most for your projects and accept reasonable tradeoffs. With a suitable machine and tuned workflow, you will reliably produce usable prototypes and parts without constant tinkering.